Tones2. Plug it in. It works. Yes, you understand what to do. I've had mine for 2 years, and no problems using a 7-pin cable.
Midi class 101: Midi plugs are generally 5-pins. However, the actual MIDI information only rides on 3 of those pins. The other pins are usually not used! However, some devices were made when 5-pin was the only thing available (my Voodoo Labs GCX switcher has this issue) and they use 2 of the pins to supply voltage, to their voodoo labs Ground Control foot controller. The danger is that if I were to plug a standard 5-pin midi cable into the Midi In of the GCX switcher, and connect the other end of the cable to another device, such as my Axe FX, I would be frying my Axe Fx unit. Some cable manufacturers offer a midi cable that, although has a 5-pin jack at each end, they've intensionally not wired two of the pins (the two that Voodoo Labs uses to supply voltage from the GCX switcher to the Ground Control). You either have to use that kind of specially wired MIDI cable (I do) or you have to break off those pins to short that connection from accidentally being made.
To avoid frequent occurrences of accidents happening, someone introduced 7-pin connections. Now, really, MIDI is still only on 3 of the pins, two of the pins have nothing going on, even though they are wired inside, and the 2 new pins have voltage. The advantage is, I can't accidentally plug a 7-pin with voltage riding through it, into a 5-pin midi device and fry it!
I think manufacturers are moving away from putting voltage through 5-pin connections anymore. Now, people have come to expect that a 5-pin has no voltage, and a 7-pin might have voltage - so they are more careful. People who purchase a GCX switcher and don't read the manual carefully, will fry other gear by accident.
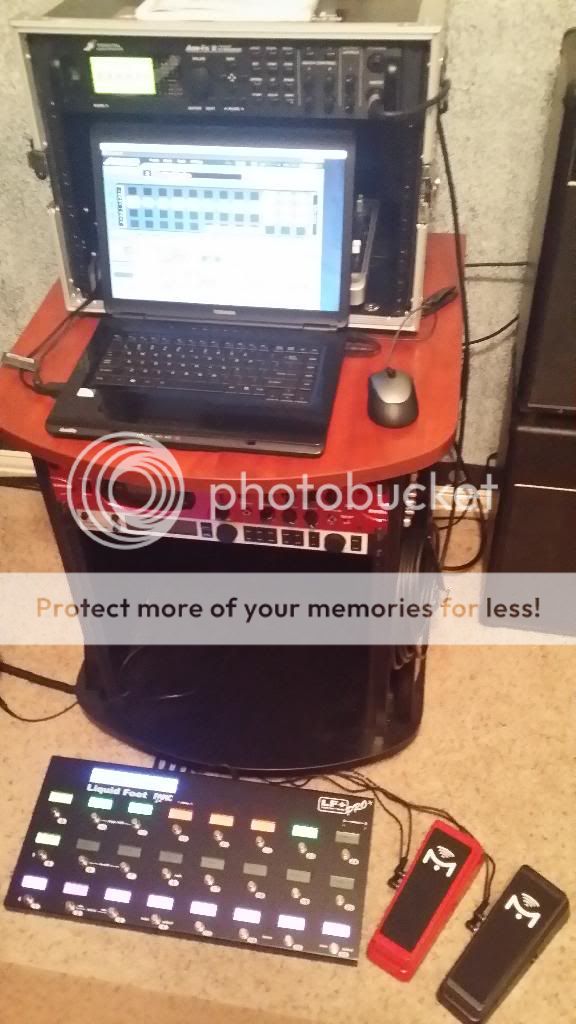
Use your Liquid Foot. Use the 7-pin cable, so you can leave the LF's wall wart power supply in your rack, and not out at your pedal position on the stage.
") ).
).