LAYGO
Experienced
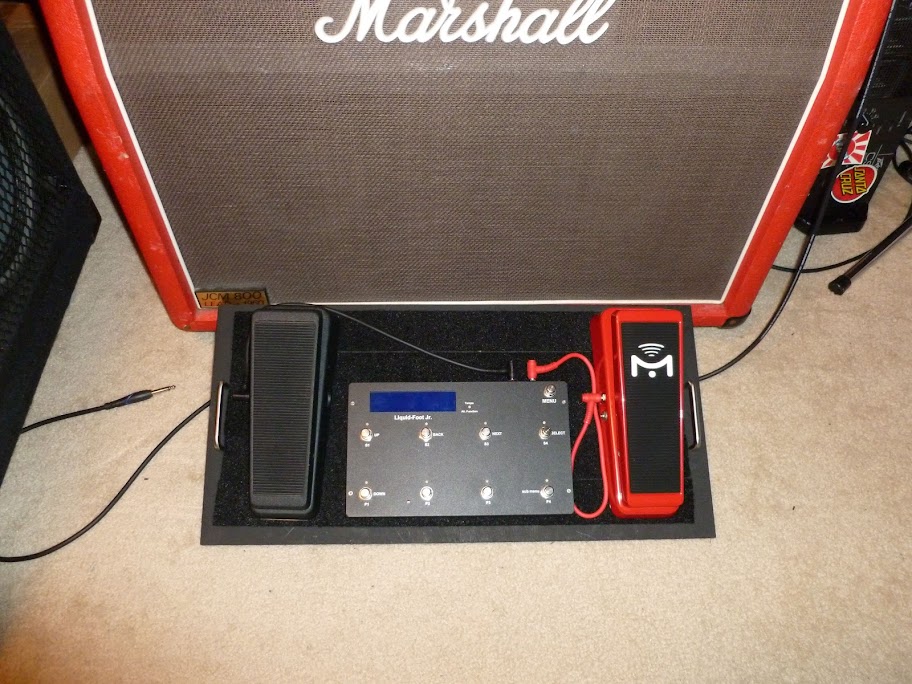
I got tired of plopping down my Liquid Foot down on the floor, so I got a bug in me to create a pedal board.
Rough estimate of prices:
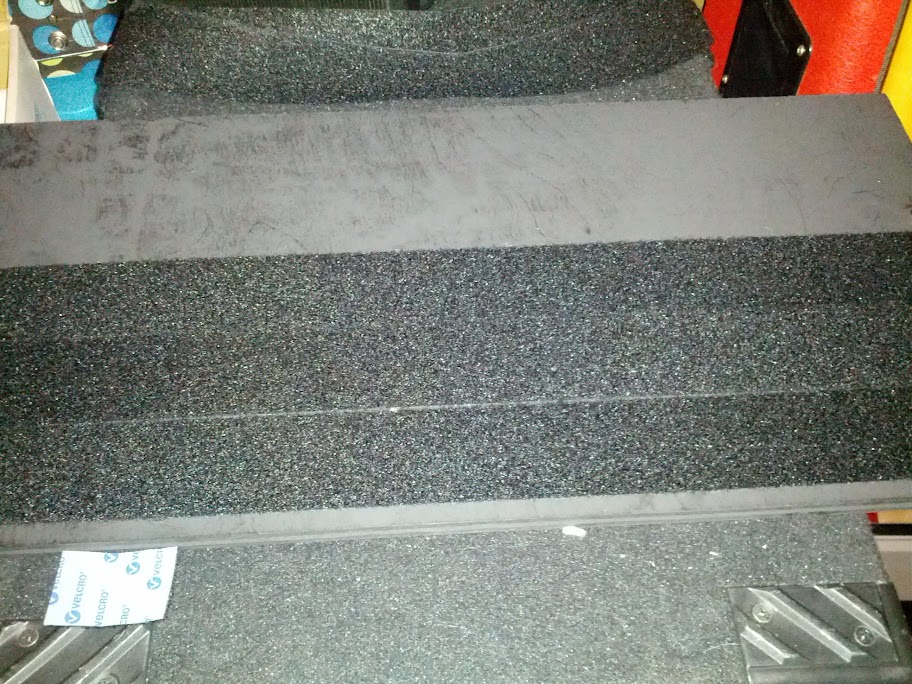
$27 15'x2" heavy duty velcro
$7 2'x2' sanded birch
$3 misc screws
$3 cabinet pull handles
$15 1' various colored TRS patch cables (eight of them)
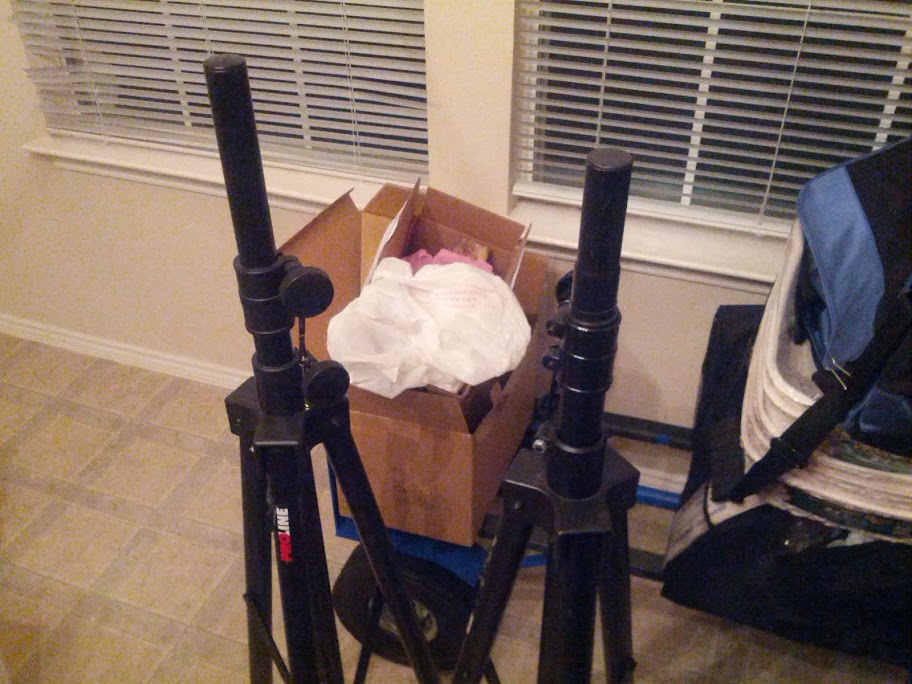
$10 some random case I got off CL a few years ago to stick my FCB1010 in (didn't fit)
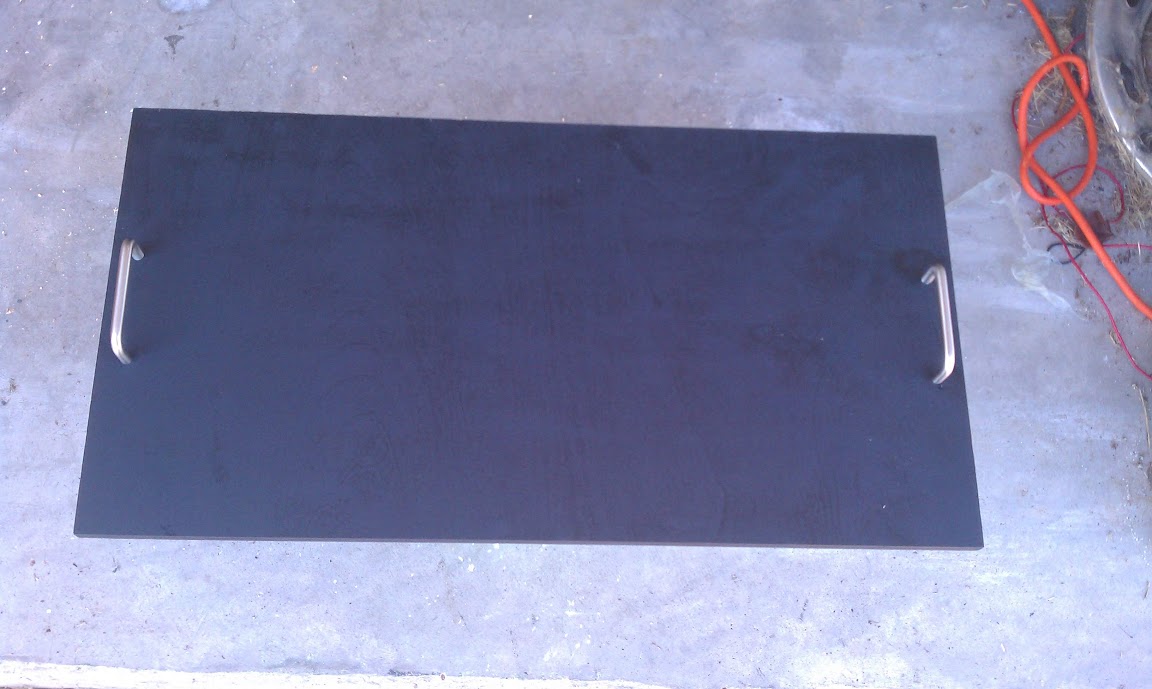
$5 can of flat black paint (Double Coat or something, sprays thick first time)
Wood (cut in half roughly) & < $1.50 each for the handles
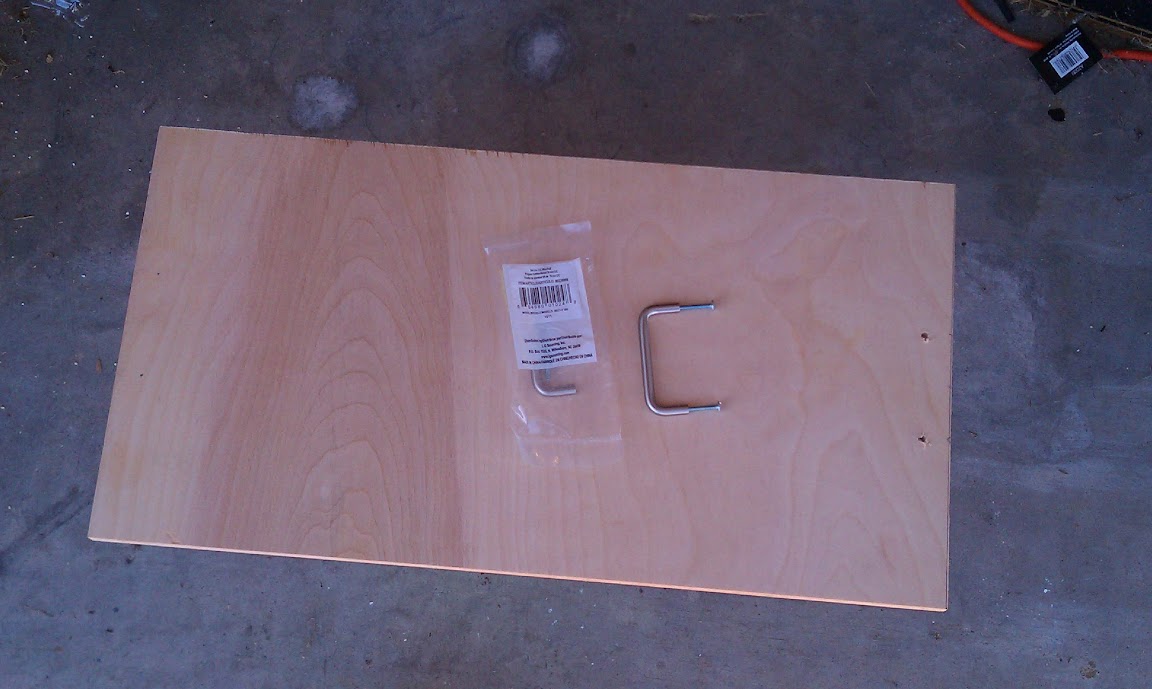
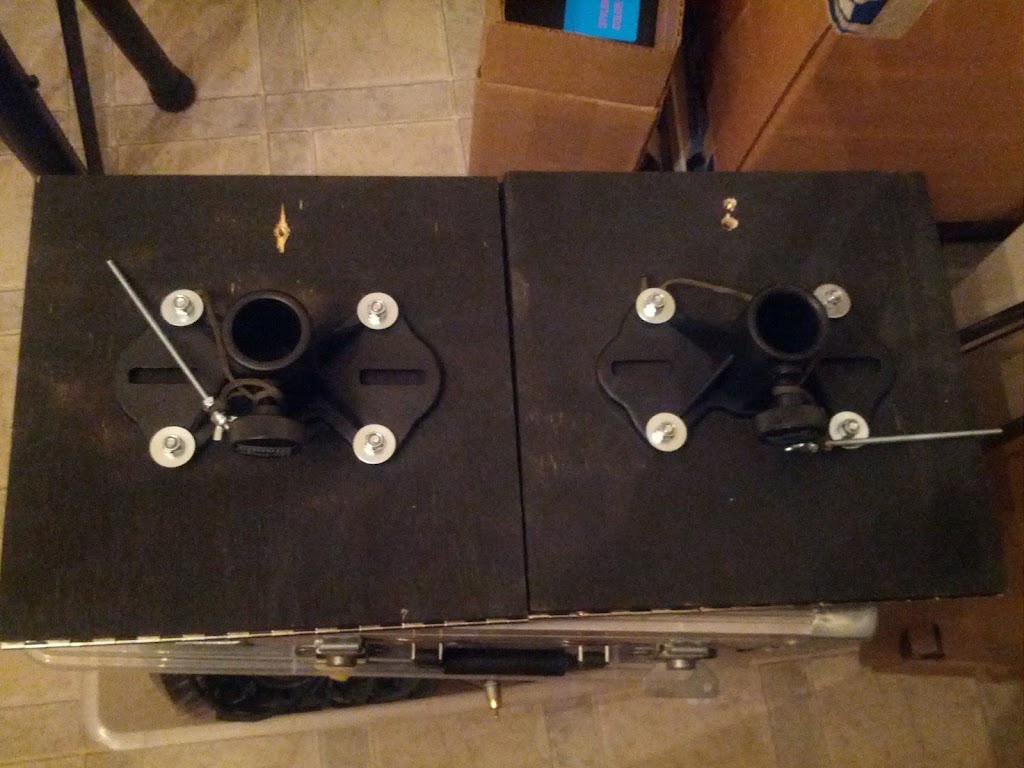
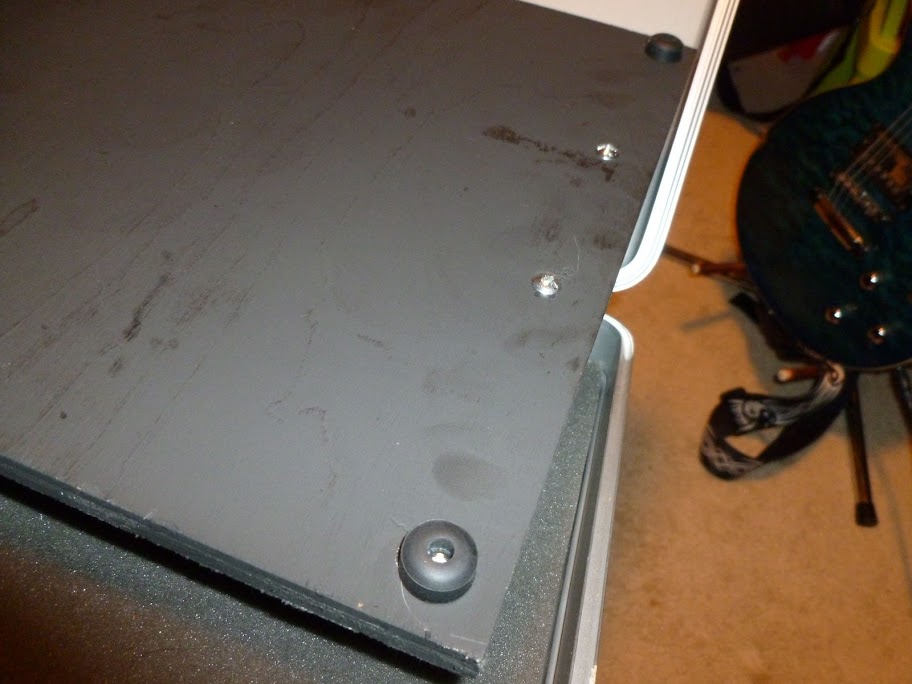
Real simple cabinent pull handles, I thought about getting fancier ones for kicks, but they were pretty heavy & cost like 3-4x more:

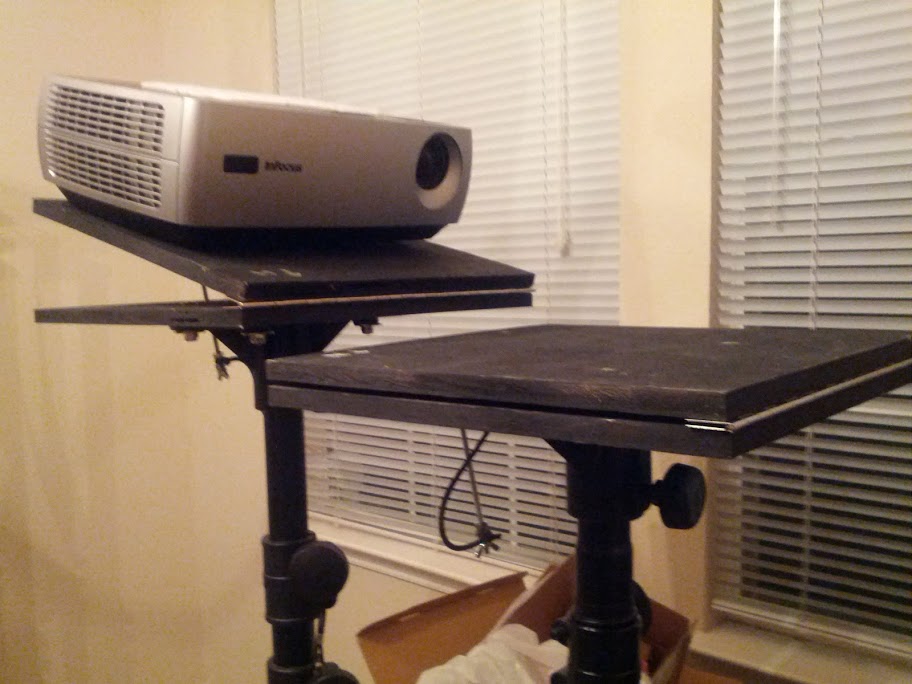
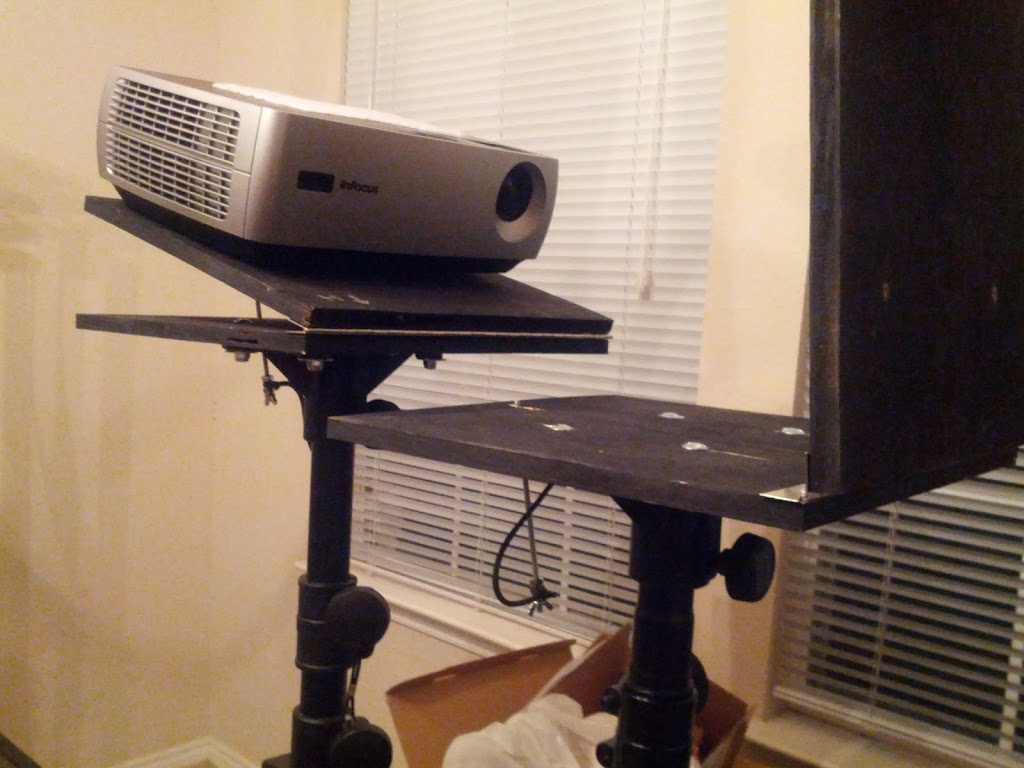
All painted up & handles mounted:
The feet came from my red Mission pedal, I took them off to mount the velcro.
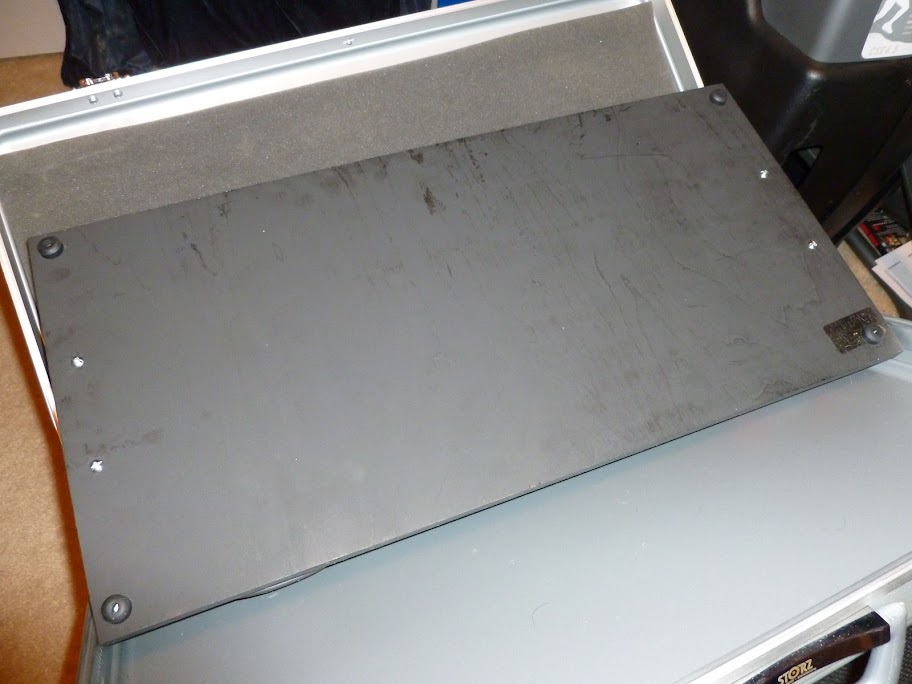
They were perfect!
Rough estimate of prices:
$27 15'x2" heavy duty velcro
$7 2'x2' sanded birch
$3 misc screws
$3 cabinet pull handles
$15 1' various colored TRS patch cables (eight of them)
$10 some random case I got off CL a few years ago to stick my FCB1010 in (didn't fit)
$5 can of flat black paint (Double Coat or something, sprays thick first time)
Wood (cut in half roughly) & < $1.50 each for the handles
Real simple cabinent pull handles, I thought about getting fancier ones for kicks, but they were pretty heavy & cost like 3-4x more:
All painted up & handles mounted:
The feet came from my red Mission pedal, I took them off to mount the velcro.
They were perfect!

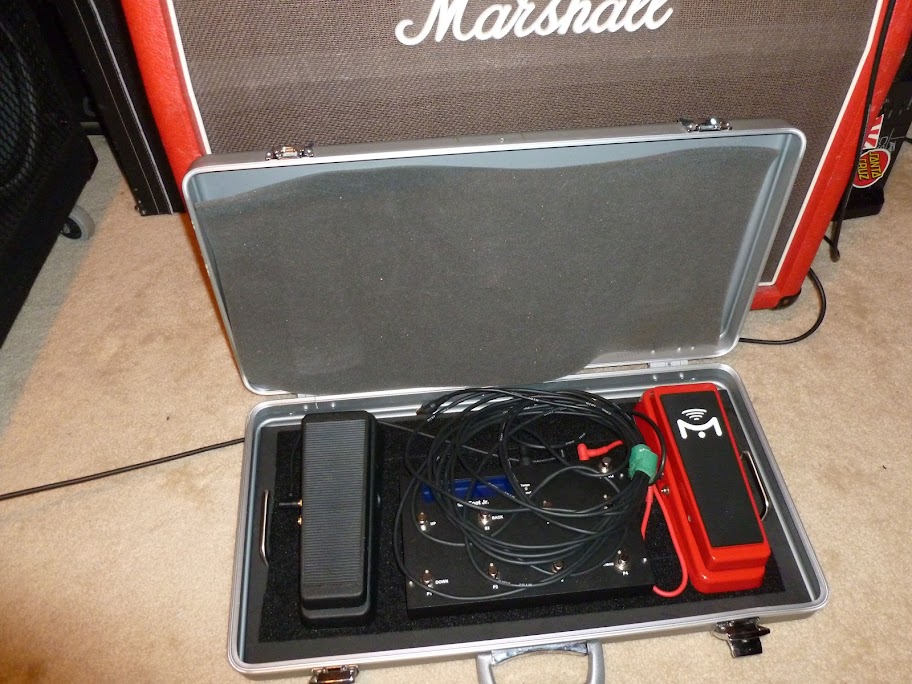

") I've been looking for a good case for the LF jnr as well, this is inspiring!
I've been looking for a good case for the LF jnr as well, this is inspiring!