bleujazz3
Fractal Fanatic
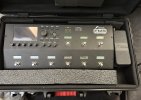
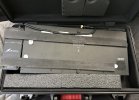
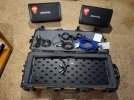
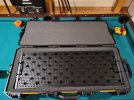
Finished* Temple Audio Duo 34 FM9 Board


(Pretty Complicated Connections)

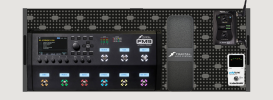
The ¼" left side jacks are for instrument and headphones, USB jack and TA Mini-Power Module included as well.
*Designates a "finished-for-now" mindset. Am sure there will something else that can further complicate matters...yup.
(Pretty Complicated Connections)
The ¼" left side jacks are for instrument and headphones, USB jack and TA Mini-Power Module included as well.
*Designates a "finished-for-now" mindset. Am sure there will something else that can further complicate matters...yup.

")
 (too long)