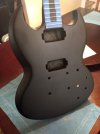
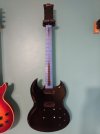
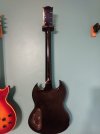
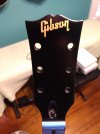
What would you do? ...with the trem cavity?

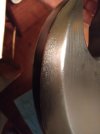
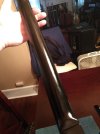
Here are some close ups of the poor technique I used in both Z-Poxy and color applications. I have not found any good info on removing the spots (sanding flattens the spots, but doesn't remove them). I'm going to try using lacquer thinner on a Q-tip to remove them. I did find a good article on thinning epoxy. It seems things would have turned out better had I heated the bare wood with a hair dryer before applying the Z-Poxy. The heat reduces the viscosity of the epoxy when applied. This allows it to flow nicely into those little valleys you see in the photos (I'm hoping). Thinners added to the epoxy can weaken it and result in cracking over time. Not something I want for this project. Turns out Scotch Bright pads work pretty good at smoothing out the color coat without being too abrasive or any remnants that 0000 might leave.

Spots :(
Post Scotch Bright - Spots from poor color spraying.jpg

Valleys on the horn.

Post Scotch Bright - poor coverage of Z-Poxy 1.jpg

Valleys on the back. You can see the spots here too.
Post Scotch Bright - poor coverage of Z-Poxy 2.jpg.jpg
 
Just out of curiosity did you use a sanding sealer prior to applying the Z-poxy? IF you are looking to get a really flat surface finish you need to use a high build up primer followed with a lot of sanding .
 
Just out of curiosity did you use a sanding sealer prior to applying the Z-poxy? IF you are looking to get a really flat surface finish you need to use a high build up primer followed with a lot of sanding .
This is my first refinish project. I used the following as a guide:

Stewmac

Their process used Z-Poxy as a pore filler before applying a vinyl sealer.
 
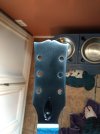
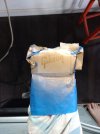
This has been quite to adventure. I've learned a thing or two during the process. It was a bit too humid when I was applying nitrocellulose clear lacquer to the headstock. That white film is moisture under the last layer of lacquer.
Blanching 1.jpg
I used a blow dryer to dry it out. That worked, but I spent a little too much time on the back of the headstock. It blistered and needed to be repaired.
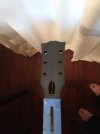
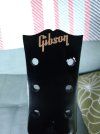
When I ordered the stencil for the Gibson logo, I ordered two. Good thing. It's easy to make a mistake.
Gibson Logo 1.jpg

The glue on the stencil was strong enough to remove paint from around the peg hole.

Gibson Logo 2.jpg

I sprayed 3 layers of clear over the face/logo of the headstock. Now I must wait 2 weeks for the nitrocellulose to dry enough to wet sand. The "before" final sanding and buffing pics.

Final Clear Coats Front.jpg Final Clear Coats Back.jpg Final Clear Coats Headstock.jpg
 
Back
Top Bottom