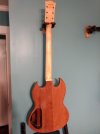
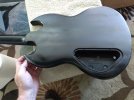
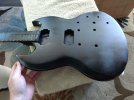
What would you do? ...with the trem cavity?

CipherHost

Experienced
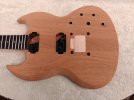
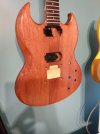
Let's say you have an 86 Gibson SG Special that has been sanded down to the bare wood (except for the Gibson head-stock logo, serial number stamp, and Made in USA stamp). You can do anything you want with this guitar.

Ebony fretboard w/ dot inlays
Two Shaw Humbuckers
3-way switch & 2 Vol, 1 Tone
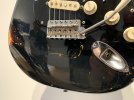
Kahler Flyer tremolo w/ Locking nut
Probably originally came with Schaller "Gibson Deluxe" tuning machines, but were changed to Grover Rotomatic tuning machines (screw holes give it away). Tuners are being used on a different guitar now, so what would you use to replace them?

What would you do?
 
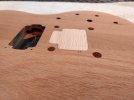
After watching a couple videos about the Kahler Flyer and tinkering with the one that came with this guitar... I'm installing a Tune-O-Matic bridge I had in a drawer. Measured thrice, drilled once... well, 4 times :). Now I have to come up with something cool to do with that Kahler cavity. I have one or two ideas, but looking for more ideas from you all. Thanks!


Last edited:
After watching a couple videos about the Kahler Flyer and tinkering with the one that came with this guitar... I'm installing a Tune-O-Matic bridge I had in a drawer. Measured thrice, drilled once... well, 4 times :). Now I have to come up with something cool to do with that Kahler cavity. I have one or two ideas, but looking for more ideas from you all. Thanks!


Here is a guide for your EXACT situation brother.
https://www.strangeguitarworks.com/filling-a-kahler-route/
 
Well, I've been watching videos and searching, pricing, etc. This is where I'm at so far...

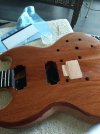
Made a cavity cover for the Flyer out of Red Oak.

Flyer cavity cover.jpg

Flyer cavity cover side view.jpg

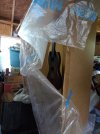
Applying the Z-Poxy to the top.

Z-Poxy 1st coat.jpg

Hanging for 1st Z-Poxy application to dry.

Z-Poxy 1st coat drying.jpg

Hanging to dry after 2nd Z-Poxy coat. Had this been a beautiful piece of mahogany, I would have been tempted just clear coat it.

Z-Poxy 2nd coat.jpg

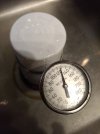
Warming the sealer.

Warming the sealer.jpg

Post sealer and sanding.

Post sealer front.jpg

Post sealer back.jpg

1st color coat.

1st color coat.jpg
 
Last edited:
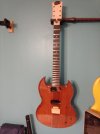
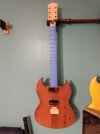
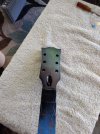
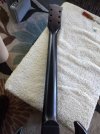
Sprayed color. My technique was not so good and ended up with some unevan color coat. It also showed areas that the Z-Poxy did not fill correctly. Researching a little how to fix these issues and/or do better. Finding good info.

View attachment 102702


View attachment 102703View attachment 102705

View attachment 102704

Man, in the first photo, the headstock looks like one of those cars that changes color depending on the angle you look at it. Very cool looking!
 
Back
Top Bottom