David dP said:godprobe said:Wuala's my favorite free file storage solution right now
Thanks !
So let's try it :
The file for my beautiful stickers:mrgreen: is here
Does it work ?
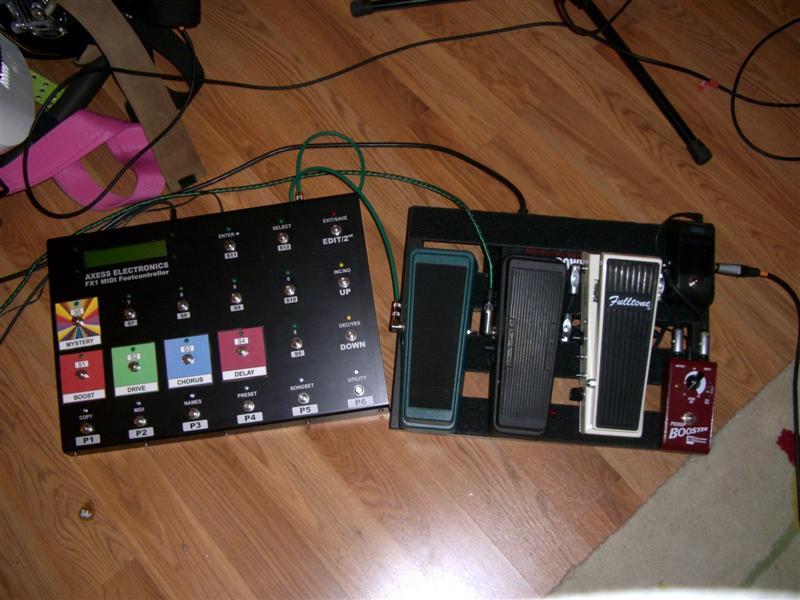
Spawn-X said:How do you cut perfectly the cricles for switch and DEL?
I had previously forwarded that picture to this woman I had met back in college that does scrapbooking now. She said those appear to be standard Avery labels and she has a tool that is kind of like a "circle knife" (if that makes sense) that you would place on top of the label, twist, and it would make the hole for the IA switch.


voes said: