woodnwire85
Inspired
I've been planning out a pedalboard in my head ever since I received my MFC. I've wanted an easy way to move my MFC with both of my Mission EP-1 pedals around all together. I don't gig often, but would like to have something once another gig comes up. I'm also very fortunate to own and operate my guitar shop as a side business and have a fully stocked woodworking shop that I built in my garage. I do mostly repairs and mods for the guitar shop, but also some custom work from time to time for myself or my customers.
I'm loosely basing this board off the one I saw by Objector here: http://forum.fractalaudio.com/axe-f...who-has-coolest-pedalboard-them-all-i-do.html Kudos to him!
I'm going to build mine with some sides on it to protect my EP-1 pedals and their jacks and plugs from getting stepped on and broken. I'll be using 13-ply 3/4" birch plywood, screws, Titebond III glue, fuzzy Velcro for the bottom, black Taurus tolex for the outside and maybe some amp corners.
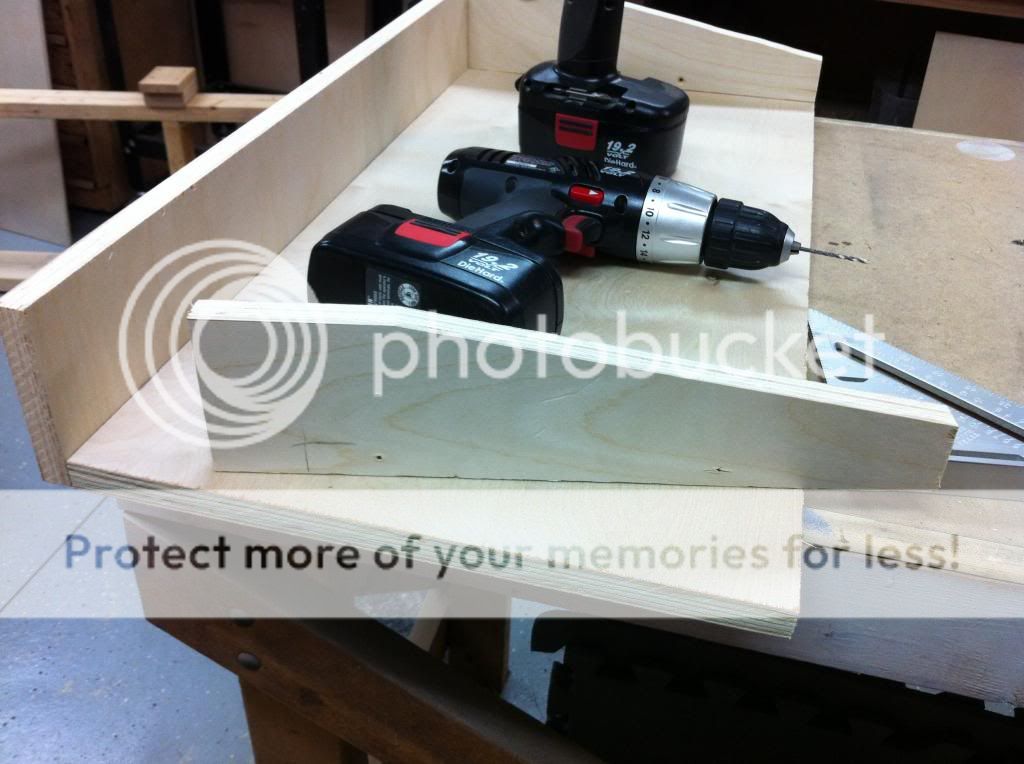
Here are the mockups with some pieces I have cut:


Getting it together after cutting to size:

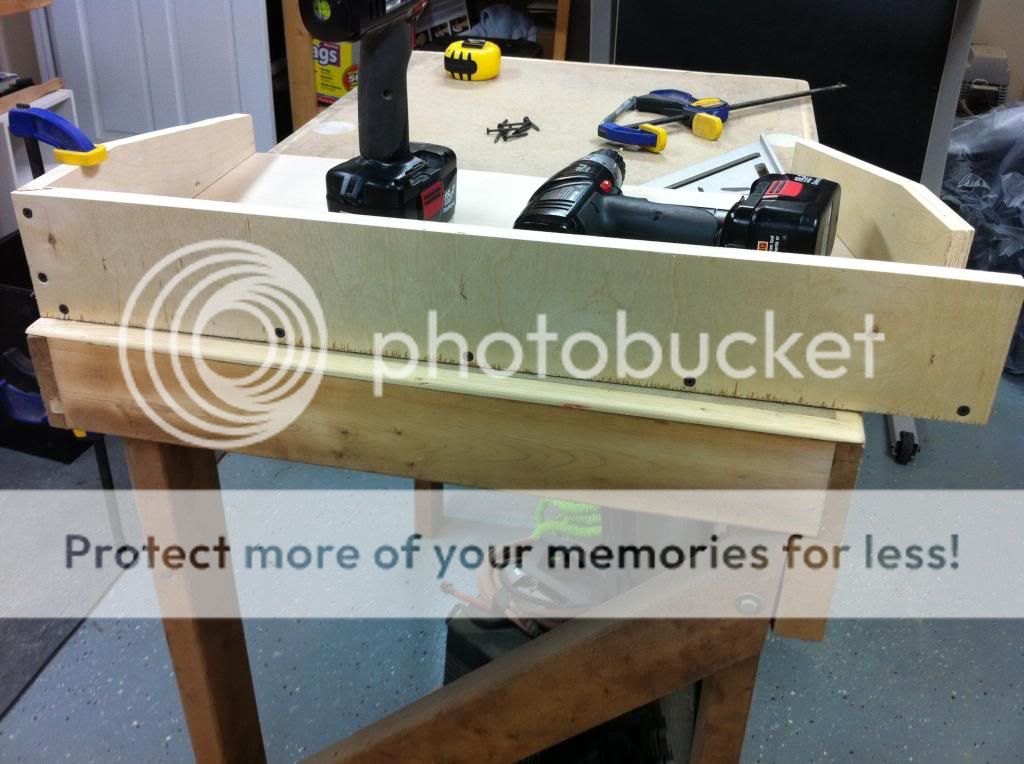
Here it is with it just screwed together to test fit everything before glue:


The grand plan is to have the area in the back be covered by another piece while on a piano hinge. This way I can get to my cables and connections on the back of the MFC without removing it from the board. I also left enough room to store extra cables or whatever I need at reach. It's still a work in progress on the final design, but I've found out with woodworking experience that I work better by just going with an idea and let it snowball into something more as I work on it rather than write it all out on paper. I'll continue updating the thread as I progress through this project.
I'm loosely basing this board off the one I saw by Objector here: http://forum.fractalaudio.com/axe-f...who-has-coolest-pedalboard-them-all-i-do.html Kudos to him!
I'm going to build mine with some sides on it to protect my EP-1 pedals and their jacks and plugs from getting stepped on and broken. I'll be using 13-ply 3/4" birch plywood, screws, Titebond III glue, fuzzy Velcro for the bottom, black Taurus tolex for the outside and maybe some amp corners.
Here are the mockups with some pieces I have cut:


Getting it together after cutting to size:


Here it is with it just screwed together to test fit everything before glue:


The grand plan is to have the area in the back be covered by another piece while on a piano hinge. This way I can get to my cables and connections on the back of the MFC without removing it from the board. I also left enough room to store extra cables or whatever I need at reach. It's still a work in progress on the final design, but I've found out with woodworking experience that I work better by just going with an idea and let it snowball into something more as I work on it rather than write it all out on paper. I'll continue updating the thread as I progress through this project.
Last edited:

")


