No soldering. There is a cable assembly between the motherboard and the front panel daughterboard. To swap the wires:
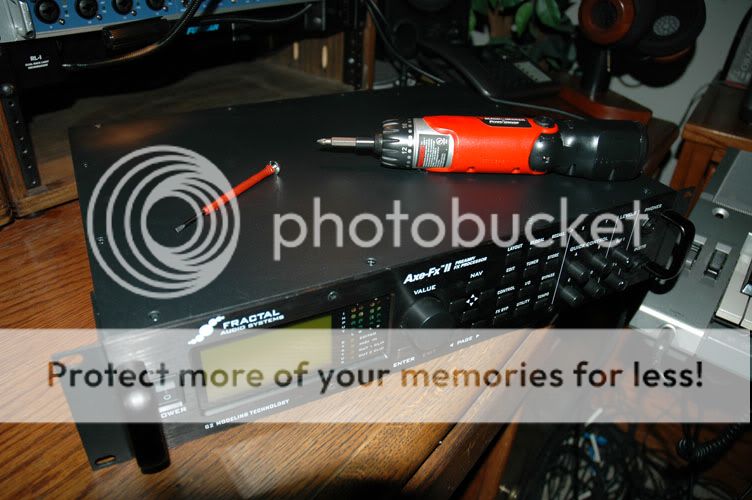
1. Remove the cover carefully. Note that the fan is mounted on the cover so be sure to disconnect the fan wires.
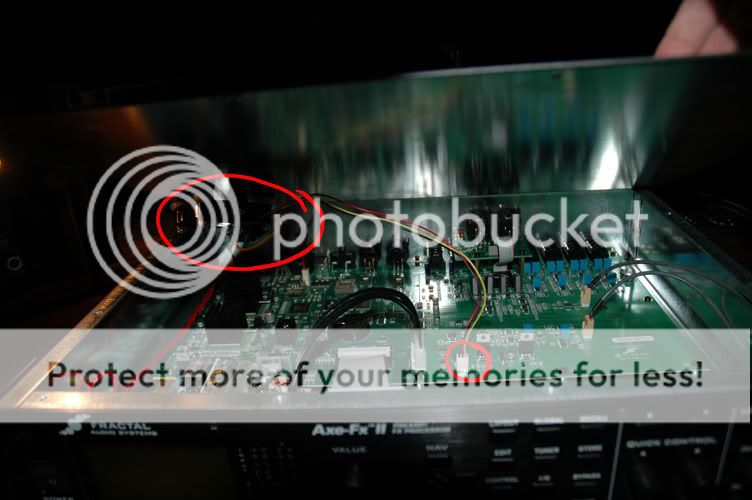
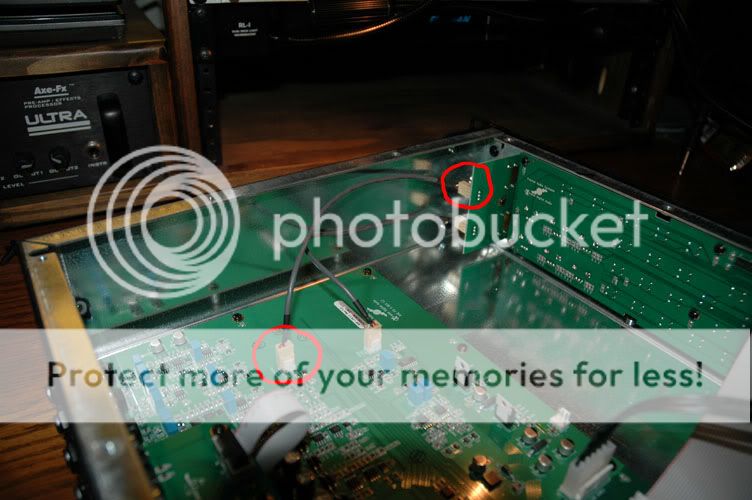
2. Locate the cable from the "HEADPHONE" header on the motherboard to the daughterboard.
3. Remove the cable.
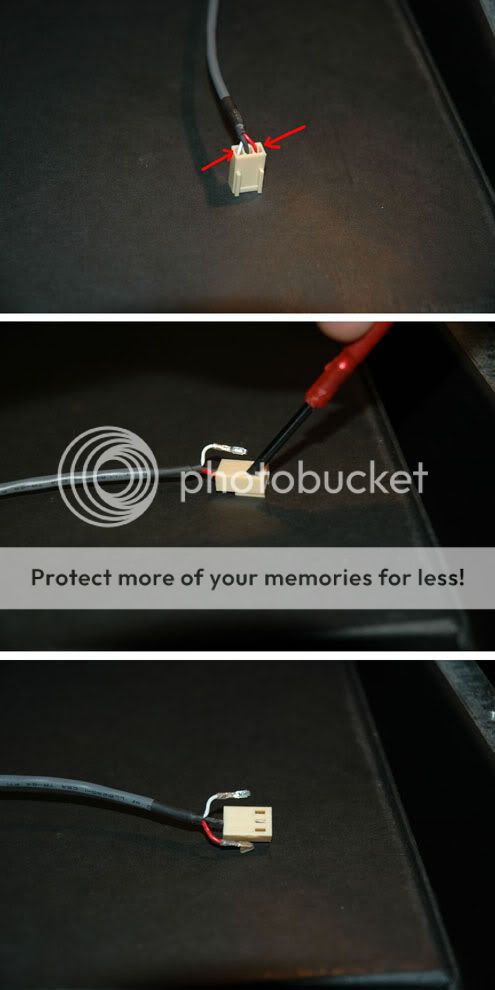
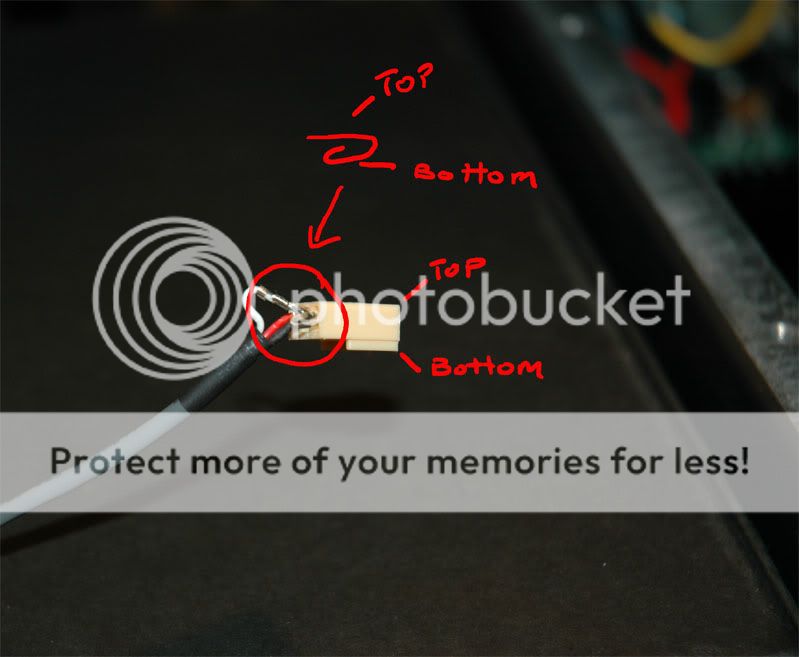
4. On one end of the cable swap the red and white wires. The connector is a Molex type. To remove the wires you need to push in the little tab that locks the pin into the housing. You can use a jeweler's screwdriver, tweezers, dental pick, etc. to push the tab in.
5. Reinstall the cable.
6. Replace the cover making sure to reconnect the fan.
1. Remove the cover carefully. Note that the fan is mounted on the cover so be sure to disconnect the fan wires.
2. Locate the cable from the "HEADPHONE" header on the motherboard to the daughterboard.
3. Remove the cable.
4. On one end of the cable swap the red and white wires. The connector is a Molex type. To remove the wires you need to push in the little tab that locks the pin into the housing. You can use a jeweler's screwdriver, tweezers, dental pick, etc. to push the tab in.
5. Reinstall the cable.
6. Replace the cover making sure to reconnect the fan.
")