FM3 and Templeboard

Hey all! I had a quick question about using the FM3 with a Templeboard.

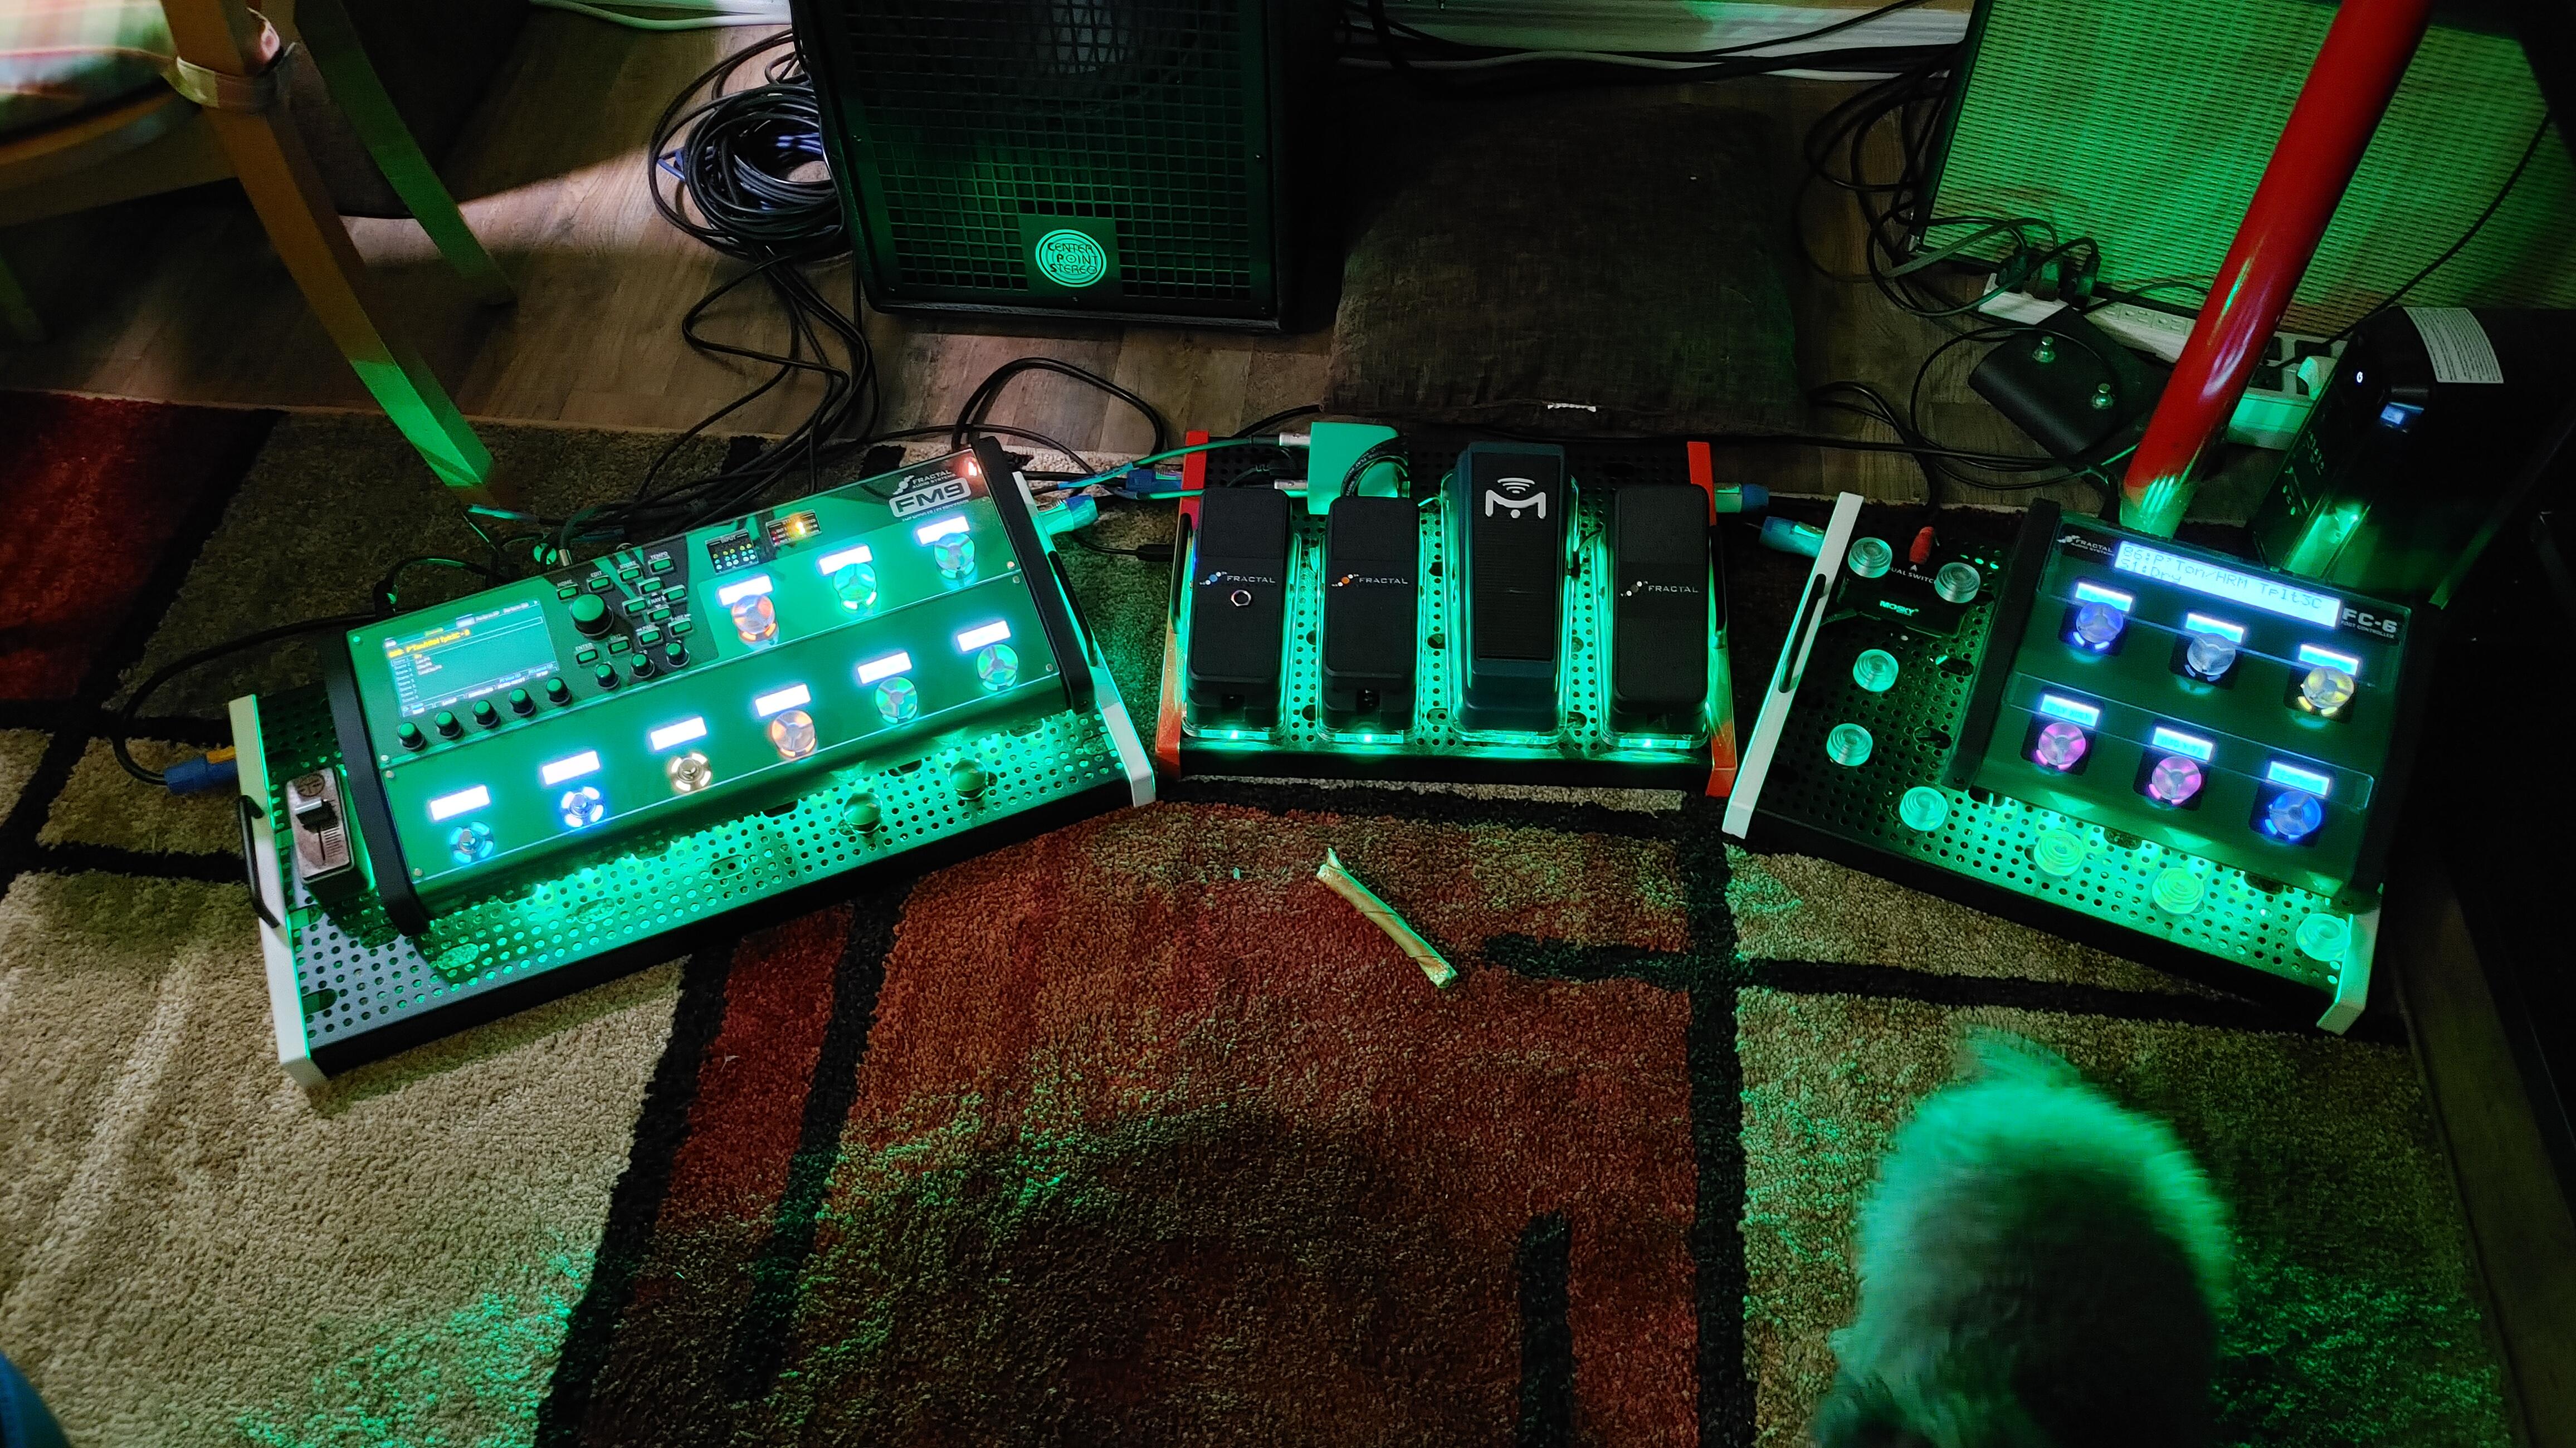
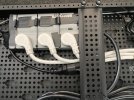
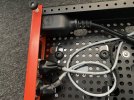
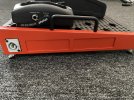
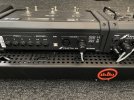
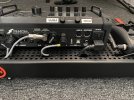
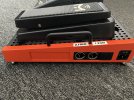
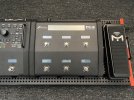
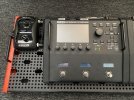
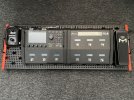
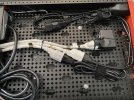
I really want to lock the FM3 into the templeboard, which would mean removing the feet. I am little bit concerned about ventilation of the FM3. The Templeboard has lots of slots in it, I'm assuming for ventilation. Has anybody tried this before? Does it pose an issue to the FM3 in terms of overheating? I would not want to ruin my device haha...

Here's a link to the Templeboard website...
https://www.templeaudio.com/

Thanks!
Cheers,
Matt
 
I've mounted both an FM9 and FC-12 to Temple boards without removing the feet by just using longer screws to replace the ones from the factory plus a small washer to keep the screw head from going thru the holes in the board.

I'm assuming the same M3.5-.06x16mm screws will work for FM3.
 
Hey all! I had a quick question about using the FM3 with a Templeboard.

I really want to lock the FM3 into the templeboard, which would mean removing the feet.
No, it doesn't mean that. I use 3M Dual-Lock, type 250, with a strip between the feet and in the matching area on the board. With the Dual-lock on either side I can pick up a Temple Audio Duo 24 using the FM9 or FM3 or FC6, depending on which modeler I have set up. Type 250, mated to Type 250, joins extremely well and has enough height in the joined pieces to fill the gap caused by the feet.

I am little bit concerned about ventilation of the FM3. The Templeboard has lots of slots in it, I'm assuming for ventilation.
The slots are for running cables from the top to the underside and back out if you need to route things across the board. It keeps the board cleaner, and helps protect the cables.

Has anybody tried this before? Does it pose an issue to the FM3 in terms of overheating?
The FM3 and FM9 have fans in case they get too hot, but in general use they don't turn on except at power-up. If you read the bottom of the unit it shows where not to block airflow on the unit, as does p.119 in the FM3 manual. Don't block the vents and you'll be fine.

IMG_0049.png
Notice the gap between the FM3 and FC6. That's to provide airflow for the FM3.

IMG_1007.png
Notice the Dual-Lock on either end of the FM9. It's not as long as the FM3+FC6, so I left the tape on the board in case I decide to remount that pair. I just picked up the board and FM9 combination by the FM9 and gave it several good shakes, and it's firmly attached.

IMG_1053.png
This is the bottom of my FM3 showing where the tape is attached to the bottom of the unit, between the feet. Again, that's the Type 250 Dual-Lock.

Temple Audio has their large adhesive pads that screw to the board, and two of them will work on the FM3 if you remove the feet. Some people left the feet on and put a spacer of some sort that is the height of the feet, attached with velcro or Dual-Lock to the FM3, and use that spacer for the adhesive pad. I find Temple Audio's adhesive to be a gooey mess when trying to remove the pads from something, hence my use of the Dual-Lock.

I had my FM3+FC6 combo out several times and the only time I had a problem was when I was using the Temple Audio pads. It lifted just enough that the FM3 wasn't securely attached again. I attributed the whole thing to having loaded the bag on its end rather than flat, and the vibrations when driving were too much. I switched to the Dual-Lock afterwards, and was more careful about how I load it and haven't had a problem.

If I do see it loosen I'll switch to @unix-guy's method of using alternate bottom screws through the board into the unit, maybe with some blue LocTite to keep the screws from turning until I want to remove them.
 
Last edited:
No, it doesn't mean that. I use 3M Dual-Lock, type 250, with a strip between the feet and in the matching area on the board. With the Dual-lock on either side I can pick up a Temple Audio Duo 24 using the FM9 or FM3 or FC6, depending on which modeler I have set up. Type 250, mated to Type 250, joins extremely well and has enough height in the joined pieces to fill the gap caused by the feet.


The slots are for running cables from the top to the underside and back out if you need to route things across the board. It keeps the board cleaner, and helps protect the cables.


The FM3 and FM9 have fans in case they get too hot, but in general use they don't turn on except at power-up. If you read the bottom of the unit it shows where not to block airflow on the unit, as does p.119 in the FM3 manual. Don't block the vents and you'll be fine.

View attachment 91662
Notice the gap between the FM3 and FC6. That's to provide airflow for the FM3.

View attachment 91663
Notice the Dual-Lock on either end of the FM9. It's not as long as the FM3+FC6, so I left the tape on the board in case I decide to remount that pair. I just picked up the board and FM9 combination by the FM9 and gave it several good shakes, and it's firmly attached.

View attachment 91664
This is the bottom of my FM3 showing where the tape is attached to the bottom of the unit, between the feet. Again, that's the Type 250 Dual-Lock.

Temple Audio has their large adhesive pads that screw to the board, and two of them will work on the FM3 if you remove the feet. Some people left the feet on and put a spacer of some sort that is the height of the feet, attached with velcro or Dual-Lock to the FM3, and use that spacer for the adhesive pad. I find Temple Audio's adhesive to be a gooey mess when trying to remove the pads from something, hence my use of the Dual-Lock.
Thanks a lot for your detailed reply! That really helped me out a lot. As for power… is the FM3 powered through a Temple module? Or do you just run the power cable out of the TempleBoard?
 
I've mounted both an FM9 and FC-12 to Temple boards without removing the feet by just using longer screws to replace the ones from the factory plus a small washer to keep the screw head from going thru the holes in the board.

I'm assuming the same M3.5-.06x16mm screws will work for FM3.
Thanks a lot man!
 
Thanks a lot for your detailed reply! That really helped me out a lot. As for power… is the FM3 powered through a Temple module? Or do you just run the power cable out of the TempleBoard?
IEC connectors won't fit through the cable holes in a Temple board. You have various choices that have been suggested in the forum:
  1. Use the original cable and don't run it through the board.
  2. Use Temple's power module and cut the cable, thread it through, then solder it back together. That's what I did because I'm trying to keep the connectors and cables as low-profile as I can. (I had an issue with a drunk lead singer who stepped on one of the XLR connectors and broke it my first time taking the FM3+DUO 24 out.)
  3. Clip the end, thread it through and get a screw-on replacement. They're available in 90º angles on Amazon and elsewhere but add some additional size.
  4. Shave down the original IEC connector, either on the Temple module or the one that came with the unit, so it'll fit through the cable hole.
  5. Enlarge and smooth the edges of one of the holes on the board. It's really important to smooth the edges, or fit it with grommets because vibrations and wear and tear could erode the insulation on the power cord, and either short the cord out, or make the board carry line-voltage, which could "ruin your night".
In any of those options except the first, be sure to securely attach the cable to the board so it doesn't vibrate or wiggle. Vibration is the enemy of press-fit connections.
 
Last edited:
IEC connectors won't fit through the cable holes in a Temple board. You have various choices that have been suggested in the forum:
  1. Use the original cable and don't run it through the board.
  2. Use Temple's power module and cut the cable, thread it through, then solder it back together. That's what I did because I'm trying to keep the connectors and cables as low-profile as I can. (I had an issue with a drunk lead singer who stepped on one of the XLR connectors and broke it my first time taking the FM3+DUO 24 out.)
  3. Clip the end, thread it through and get a screw-on replacement. They're available in 90º angles on Amazon and elsewhere but add some additional size.
  4. Shave down the original IEC connector, either on the Temple module or the one that came with the unit, so it'll fit through the cable hole.
  5. Enlarge and smooth the edges of one of the holes on the board. It's really important to smooth the edges, or fit it with grommets because vibrations and wear and tear could erode the insulation on the power cord, and either short the cord out, or make the board carry line-voltage, which could "ruin your night".
In any of those options except the first, be sure to securely attach the cable to the board so it doesn't vibrate or wiggle. Vibration is the enemy of press-fit connections.
Hey man, really love these ideas! I would love to try #2, but I’m not sure what you mean. Do I cut the FM3 cable? Where do I cut it? Sorry I’m not so used to this, but I’m good with a soldering iron!
 
Hey man, really love these ideas! I would love to try #2, but I’m not sure what you mean. Do I cut the FM3 cable? Where do I cut it? Sorry I’m not so used to this, but I’m good with a soldering iron!
Temple Audio makes an IEC power module that attaches to the side of the board. It has a pigtail that is normally used to connect to an under-board power-supply.

We don't need it under the board because we're not using a power-supply, and running it out the back of the board and up to the FM3/FM9 kinda defeats the purpose of using the module. So, I cut their pigtail and passed the cord through and resoldered it together again.

For completeness:
  • On the right side of the board is the Temple Audio 4X MOD. Ports 1-3 are wired with TRS connectors and at the other end plug into the FM9 or FC6 for volume pedals. The Dunlop MiniX pedals connect to ports 2 and 3. Port 1 is currently not used. Port 4 is a TS connection using George L. connectors and cable to the FM9/FM3 INPUT 1 for the guitar. That keeps the inputs on the right side and helps keep the guitar cable out of my way.
  • On the top-left side of the board is the Temple Audio IEC power module.
  • In the larger module hole on the left is the Temple Audio XLR MOD, which I use to send the output to the FRFR monitors. I built some cables using low-profile Switchcraft XLR female plugs and some thin Mogami XLR cable, which connect to straight 1/4" TRS plugs and connect to the module underneath the board. (The cable diameter is important as it has to thread through the screw on end of the XLR plugs.)
  • The FAS-Link cable between the FM3+FC6 was pre-made and purchased from Redding Audio. The part was a '10" Low-Profile XLR-3 Adjustable Angle cable Select Color:Red'. Contact them for the actual part number.
I mostly built all the cables, except the FAS-Link, and the TRS to the FM3/FM9, which were TRS cables from Amazon that I repurposed by putting the TRS flat-plug connectors on one end.
 
Last edited:
If you use spacers, you can put lights under the edges of the footswitch units, and there is enough space to route wires between board and footswitch, which can reduce the need for as many wire ties to keep things secure....
1005211849_HDR.jpg
 
Had a buddy of mine put together this FM3/FC-6/Line 6 G50 Wireless/Mission Engineering Expression Pedal rig on Temple Audio board. I'll try to answer any questions based on the photos. Maybe this will be of some help to those using a Temple board setup. I run Output 1 to FOH and Output 2 to my Headrush FRFR. The gray Powercon jack on the one side of the Temple board is set up to directly power the Headrush if I want.

The power underneath the board is a Furman Power Conditioner (Power Station -2 +6). I just plug in and don't have to worry about dirty power.
 

Attachments

  • IMG_2415.JPG
    IMG_2415.JPG
    3 MB · Views: 108
  • IMG_2414.JPG
    IMG_2414.JPG
    2.9 MB · Views: 101
  • IMG_2413.JPG
    IMG_2413.JPG
    3.7 MB · Views: 99
  • IMG_2412.JPG
    IMG_2412.JPG
    3.1 MB · Views: 102
  • IMG_2411.JPG
    IMG_2411.JPG
    2.7 MB · Views: 107
  • IMG_2410.JPG
    IMG_2410.JPG
    4 MB · Views: 95
  • IMG_2409.jpg
    IMG_2409.jpg
    4.3 MB · Views: 90
  • IMG_2408.jpg
    IMG_2408.jpg
    4.1 MB · Views: 86
  • IMG_2407.jpg
    IMG_2407.jpg
    6.1 MB · Views: 97
  • IMG_2416.JPG
    IMG_2416.JPG
    3 MB · Views: 117
@Joe Bfstplk : Know the thread is a bit dated, but would you mind sharing what switches you are using under the board? Are they latching, momentary, or both? Thanks!
All momentary switches. The unit can decide what to do with a momentary switch, and make it work like a latching switch via software. Latching switches, not so much....
 
Back
Top Bottom