shotgunn
Fractal Fanatic
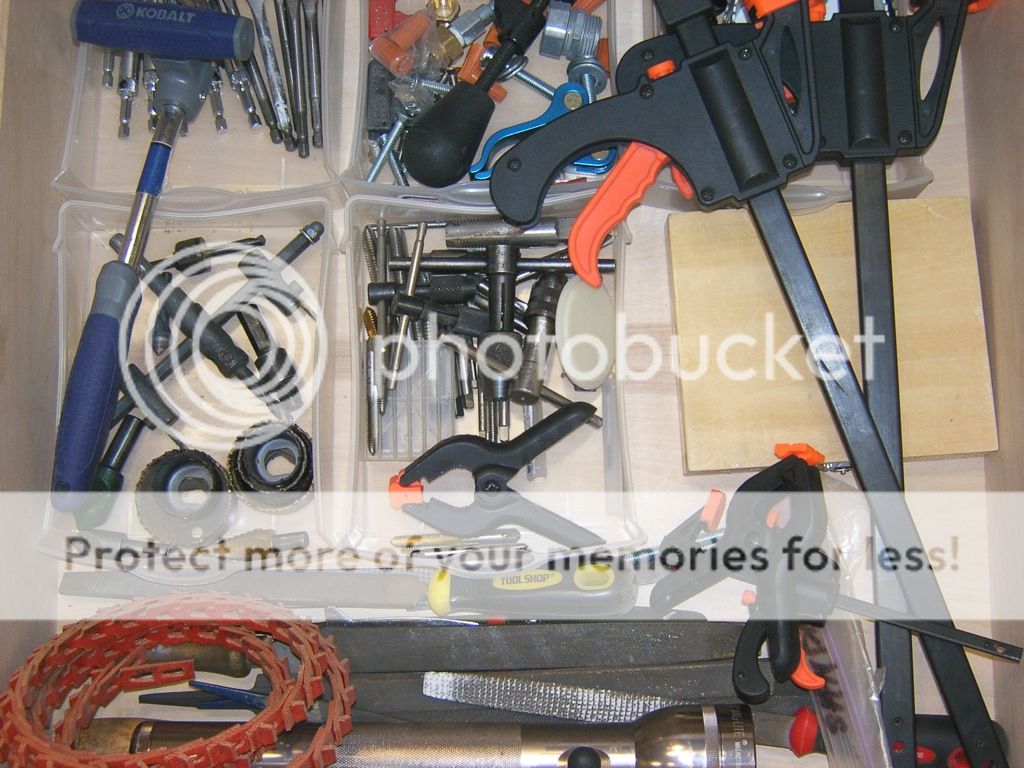
days and thousands of $$$$ in tools. By 1, 2, 3 I really meant 1, 20, 140...
Here is the recording. I started out using the piezos only. Then you'll hear a delay come in. That is Mag's + Piezos. I used the Taylor 314ce - Eaerthworks QTC30 IR that I downloaded from here. I'll post it here again...
This is a (part) of a song I wrote for my wife... When we used to be in love. Now she wants a divorce.
Enjoy!!!
So I've been a member here for over a year now. I used to think, "Who the hell has time to have 1500+ posts on a forum?" Well now, look at me... I'm proud that it is THIS forum and no other. Anyway, I think it is about time I let you guys in on what I do. Unfortunately this is not my 'full time' gig, but for the last 3 years I have made it my priority to help other guitarists achieve their sonic goals. Primarily my focus has been on installing piezos in bridges that are not widely accepted enough (Ibanez Lo-Pro, Edge, Edge Pro, and pretty much ANY Ibanez bridge) for the major piezo manufactures to make their own piezo saddles. So rewind to early 2009...
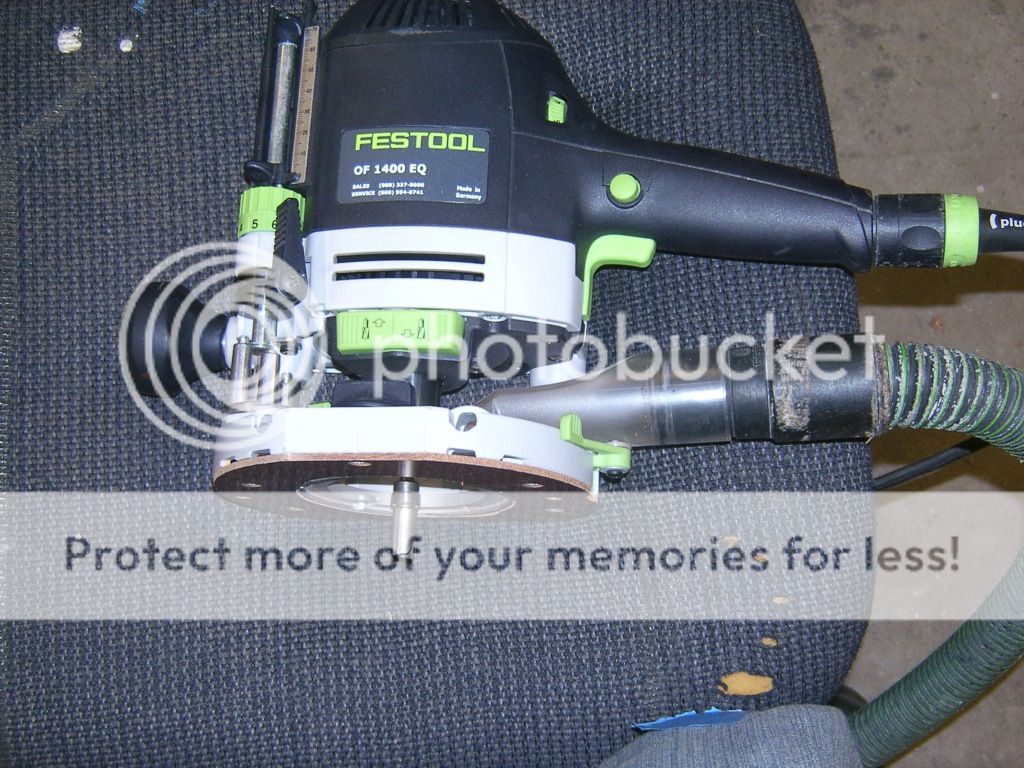
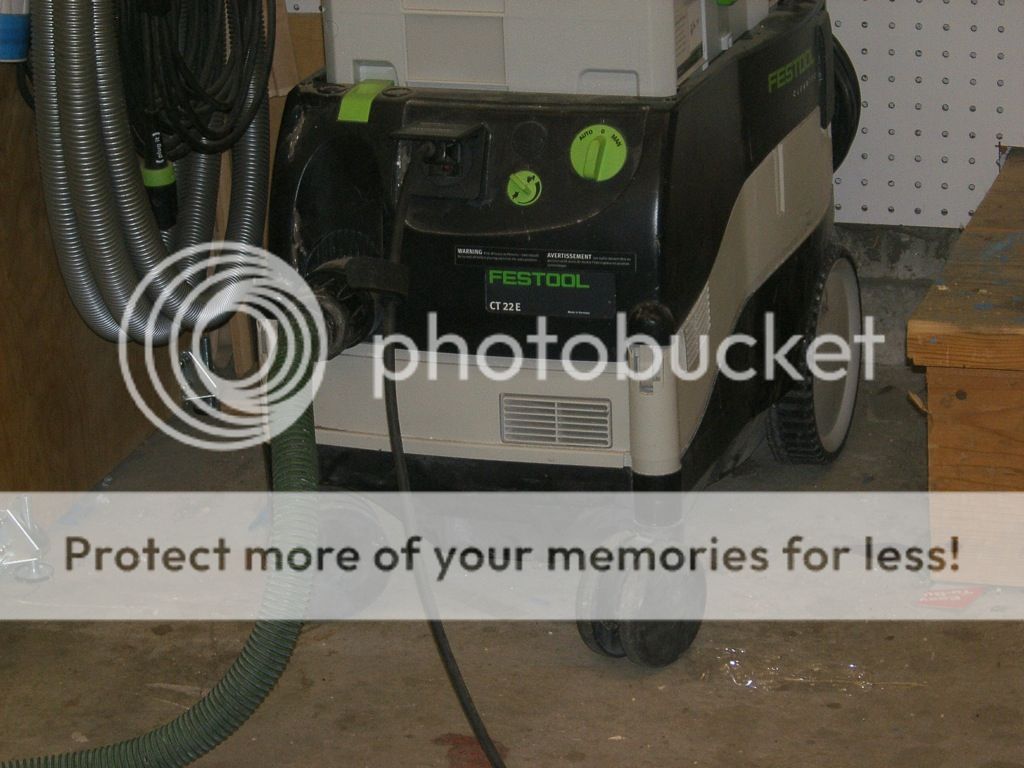
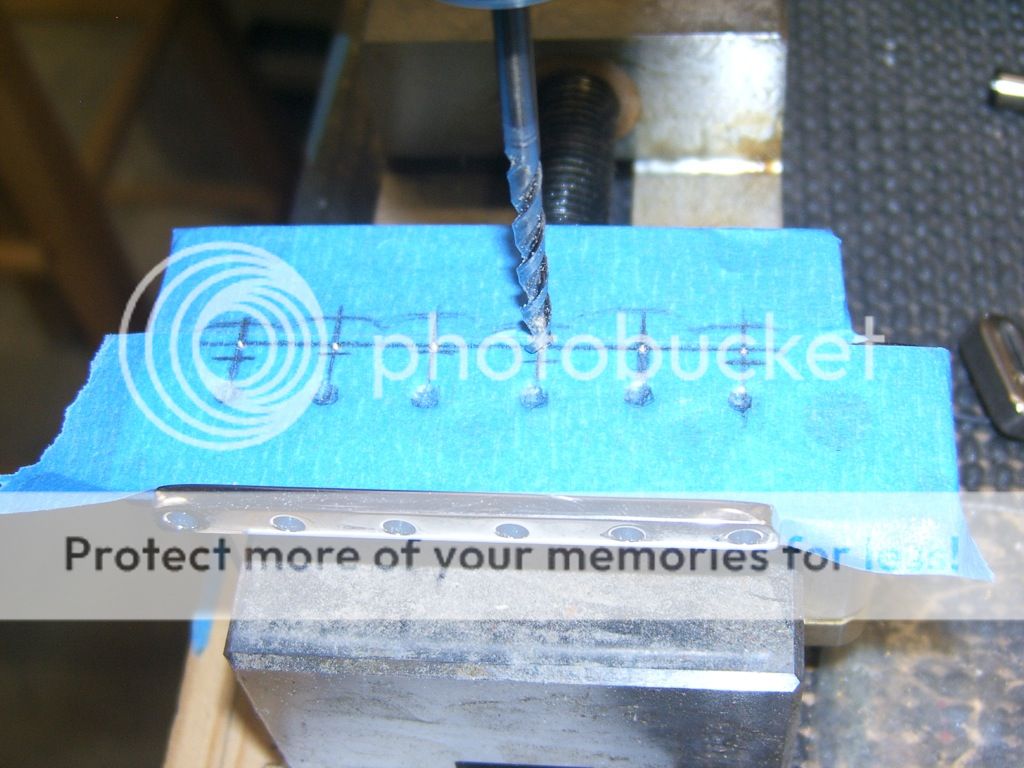
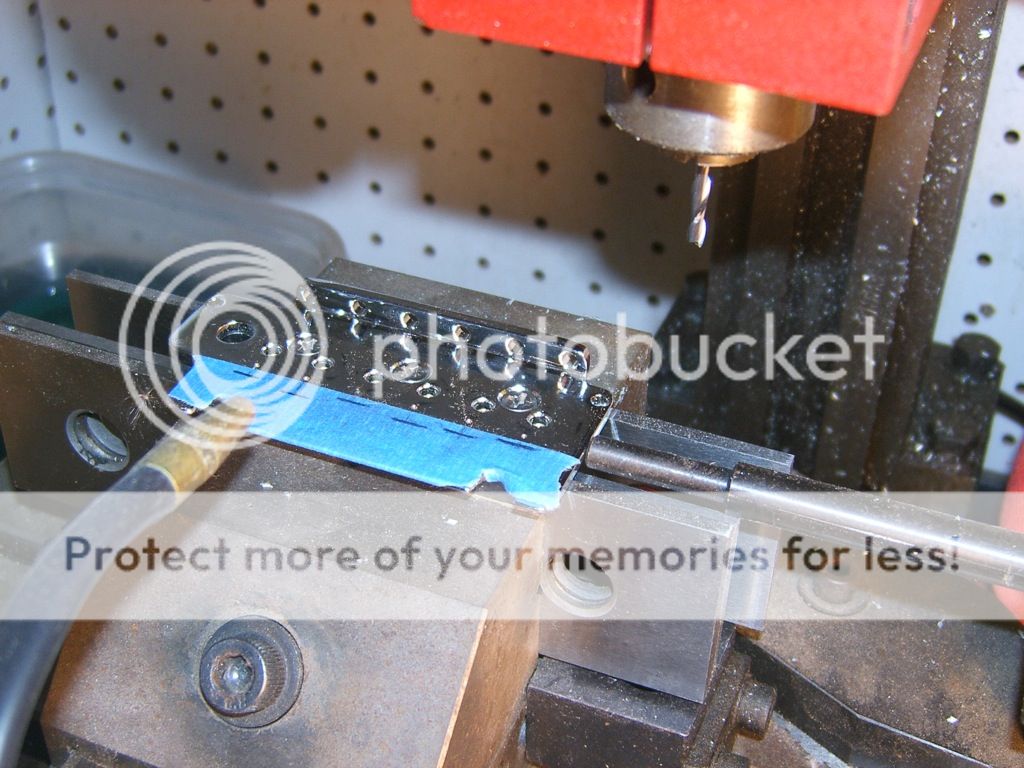
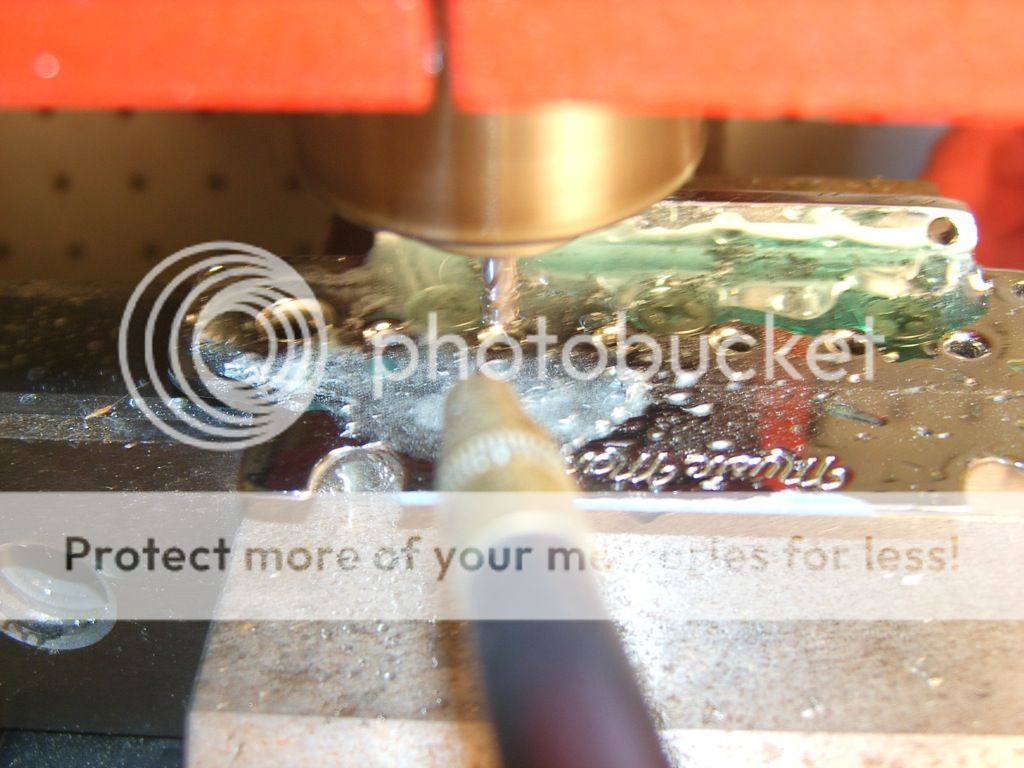
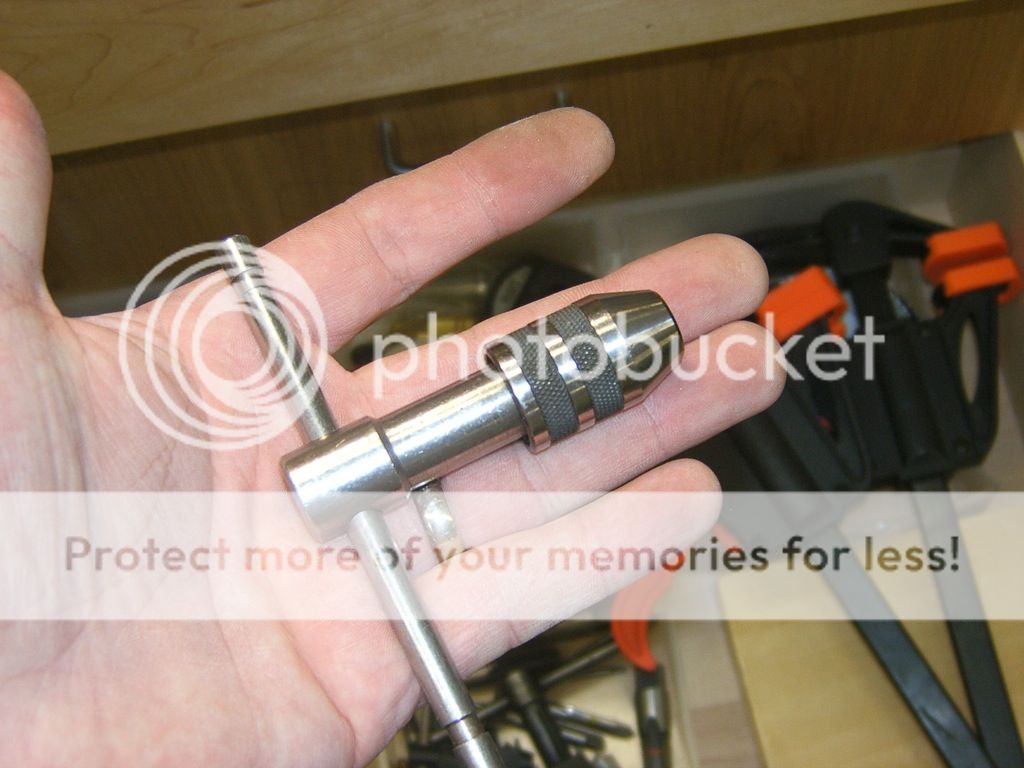
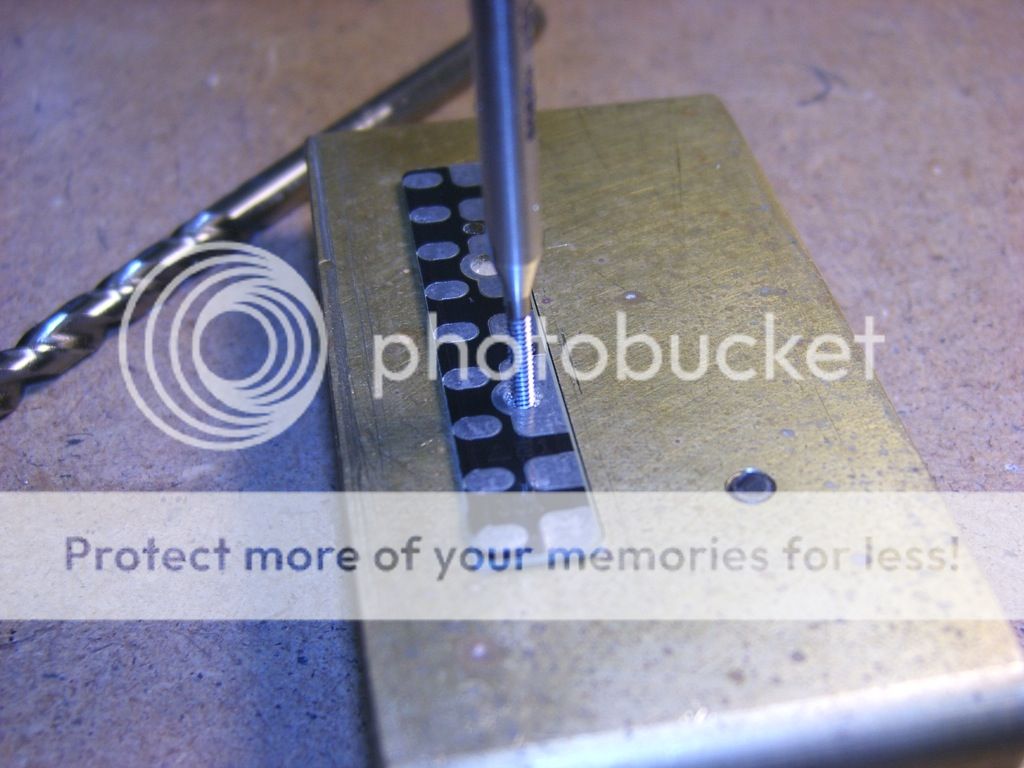
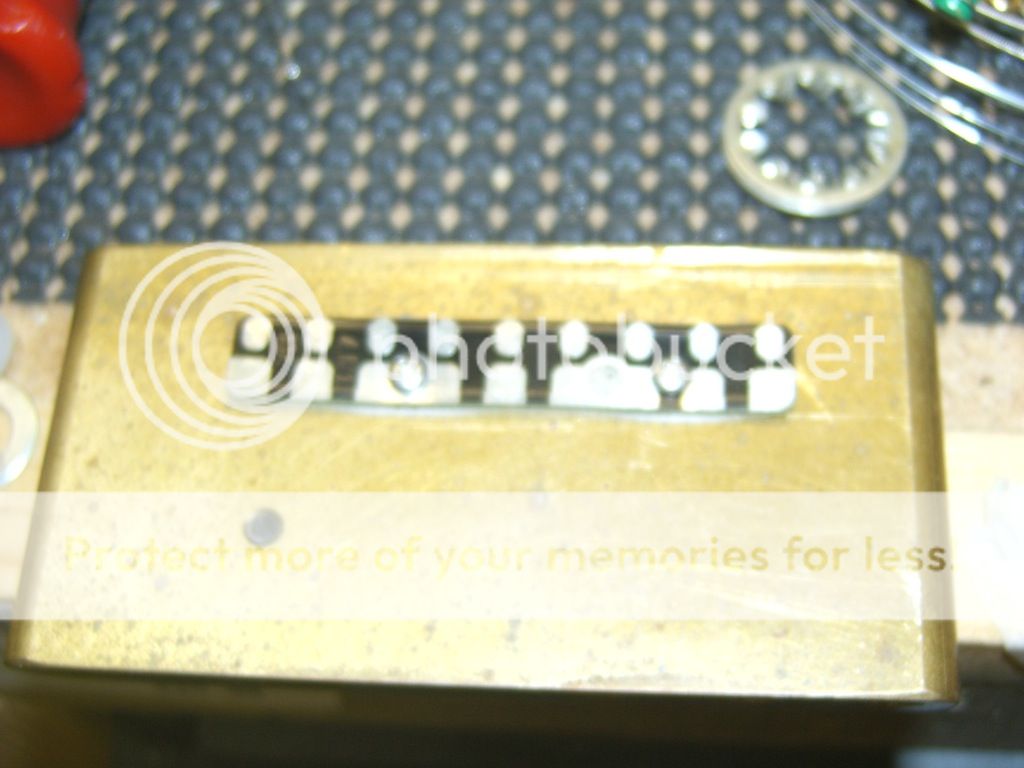
I envisioned a way to drill (I now know the proper term is actually mill) the saddles to allow one of the popular piezo transducers to fit in it. I'll spare you all the details, but I ended up dropping about $2000 into a CNC milling machine and the necessary tooling to machine saddles to accept piezos.
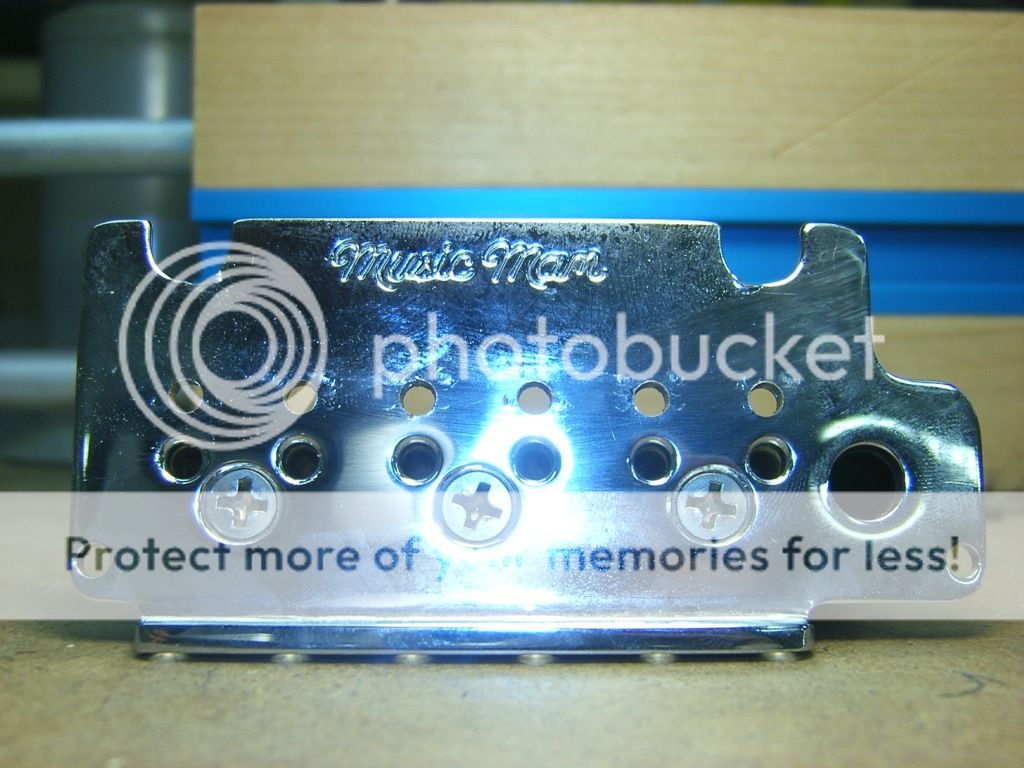
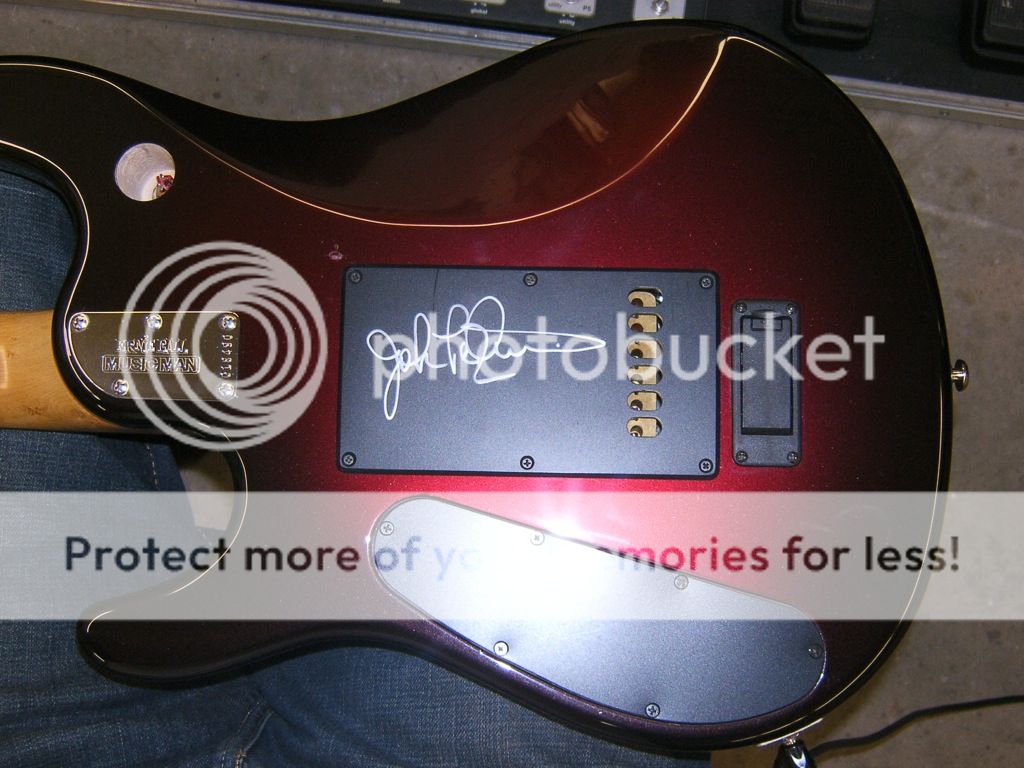
Without further adieu I give you the EBMM JP Piezo Mod, by shotgunn. FWIW I did actually use EBMM Fishman loaded saddles. Simply because they exist and are available. Here is my picstory... Get ready it's a LOOOONG one...
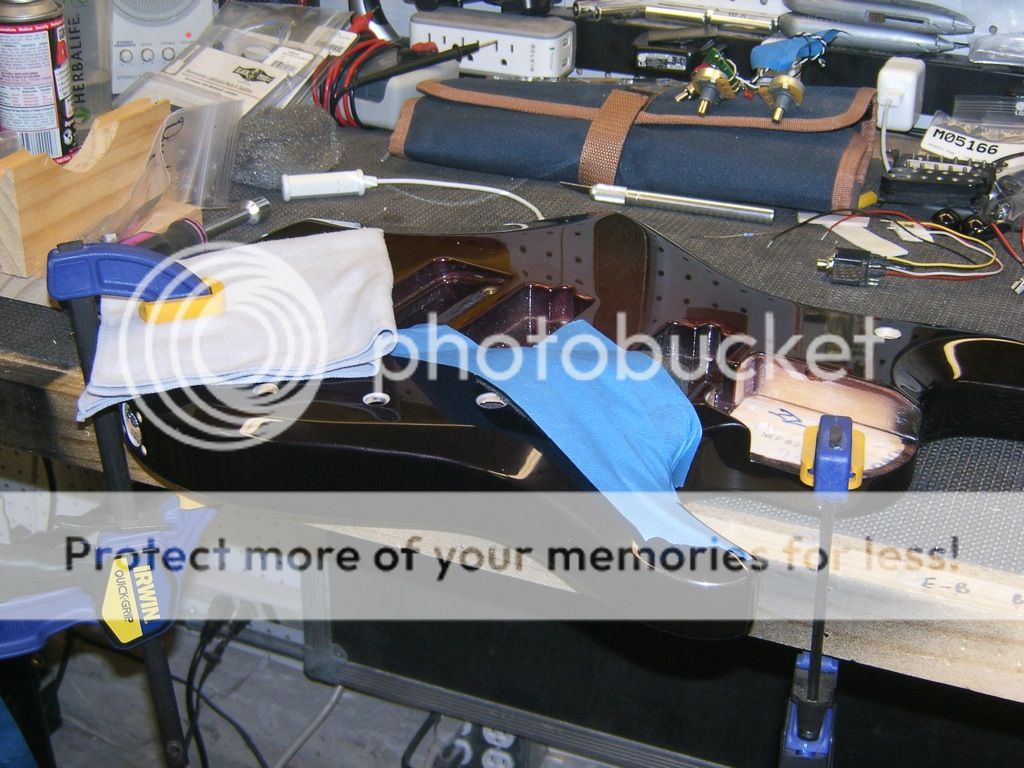
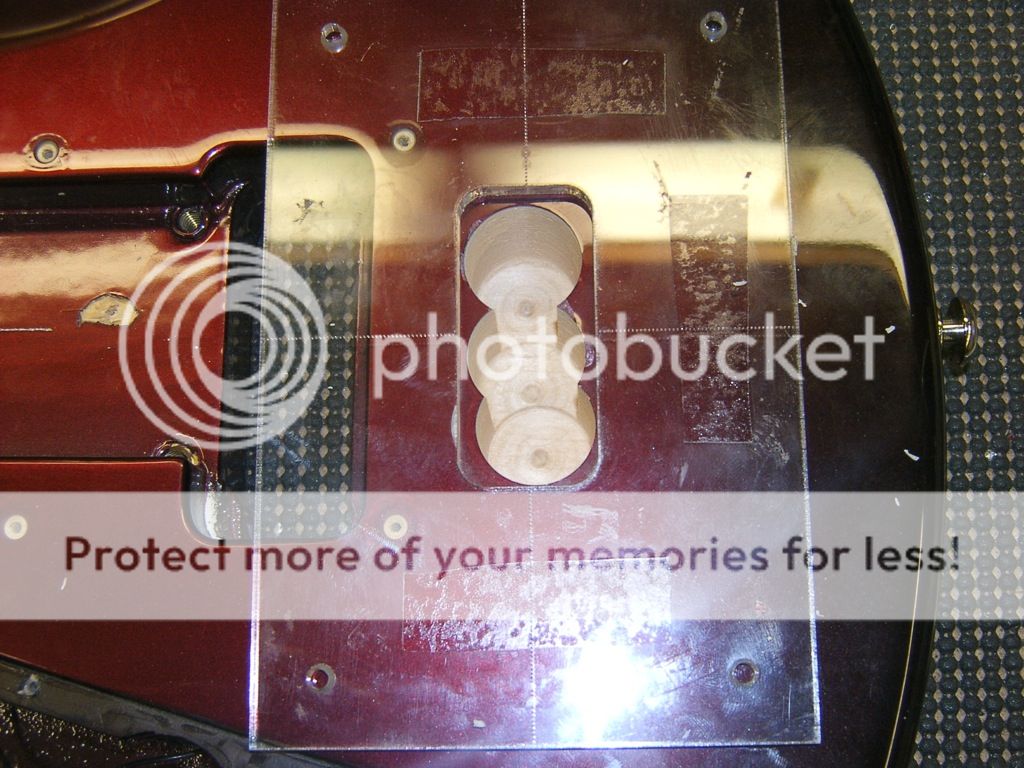
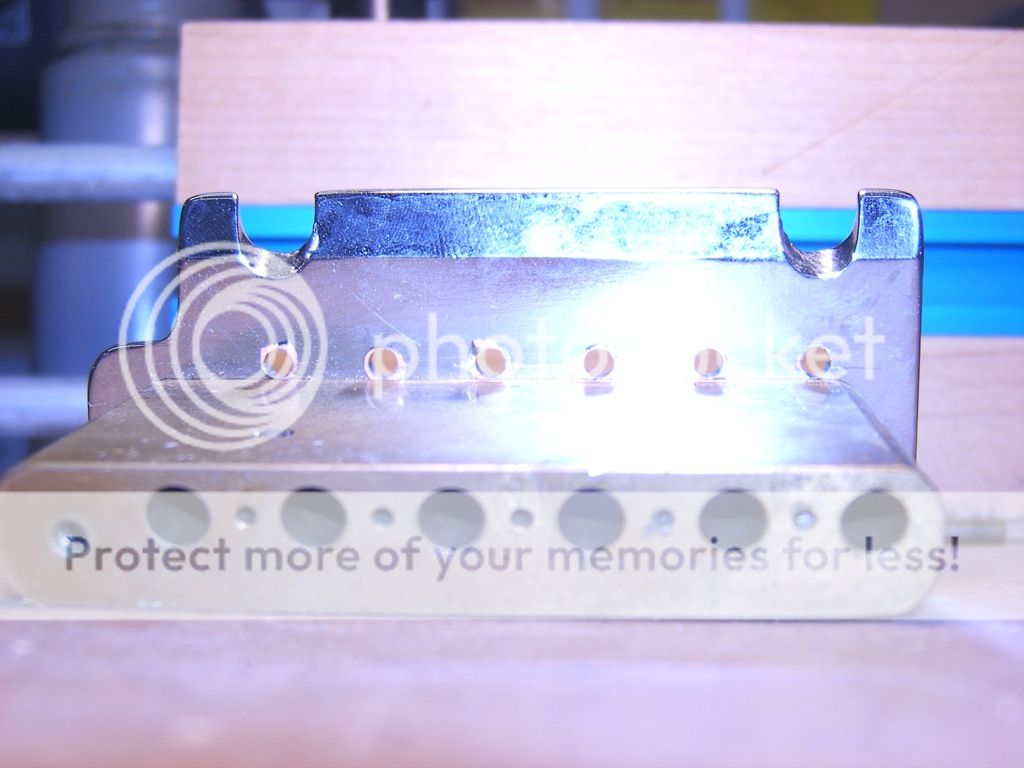
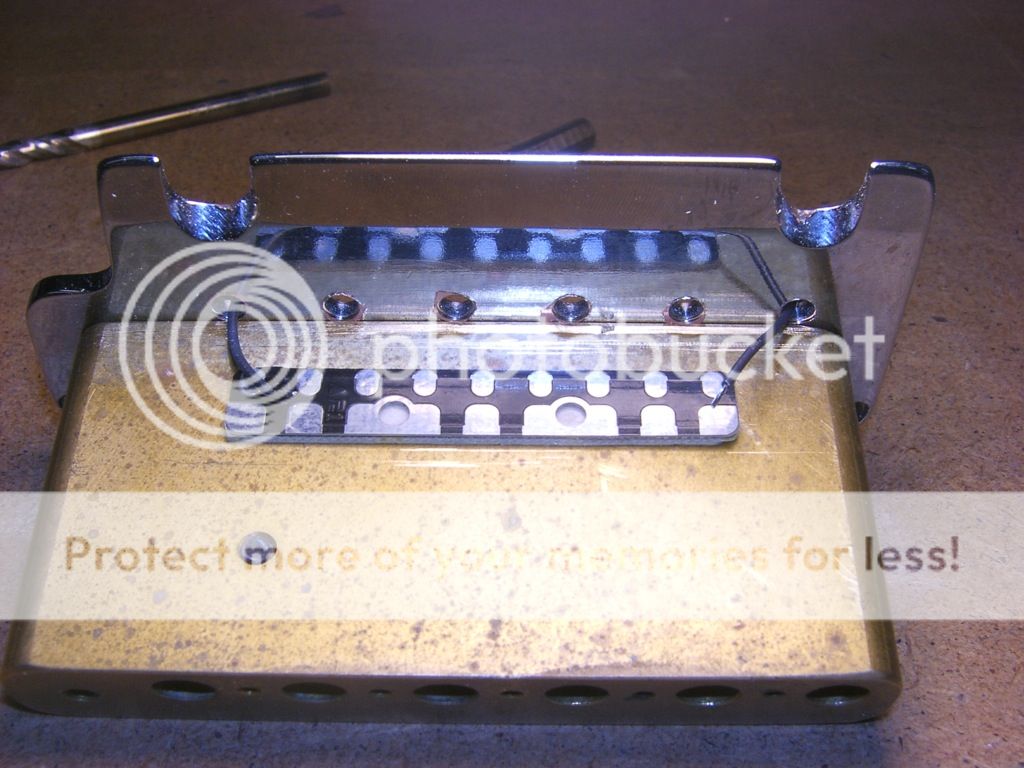
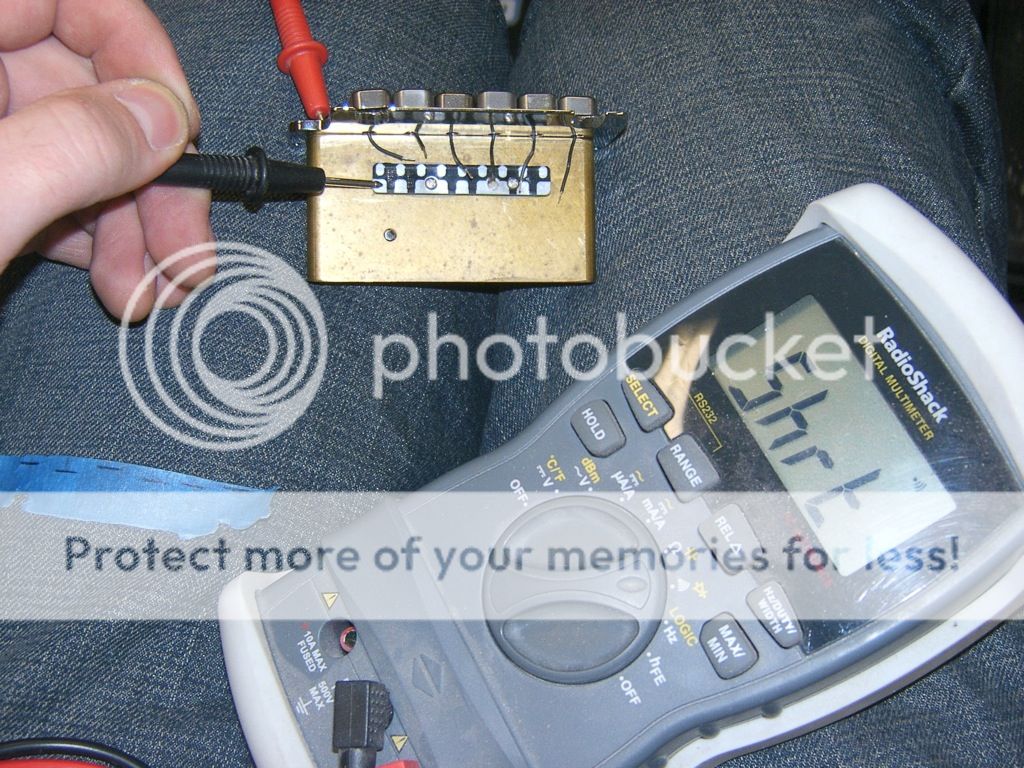
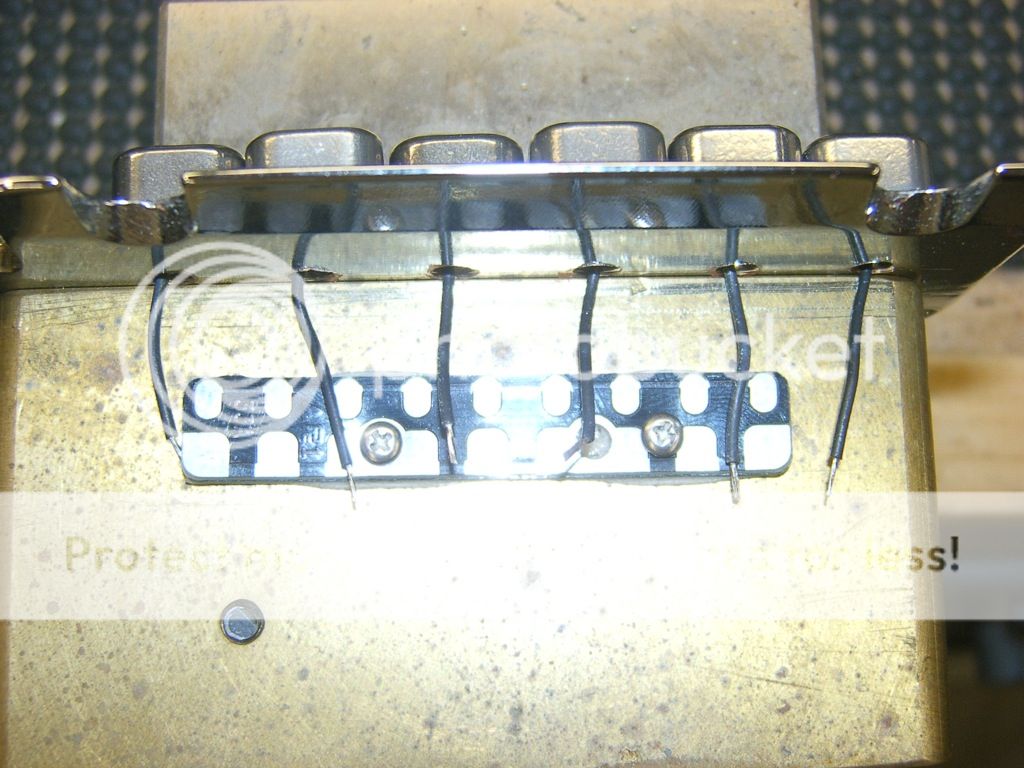
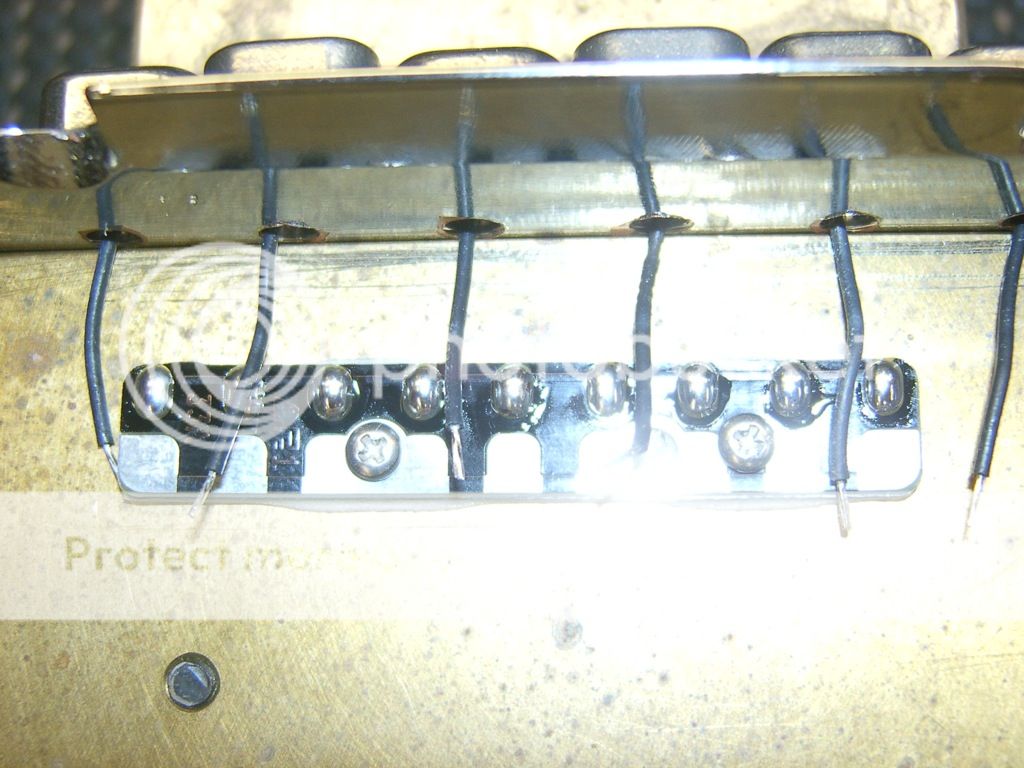
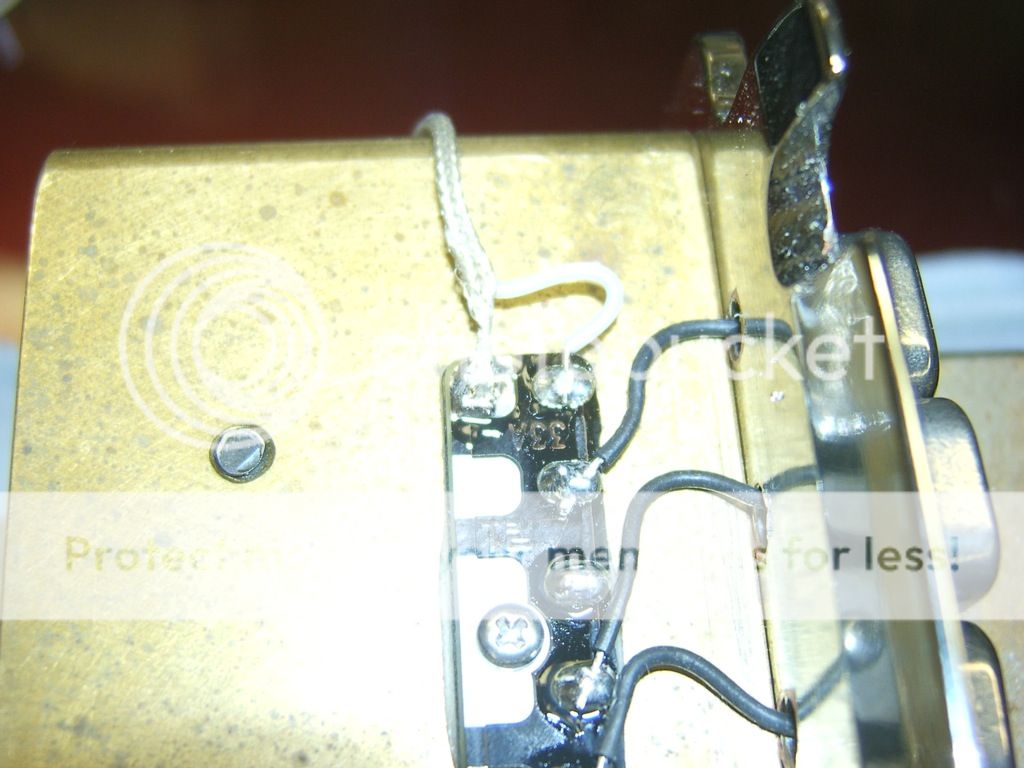
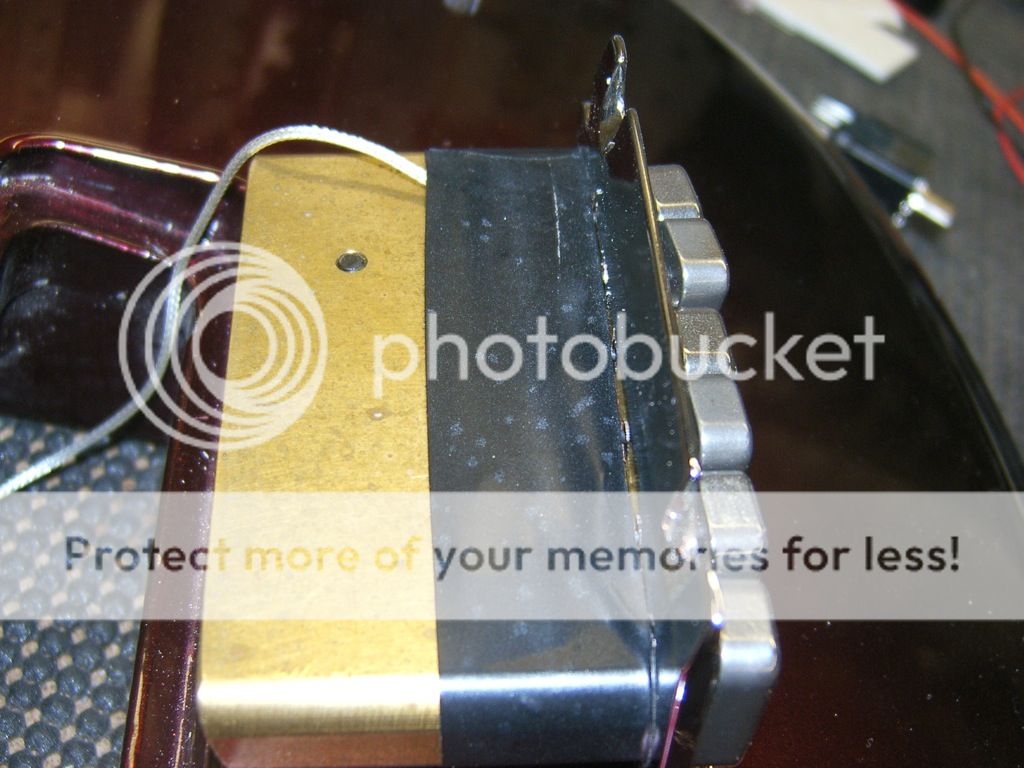
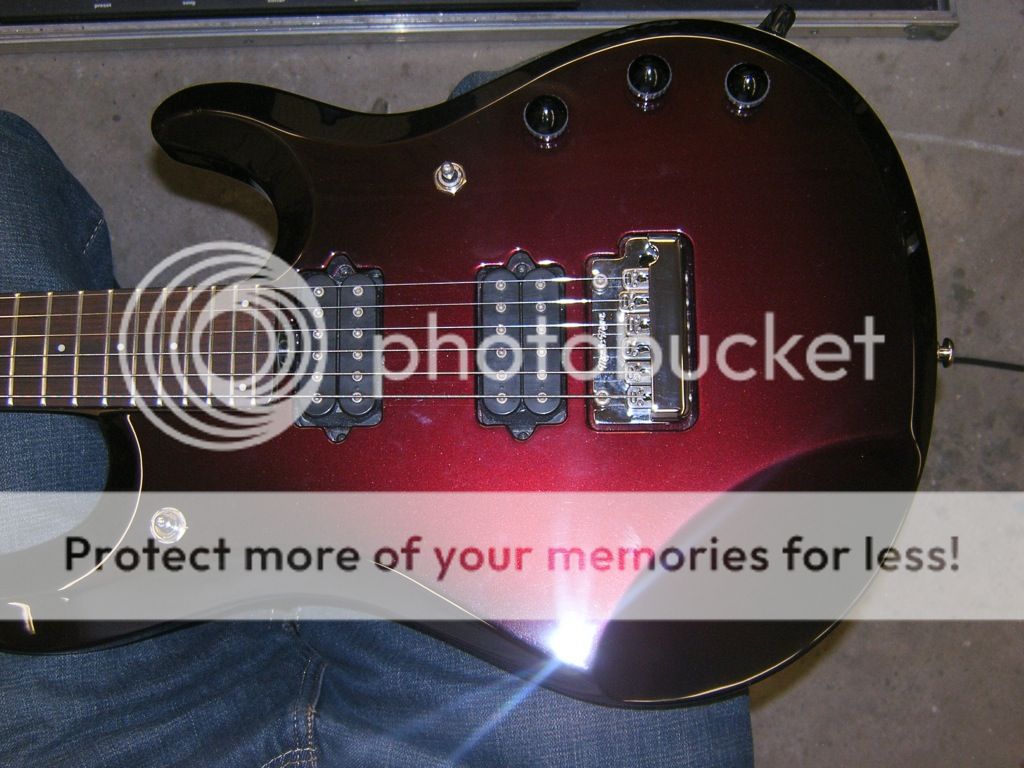
Strings and bridge removed...
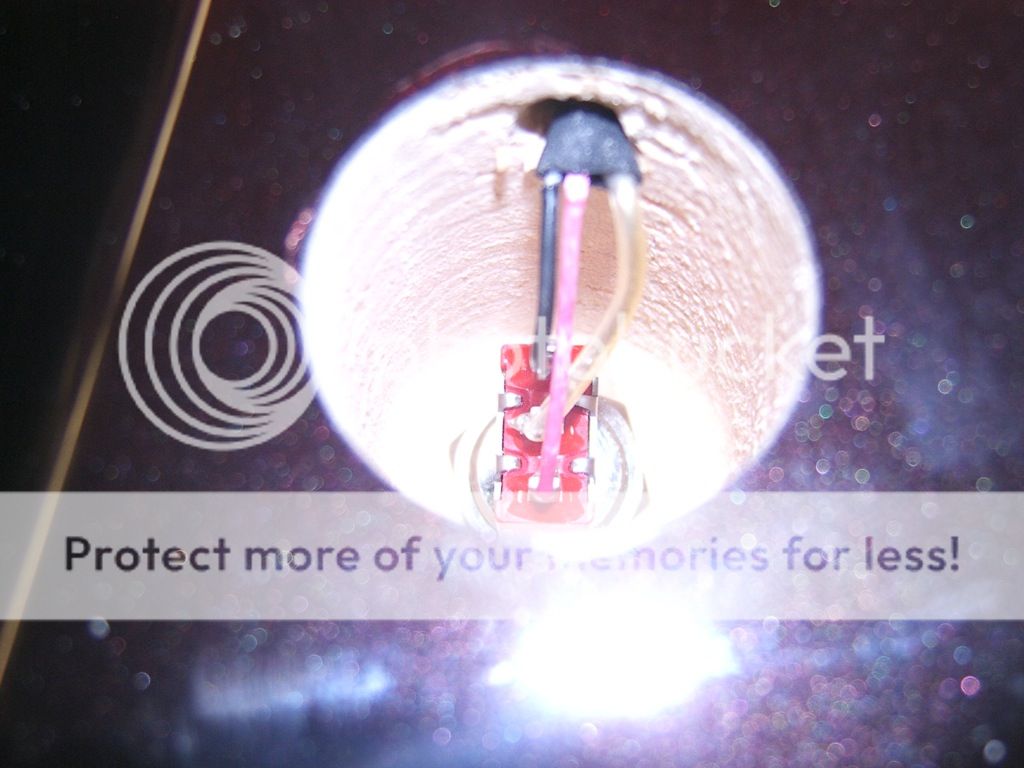
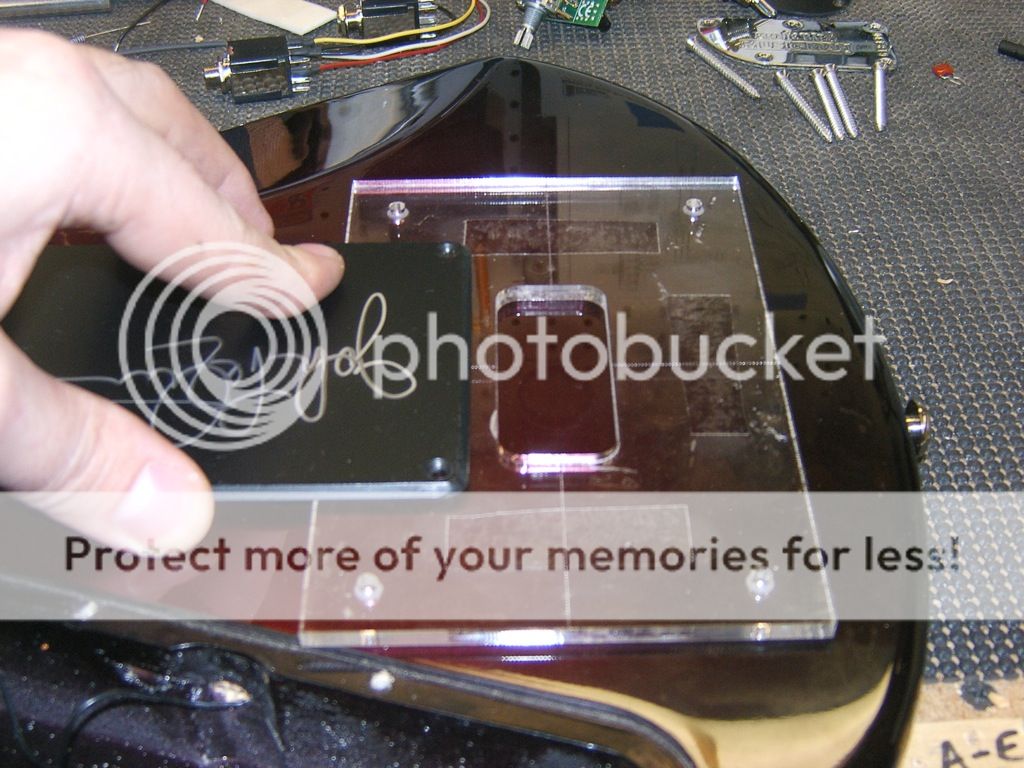
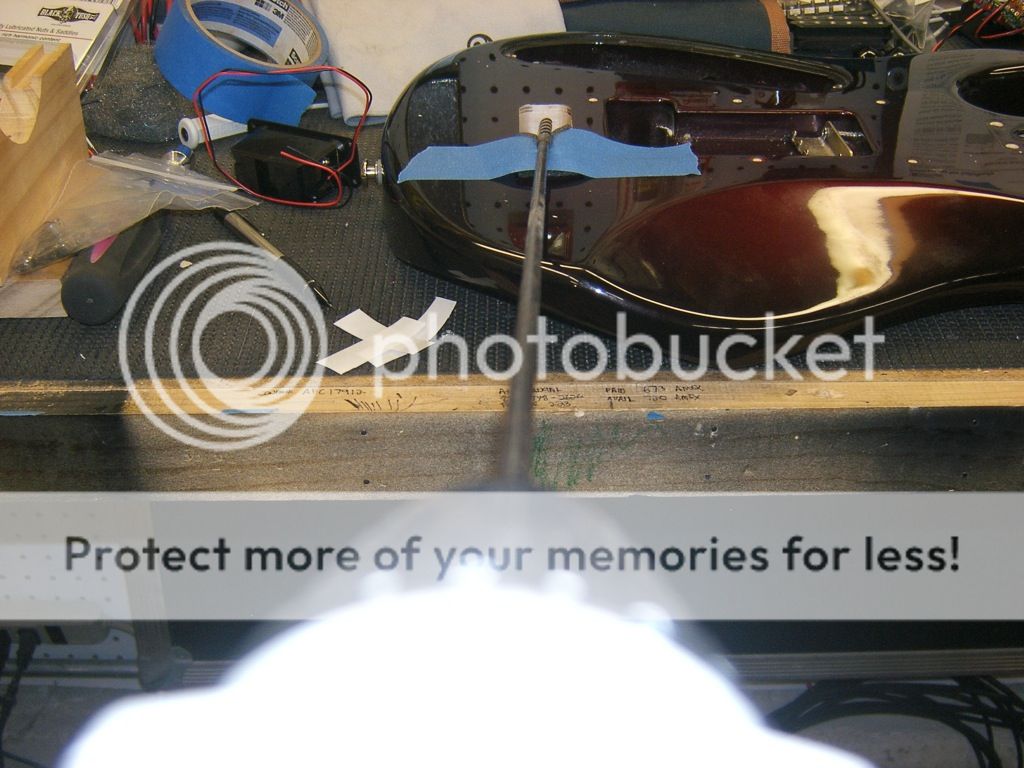
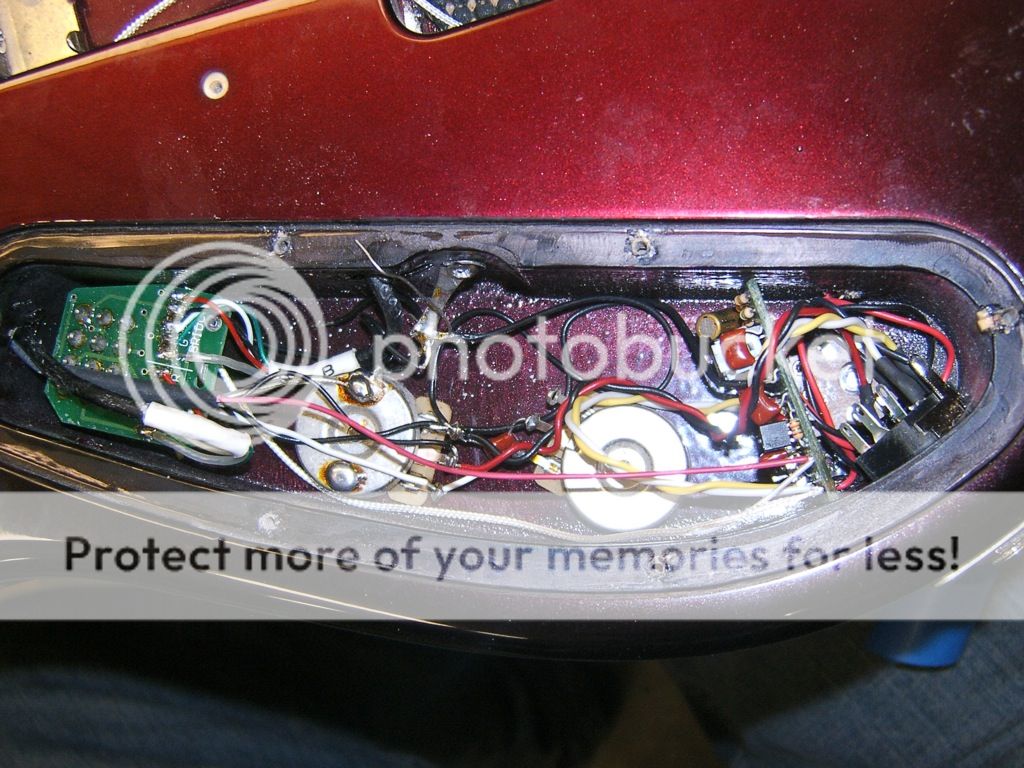
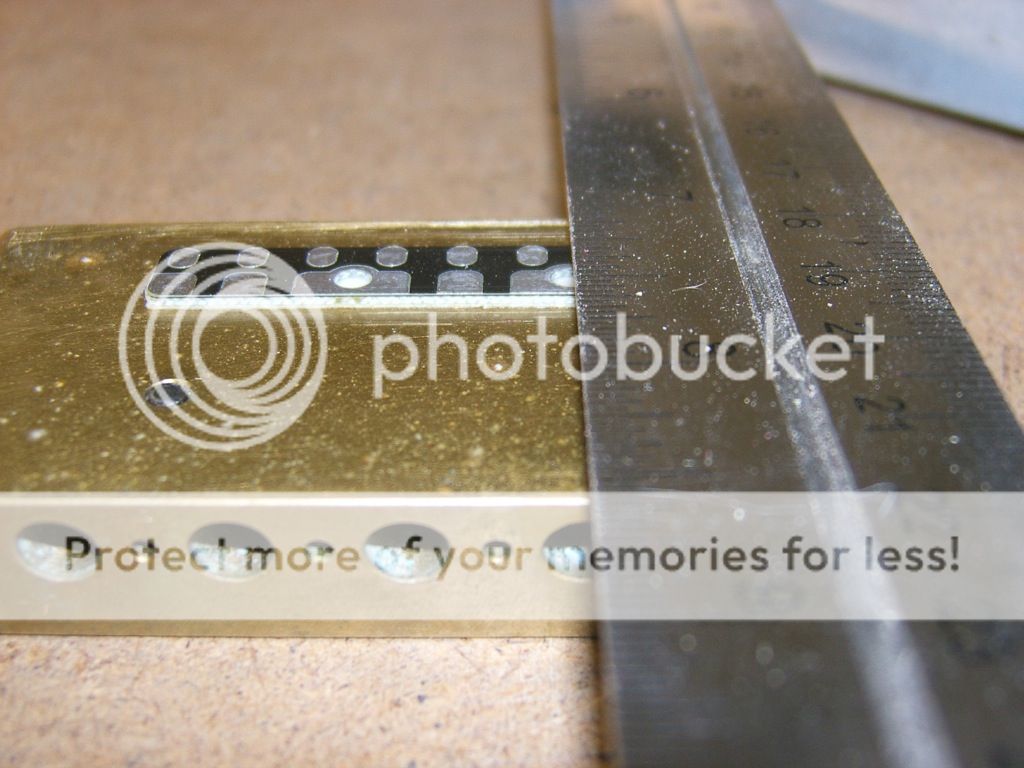
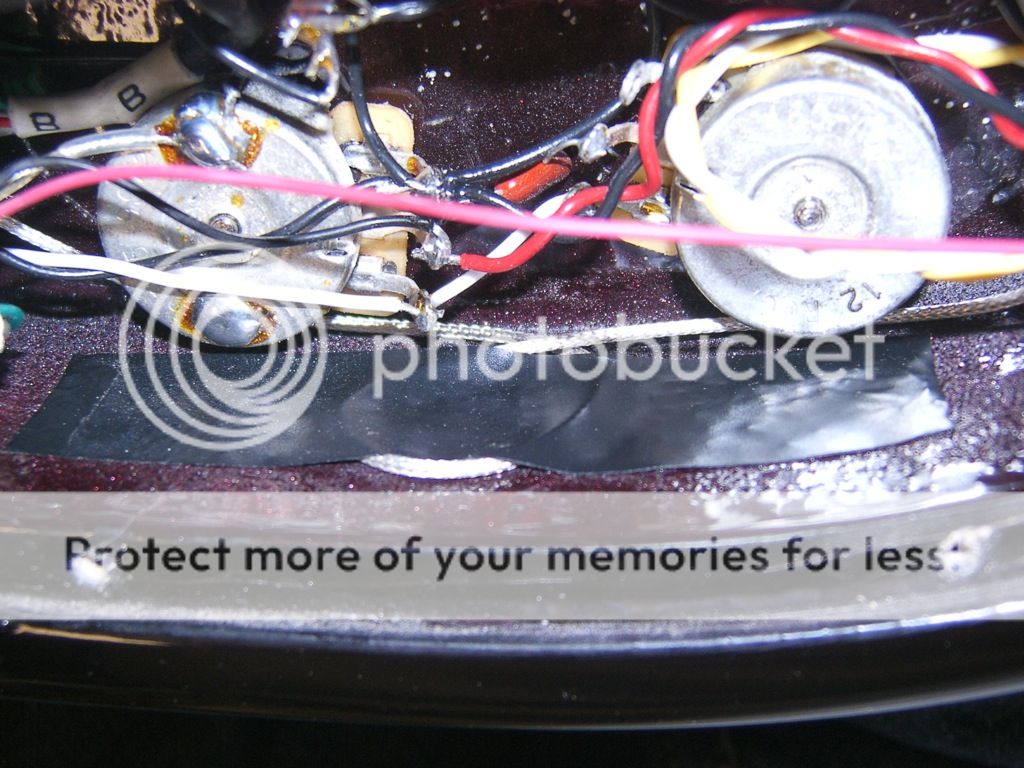
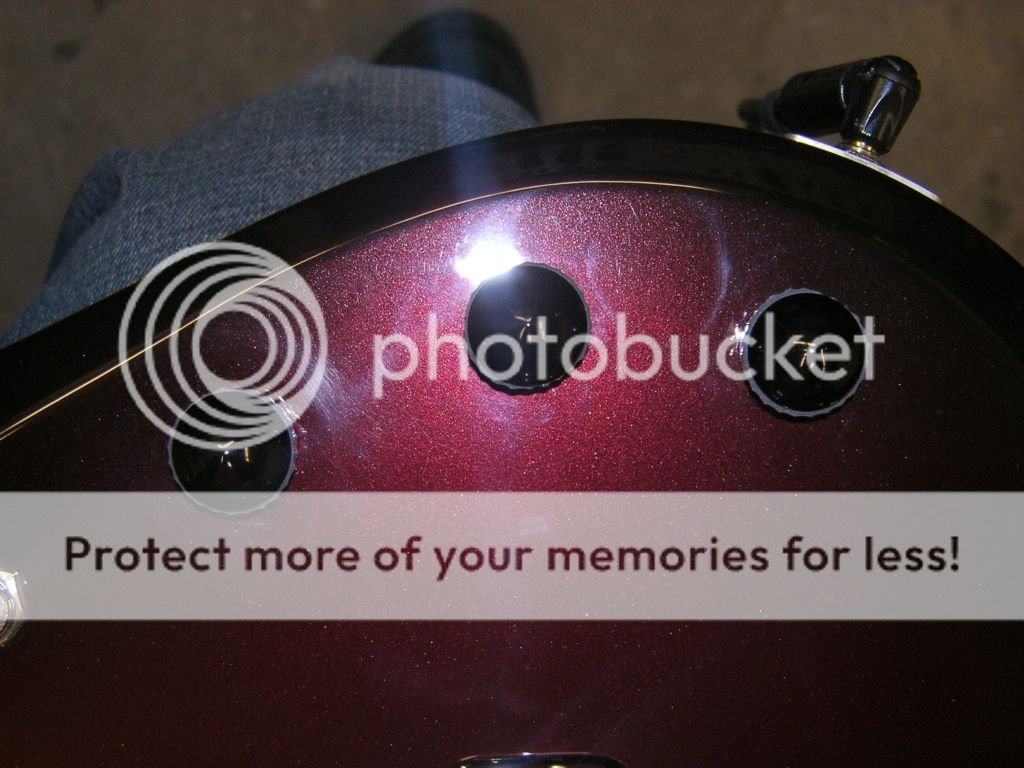
Plotting location for piezo volume... I had to move it slightly closer to the tone control than I wanted simply due to the size of the Control-X's PCB...
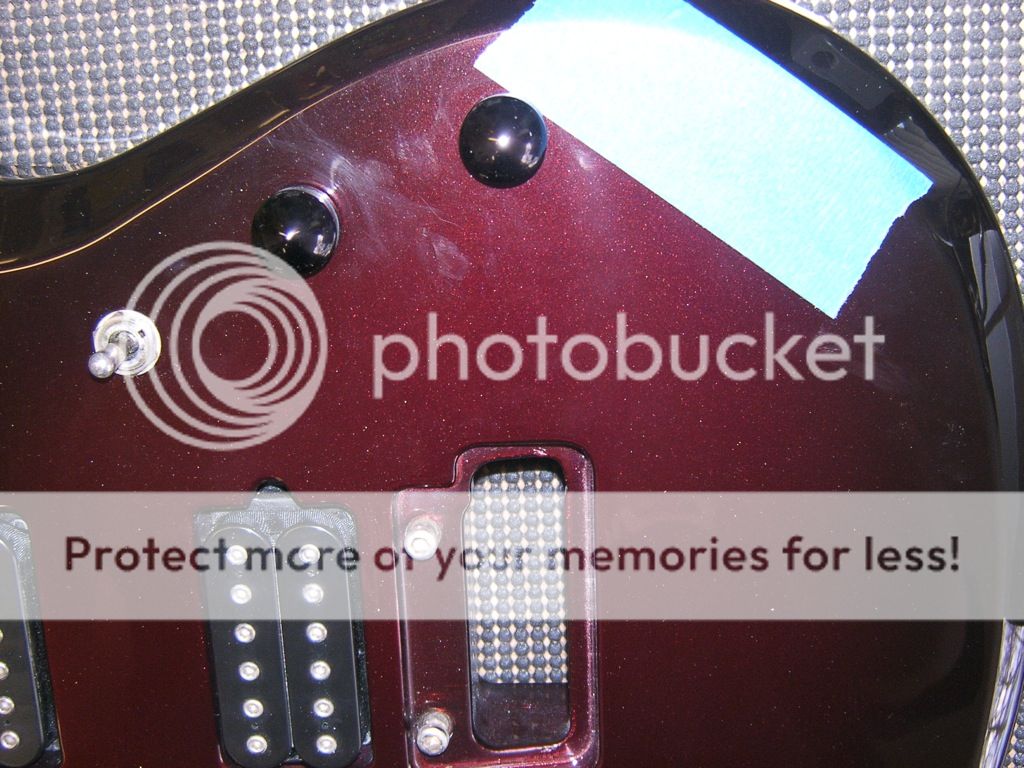
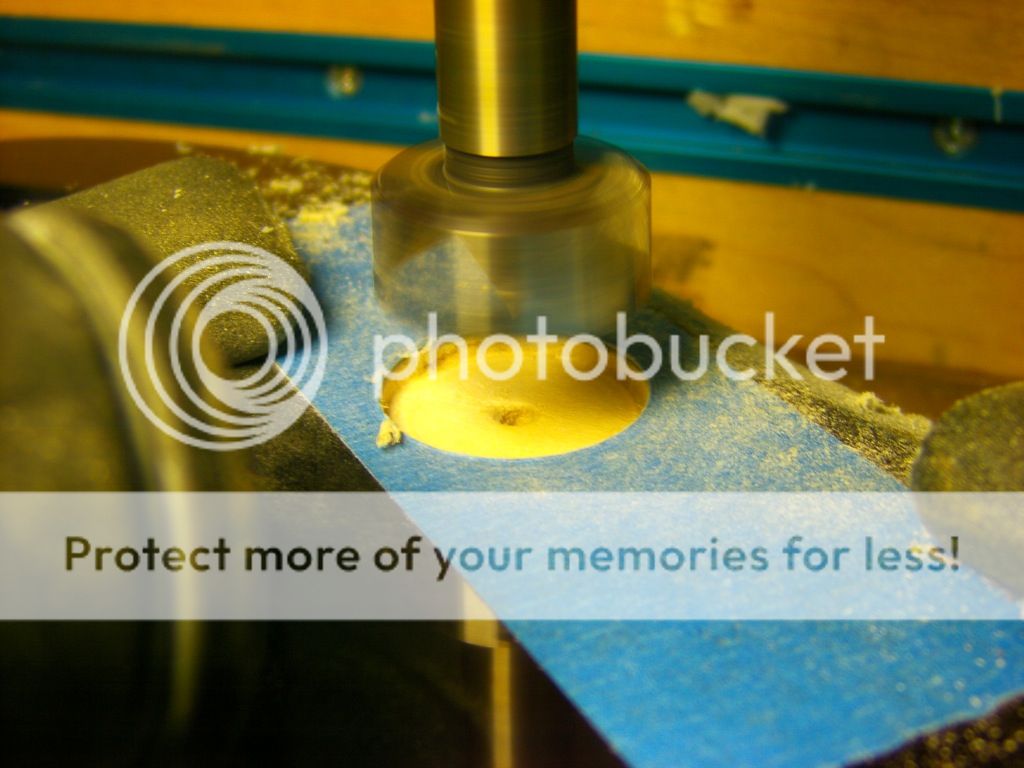
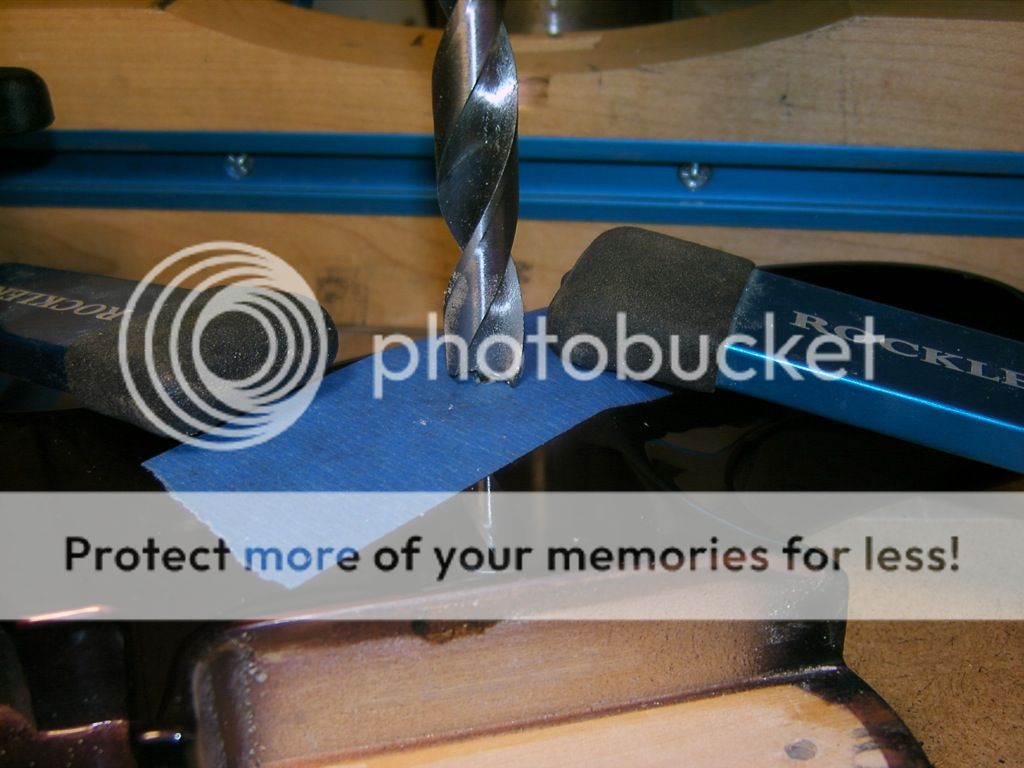
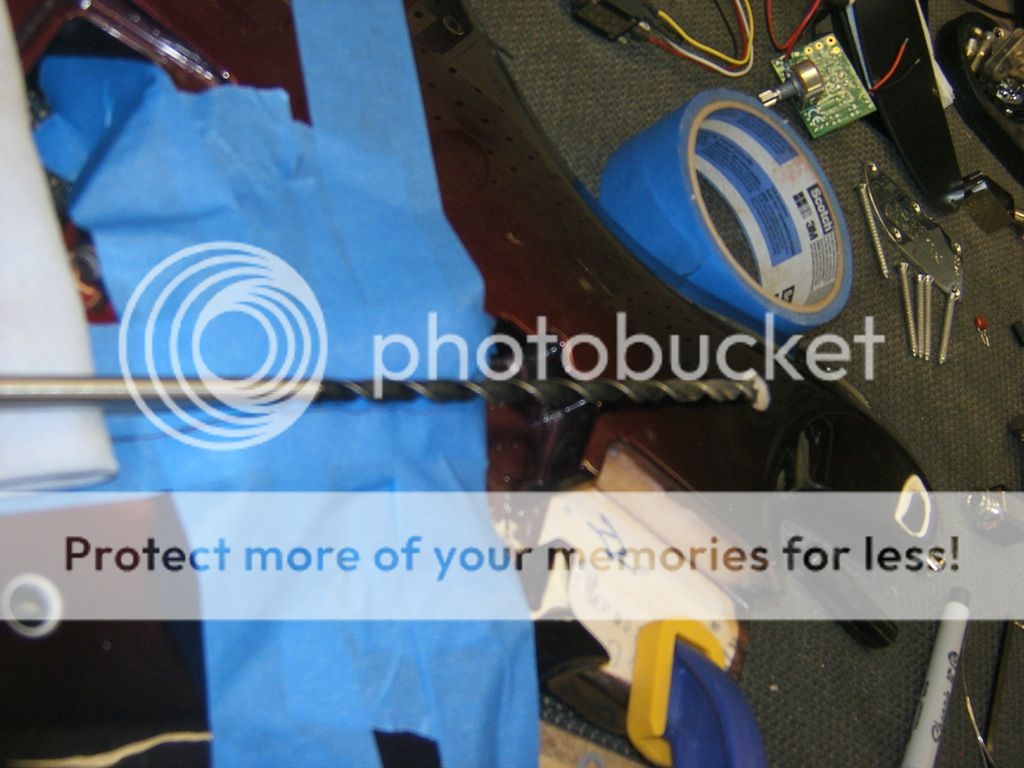
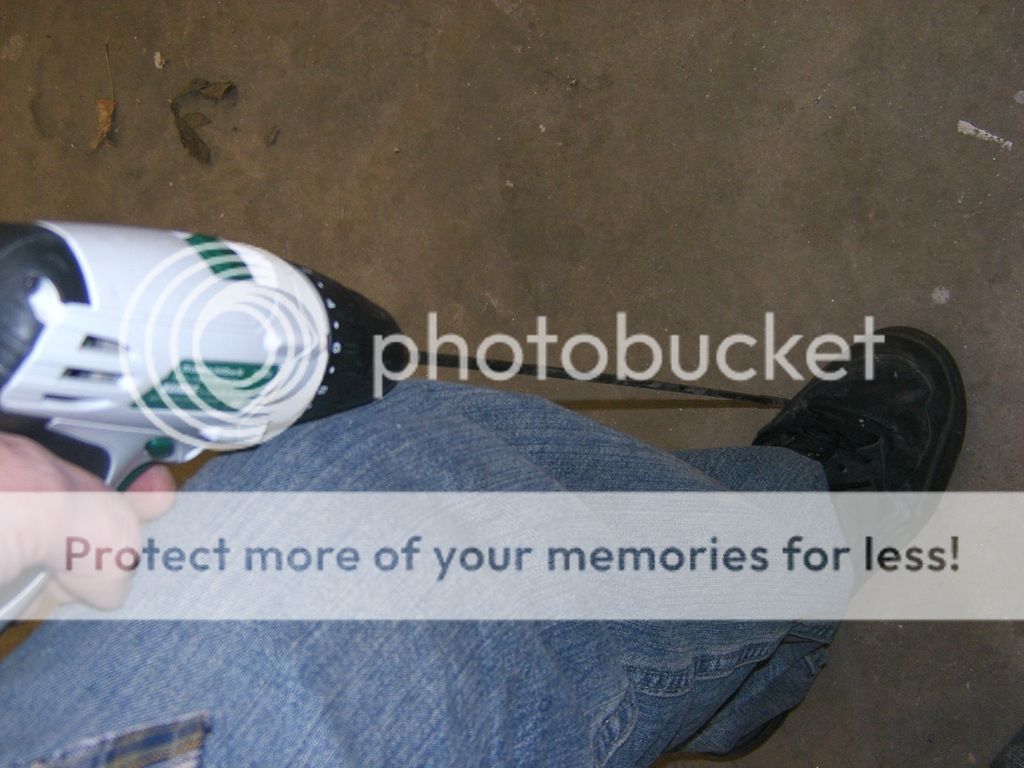
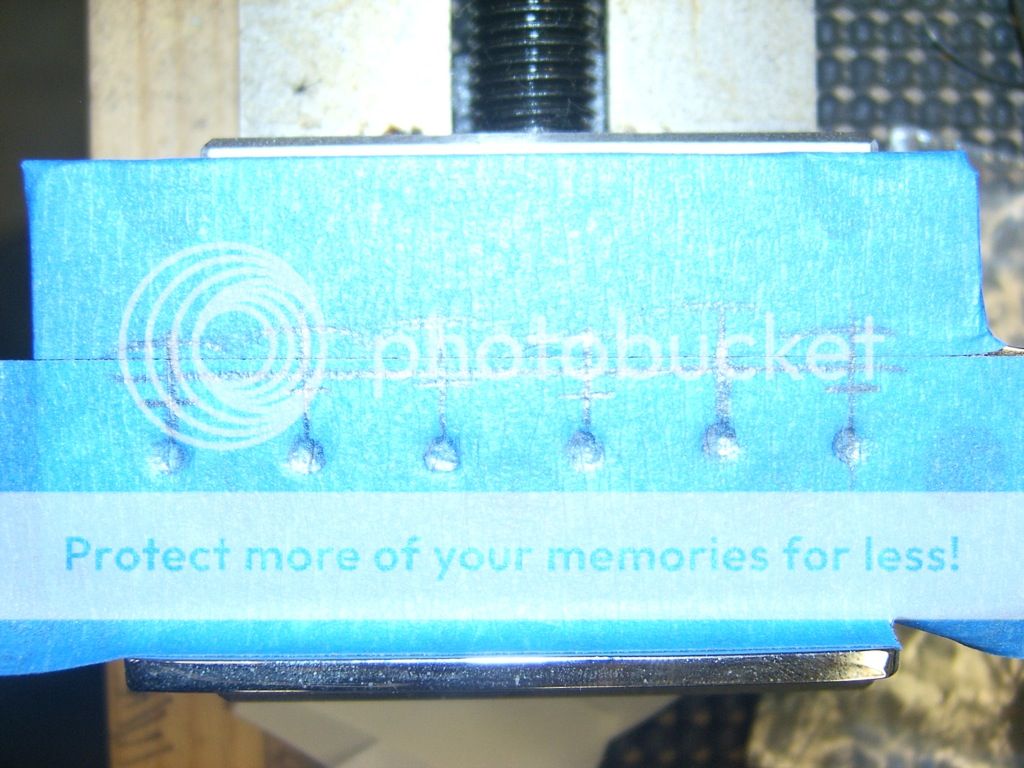
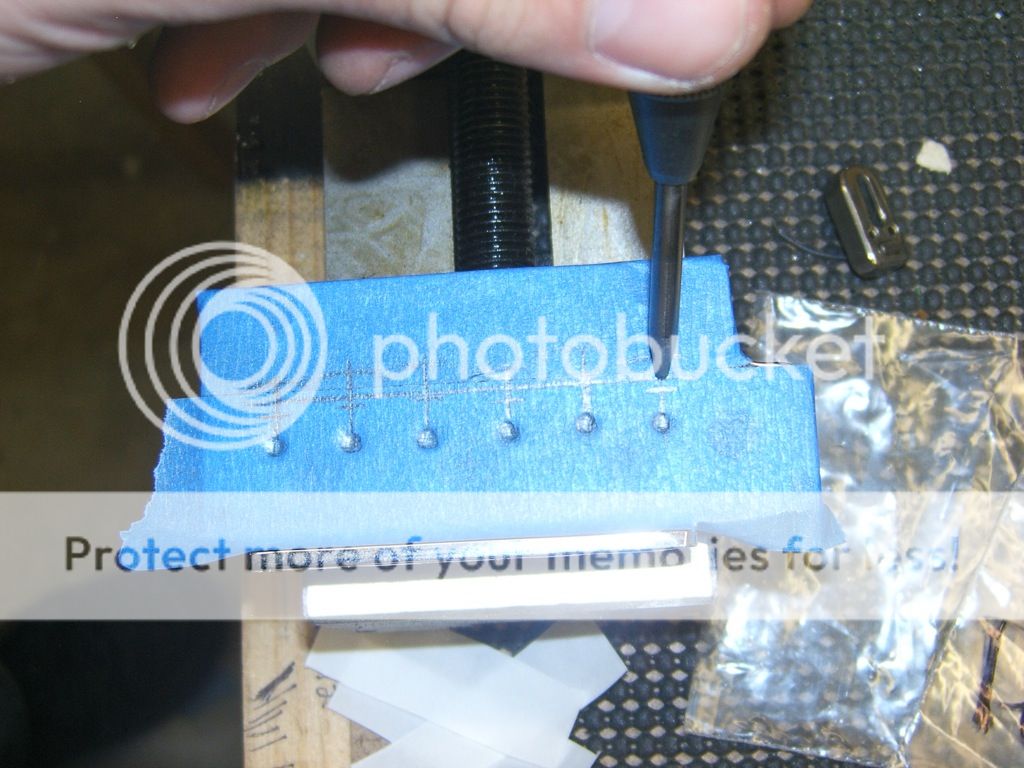
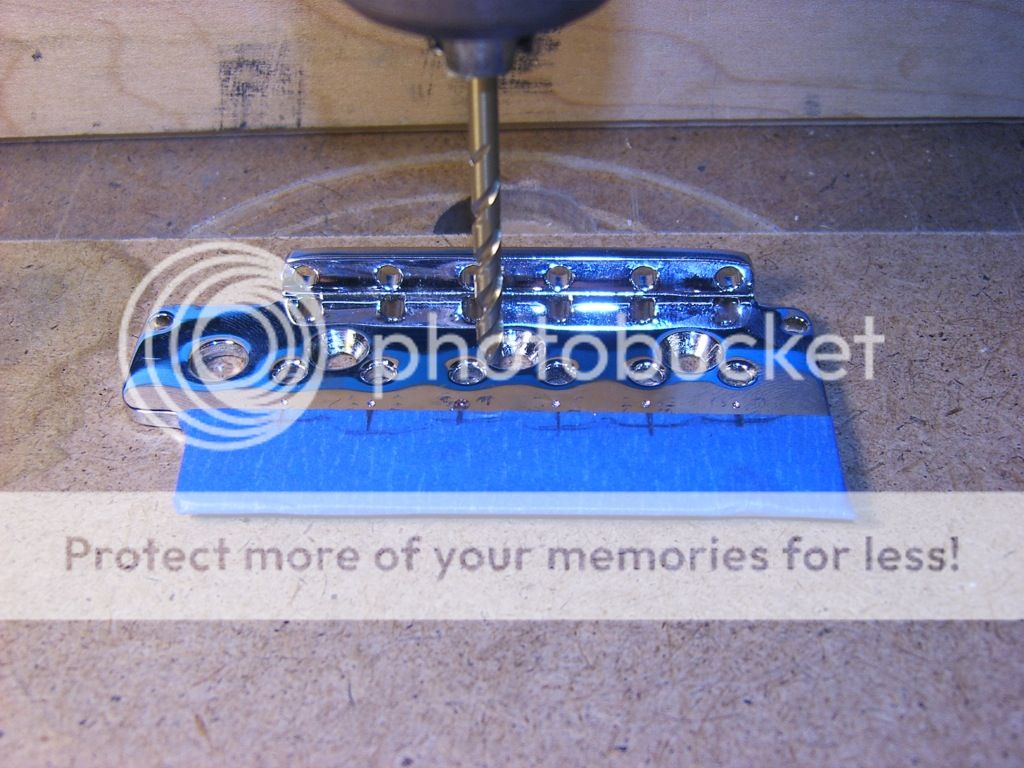
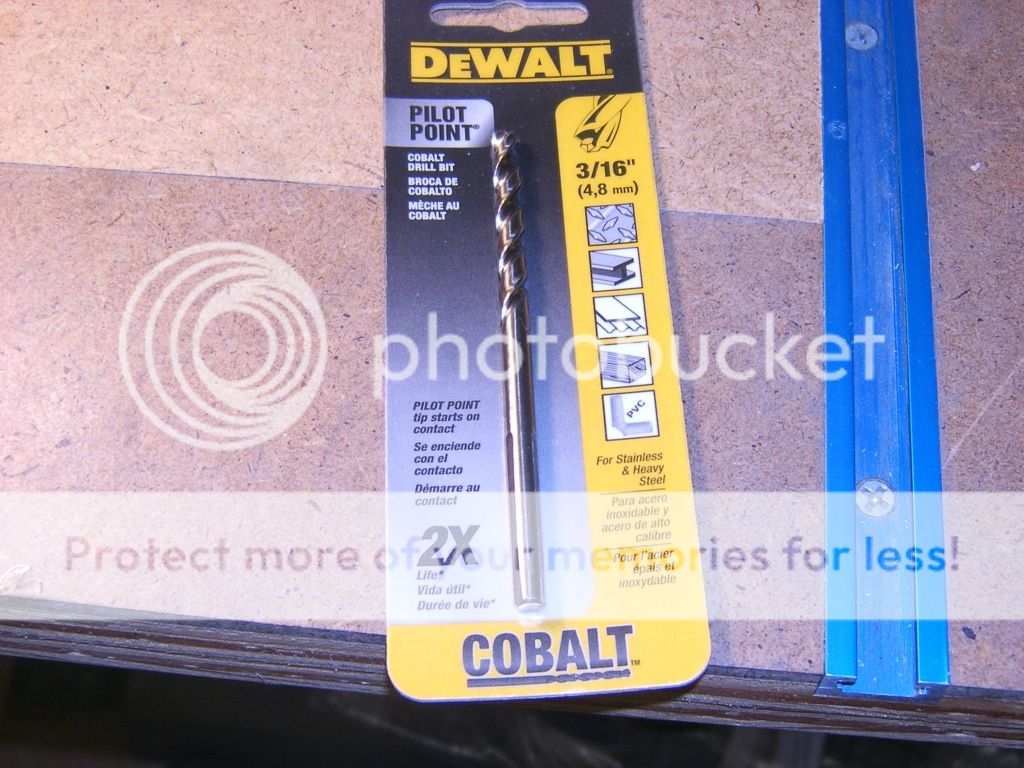
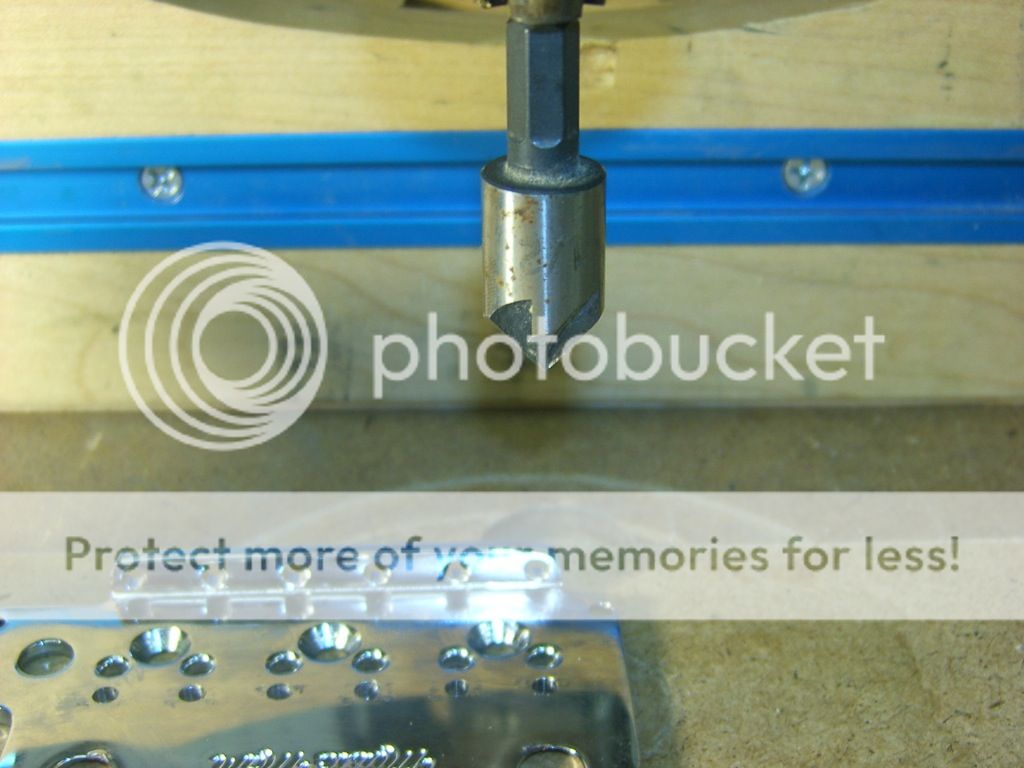
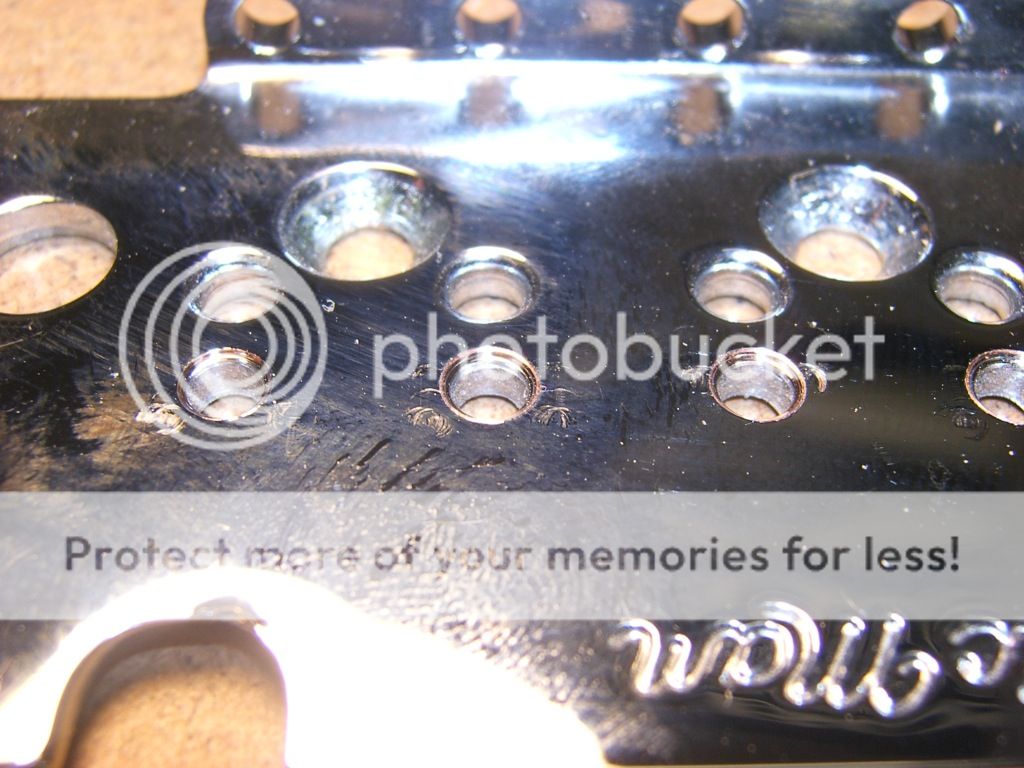
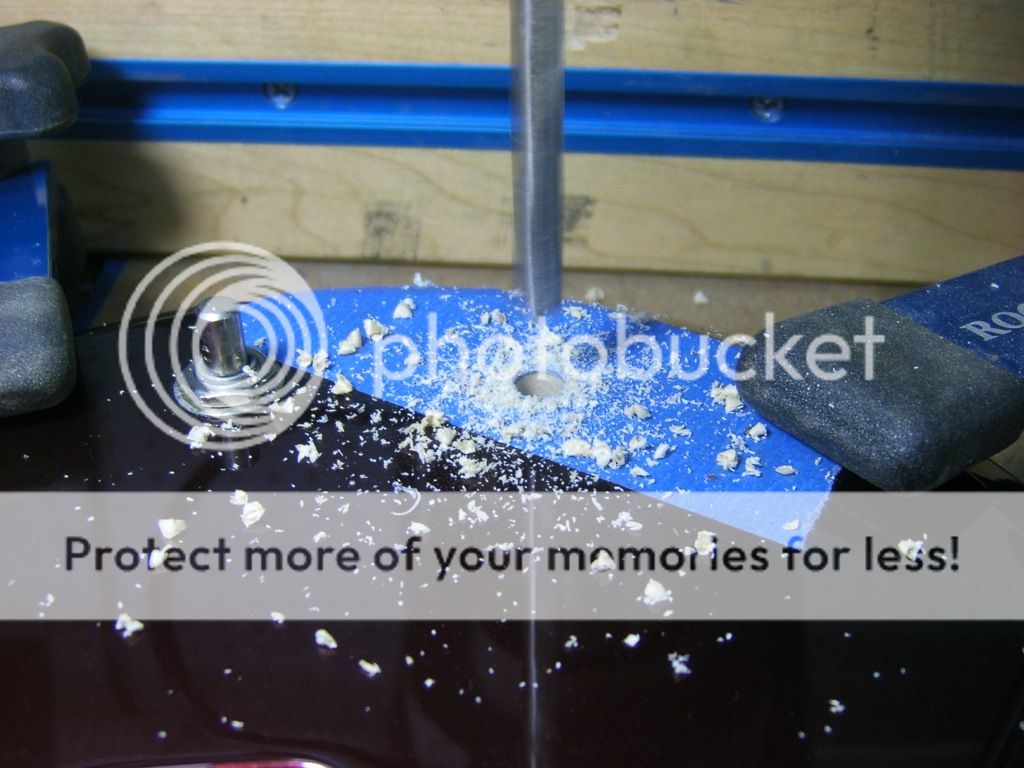
Starting the first hole. Blue painters tape works WONDERS in preventing the brittle finish from chipping like crazy...
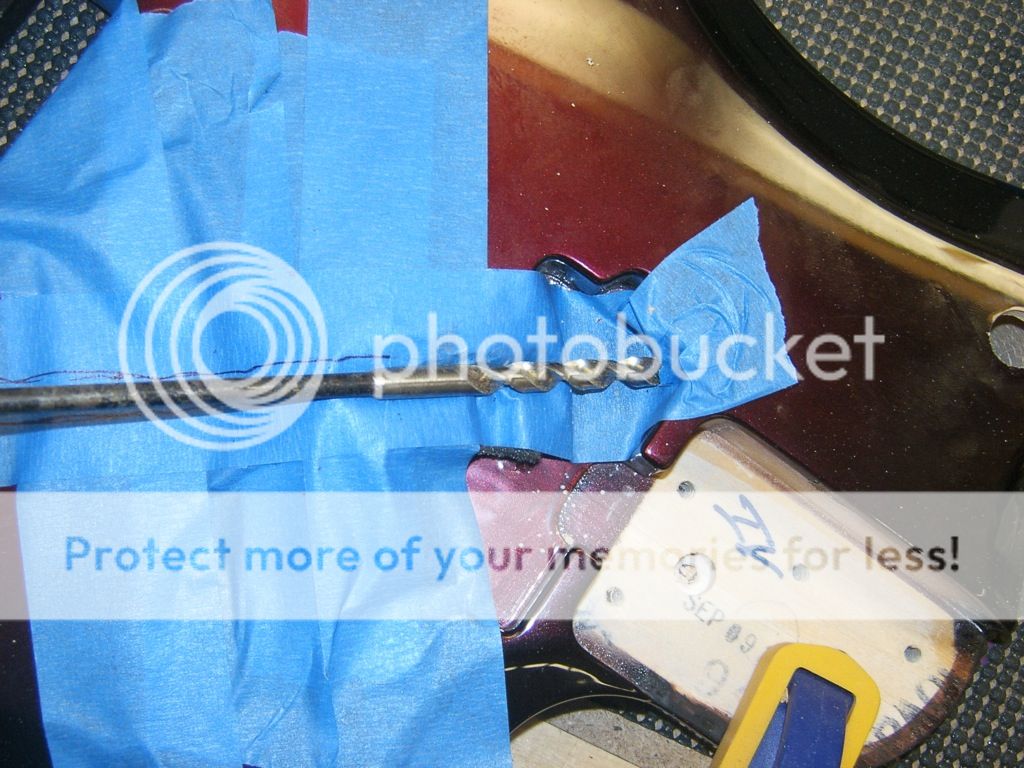
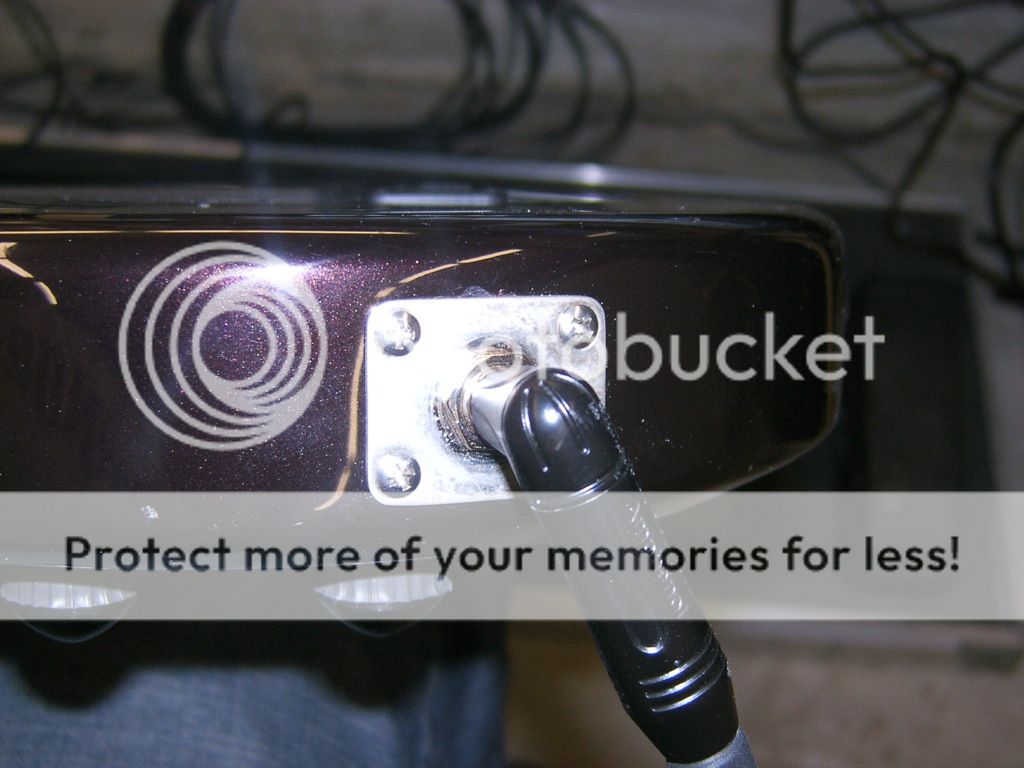
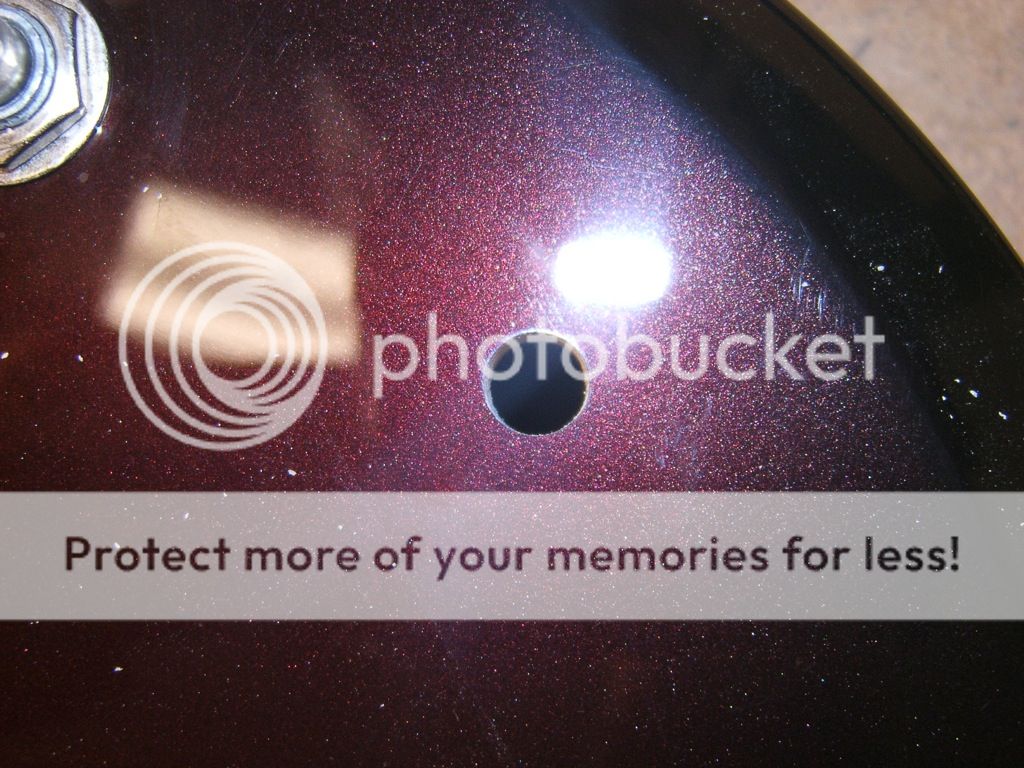
Clean as a whistle...
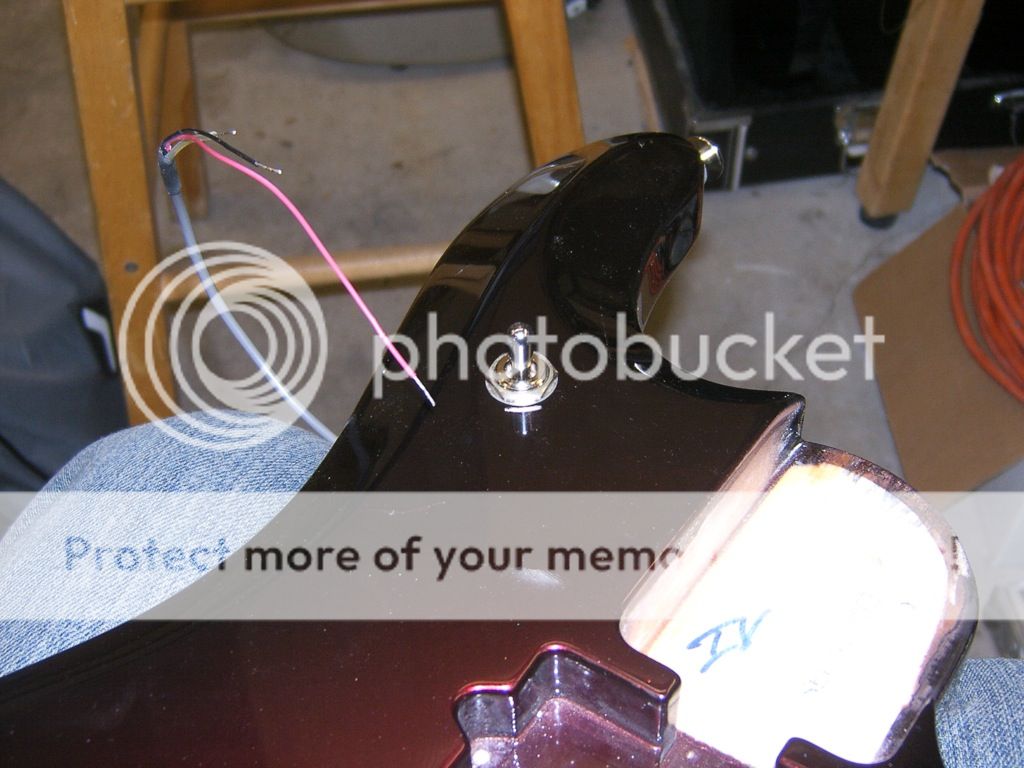
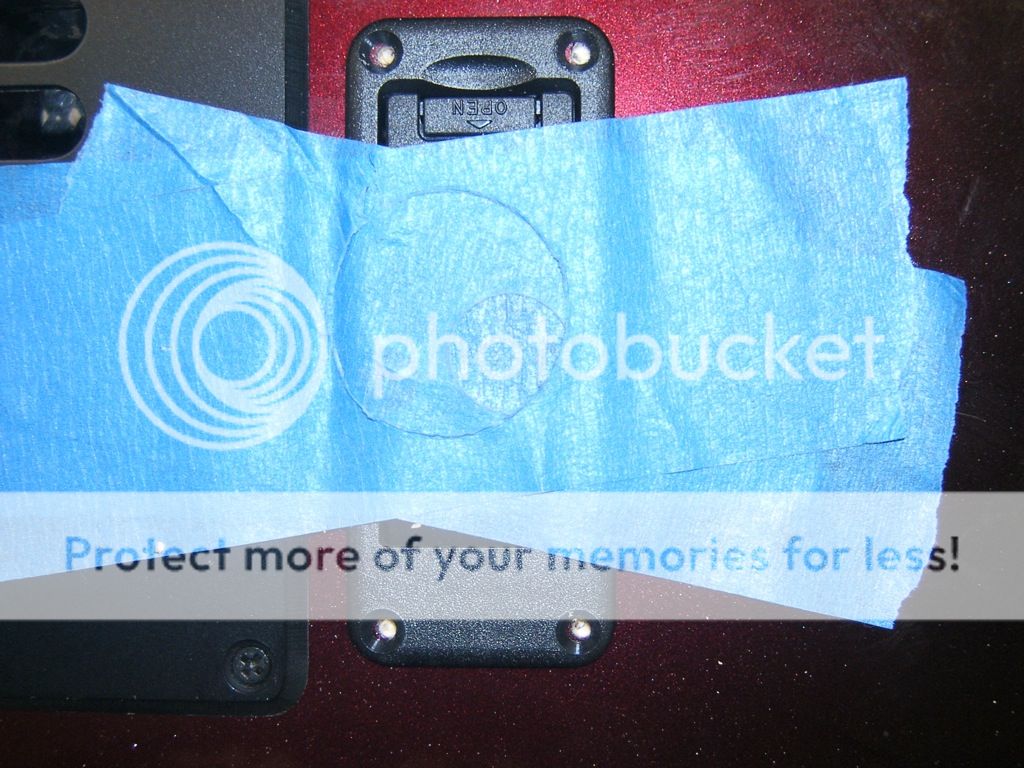
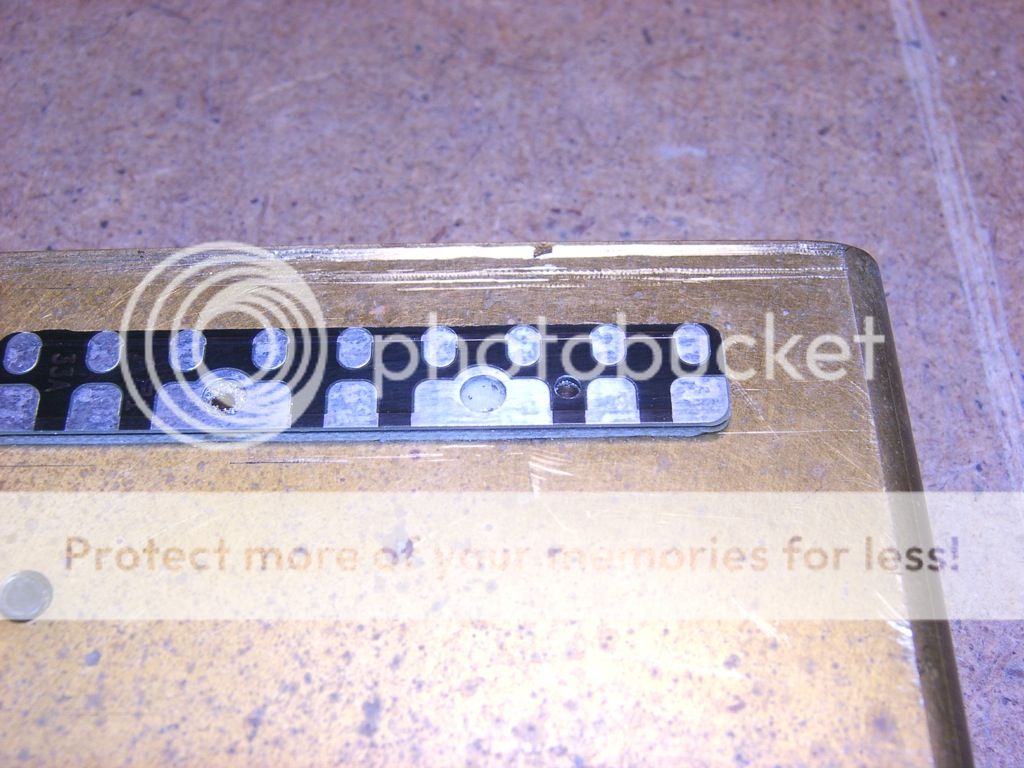
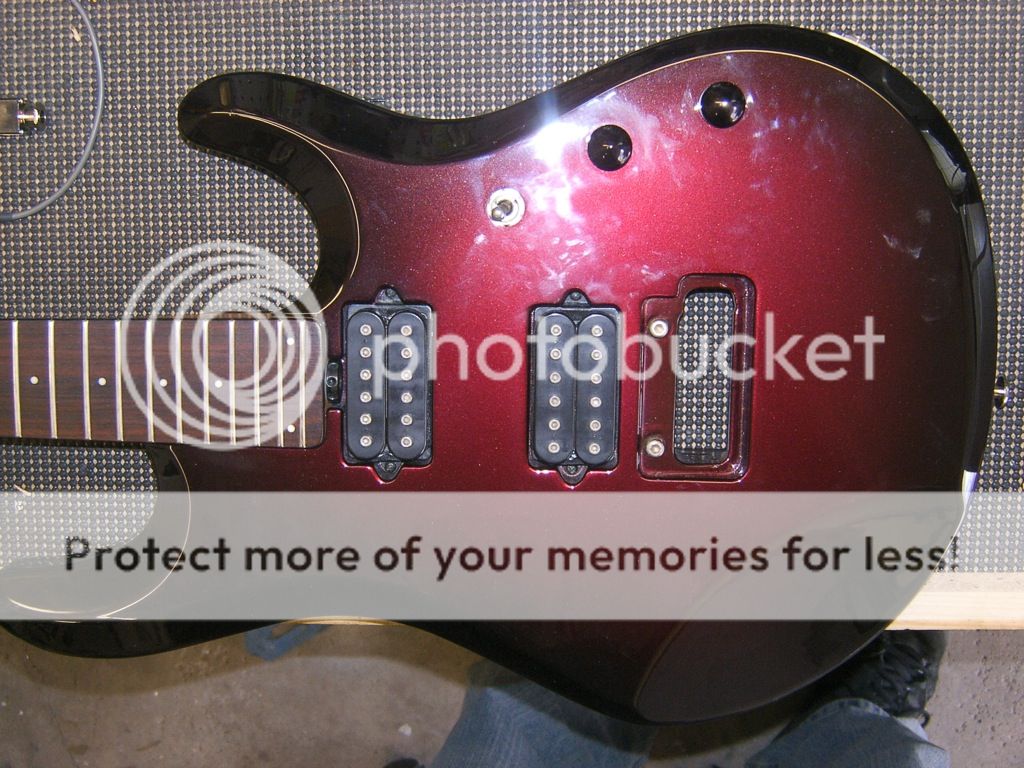
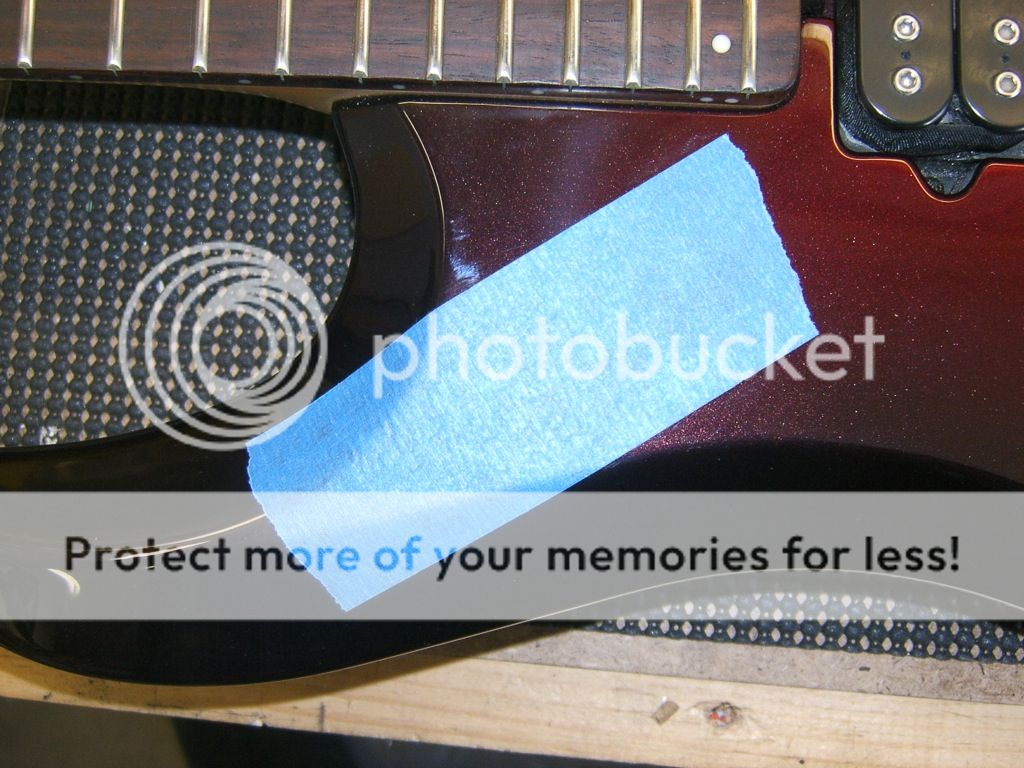
Plotting the location for the Mags-Mix-Piezo toggle...
Here is the recording. I started out using the piezos only. Then you'll hear a delay come in. That is Mag's + Piezos. I used the Taylor 314ce - Eaerthworks QTC30 IR that I downloaded from here. I'll post it here again...
This is a (part) of a song I wrote for my wife... When we used to be in love. Now she wants a divorce.
Enjoy!!!
So I've been a member here for over a year now. I used to think, "Who the hell has time to have 1500+ posts on a forum?" Well now, look at me... I'm proud that it is THIS forum and no other. Anyway, I think it is about time I let you guys in on what I do. Unfortunately this is not my 'full time' gig, but for the last 3 years I have made it my priority to help other guitarists achieve their sonic goals. Primarily my focus has been on installing piezos in bridges that are not widely accepted enough (Ibanez Lo-Pro, Edge, Edge Pro, and pretty much ANY Ibanez bridge) for the major piezo manufactures to make their own piezo saddles. So rewind to early 2009...
I envisioned a way to drill (I now know the proper term is actually mill) the saddles to allow one of the popular piezo transducers to fit in it. I'll spare you all the details, but I ended up dropping about $2000 into a CNC milling machine and the necessary tooling to machine saddles to accept piezos.
Without further adieu I give you the EBMM JP Piezo Mod, by shotgunn. FWIW I did actually use EBMM Fishman loaded saddles. Simply because they exist and are available. Here is my picstory... Get ready it's a LOOOONG one...
Strings and bridge removed...
Plotting location for piezo volume... I had to move it slightly closer to the tone control than I wanted simply due to the size of the Control-X's PCB...
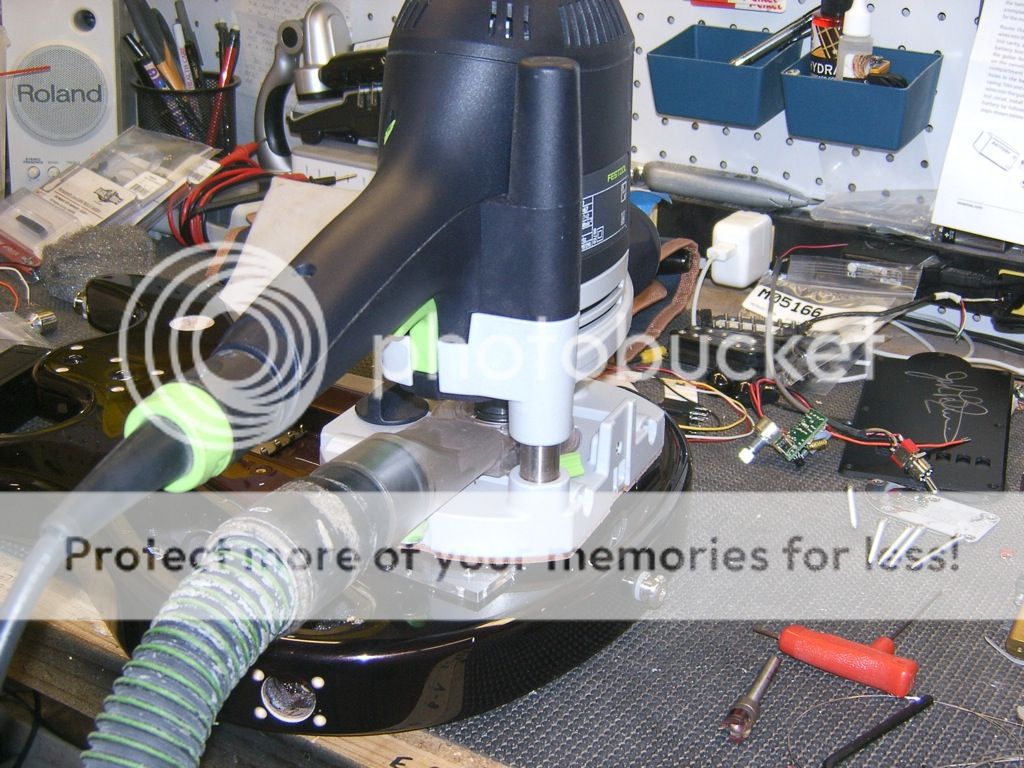
Starting the first hole. Blue painters tape works WONDERS in preventing the brittle finish from chipping like crazy...
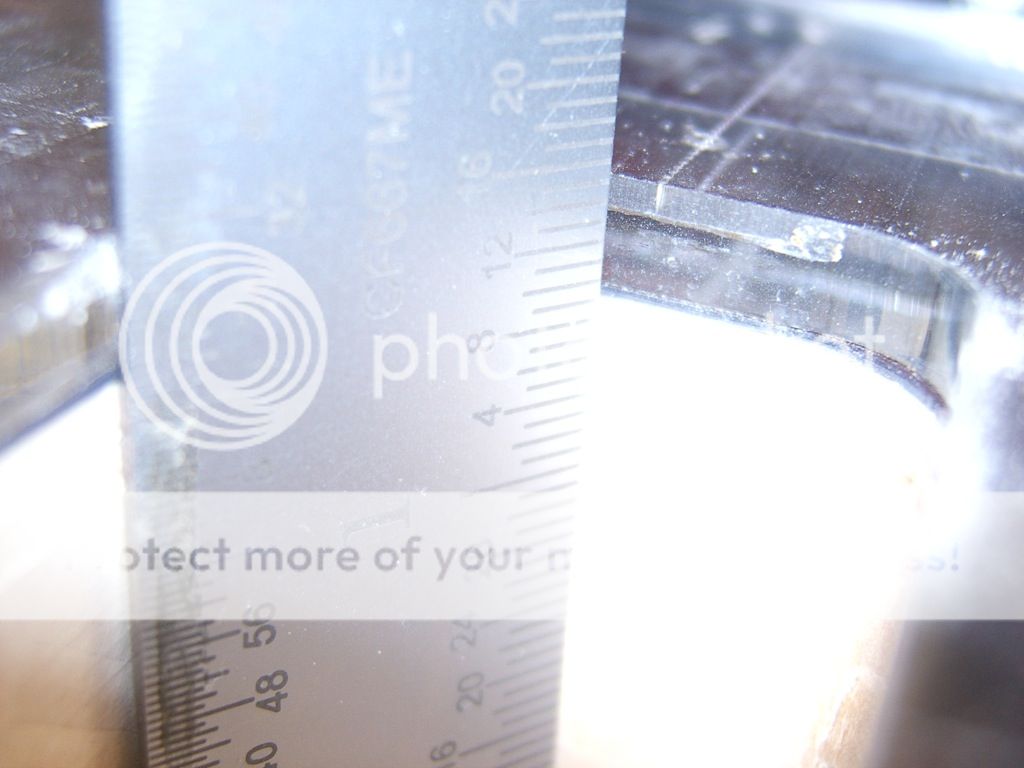
Clean as a whistle...
Plotting the location for the Mags-Mix-Piezo toggle...
Attachments
Last edited: