<MACHINE>
Inspired
Hello all...
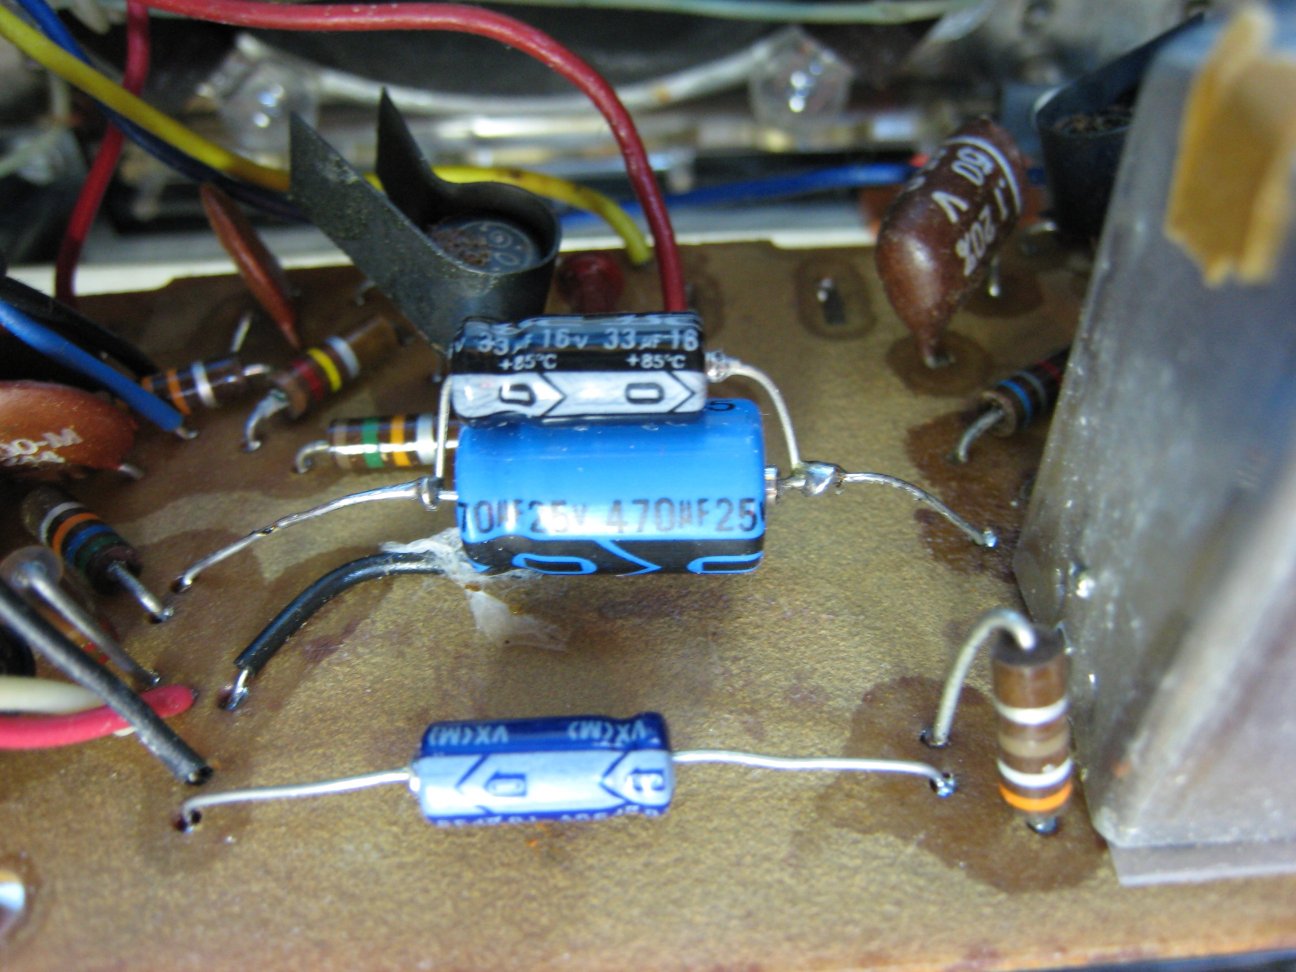
Does anyone know the voltage of the 3.3uf cap that LZRBeam added in parallel (I PM'd him about it some days ago but haven't heard back)?
I have everything he described coming in the mail … except for the cap. I noticed there was different voltages when I went to buy it and I didn't want to get the wrong thing (does it even matter?).
Thanks in advance for any help
Last edited:
")