MetalSlab
Inspired
Here is my rack setup to give ideas for those wanting a quick setup and reasonably portable rig with the versatility to be able to deal with different situations:
The Axe is in a SKB 2RU unit which also houses a shielded rear cavity containing a heavy-duty power distribution unit with surge protection, the MFC-101 power supply, the power supply for my vocal pedal and all the internal patch cabling going through to the custom rear panels.
The challenge I set for myself was to have a basic guitar rig, which could also be used as a mains PA system for live band use - without the need for standalone mixers and superflous external equipment. I wanted to be able to run everything through the Axe and use the QSC's as a standalone PA for small venues, rehearsals, etc. I also wanted to be able to setup quickly with minimal cabling.
The rear panel is designed to utilise input 2 on the Axe as the stereo-through for vocals. Input 1 R can also be used for mono-in (for bass or keys if required). It also incorporates midi in/out, SPDIF (using true 75 ohm connections and patch cabling), output 2 through a DI for FOH and all of the other standard Axefx rear panel features but uses Neutrik combination jacks so either XLR or TRS cables can be used in any case. This also protects the Axefx rear panel from being hammered by frequent re-routing and plugging in and out all the time.
I use the QSC's as monitors generally, but can also use them as a PA and run my vocals and whatever else through the Axe as well, using it as a dual guitar/vocals mixer and effects unit (It does take some clever patchwork. I have obviously allowed for this in all my live patches - using FX block as a passthrough and anything else in-line which I want controlled by the MFC).
The other idea here is that everything runs off a single heavy-duty shielded mains power cable, and everything from the pedalboard (including vocals) runs through a single snake cable. Setting up is as simple as connecting the snake to the rack's rear panel and then connecting the mains power. Even the QSC's are powered through the rear panel. Everything uses Neutrik powercon locking connectors.
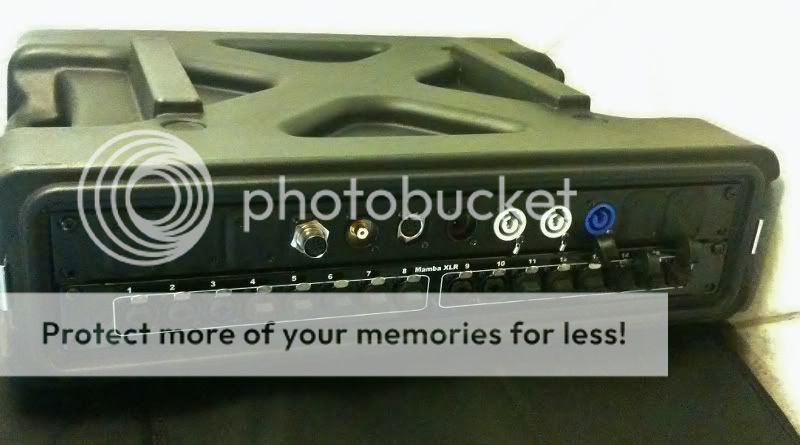
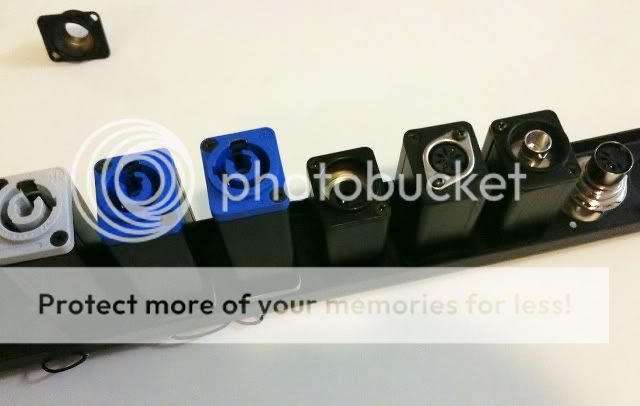
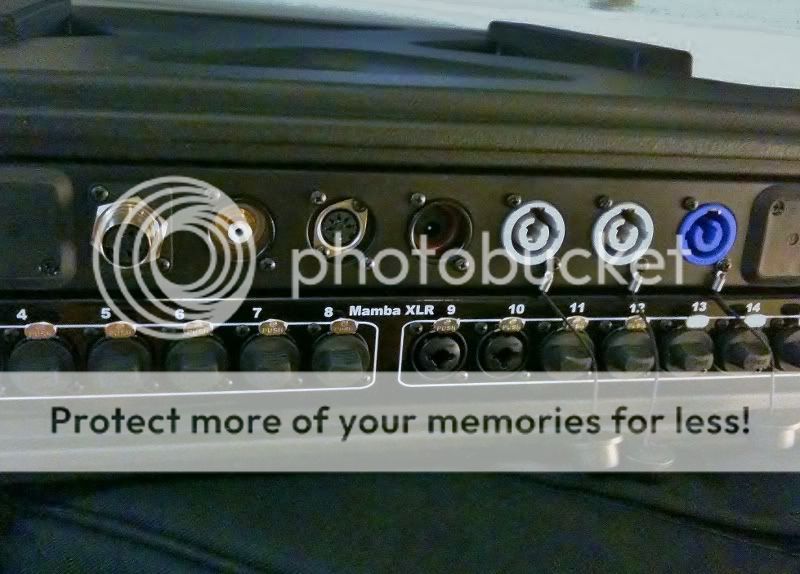
Rear panel from L to R (top row): MIDI out, SPDIF out, 7-pin MIDI in (powered for MFC), 9V power for vocal pedal, 2 x power out for QSC powered speakers (white powercon), mains power in (blue powercon).
Bottom row combo jacks (not labelled yet): Input 1 R, Input 2 L & R, unbal Out 1 L & R, bal Out 1 L & R, bal Out 2 L & R
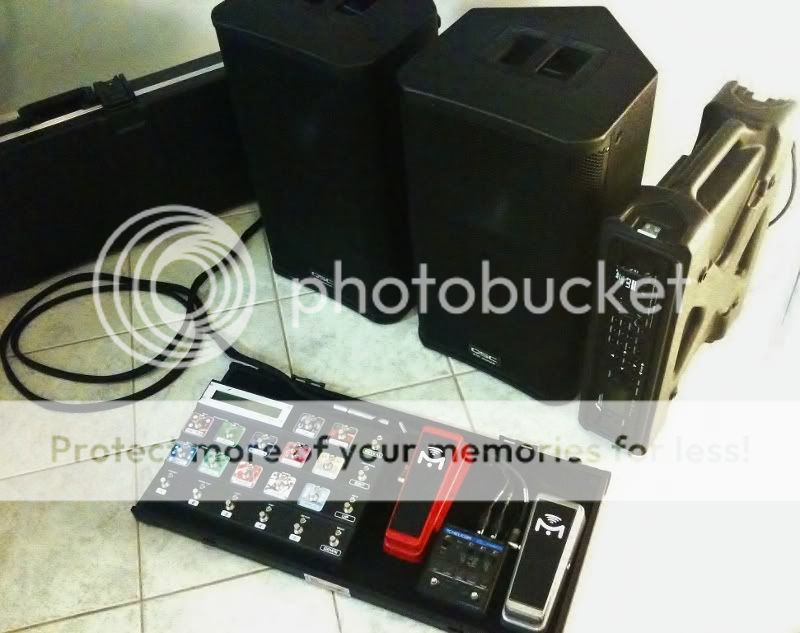
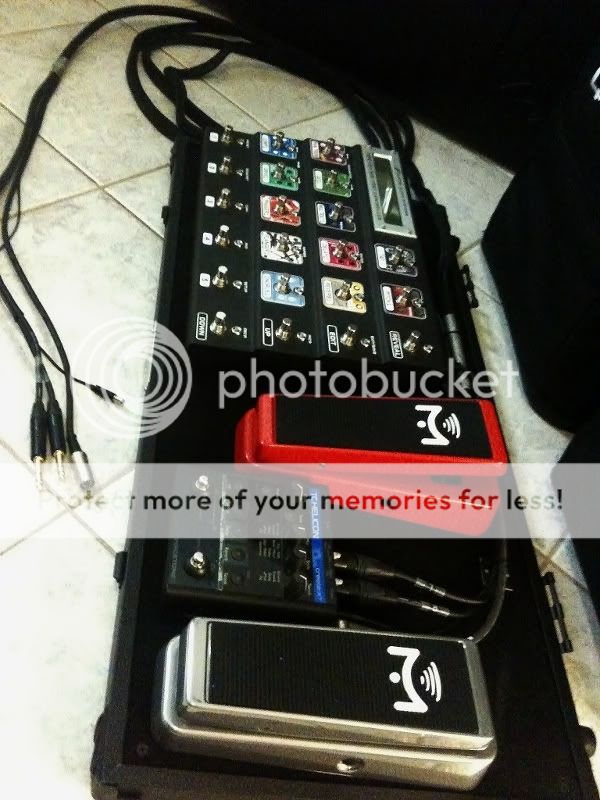
Pedalboard with snake:
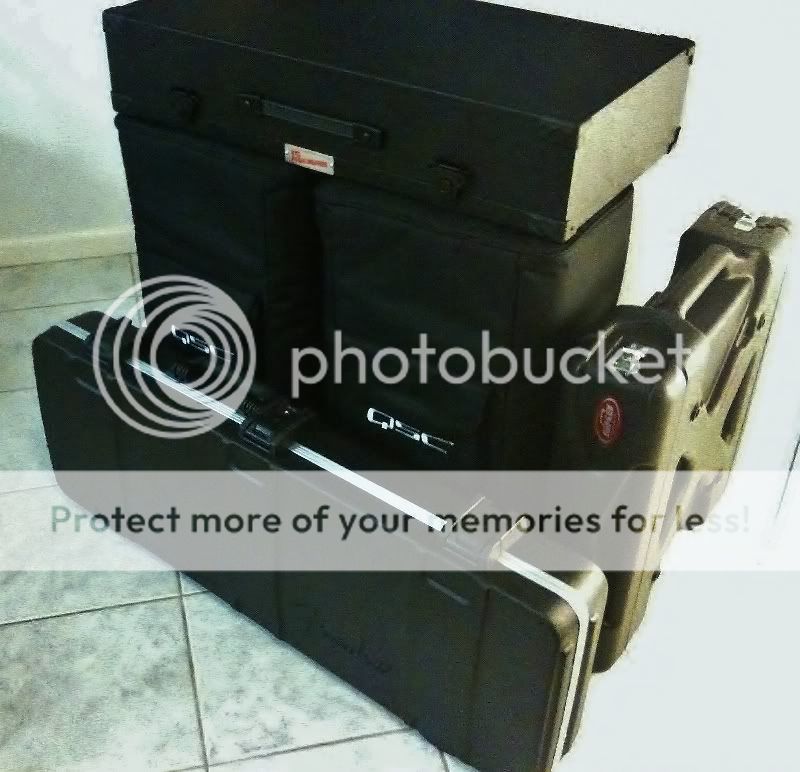
Ready to hit the road:
The Axe is in a SKB 2RU unit which also houses a shielded rear cavity containing a heavy-duty power distribution unit with surge protection, the MFC-101 power supply, the power supply for my vocal pedal and all the internal patch cabling going through to the custom rear panels.
The challenge I set for myself was to have a basic guitar rig, which could also be used as a mains PA system for live band use - without the need for standalone mixers and superflous external equipment. I wanted to be able to run everything through the Axe and use the QSC's as a standalone PA for small venues, rehearsals, etc. I also wanted to be able to setup quickly with minimal cabling.
The rear panel is designed to utilise input 2 on the Axe as the stereo-through for vocals. Input 1 R can also be used for mono-in (for bass or keys if required). It also incorporates midi in/out, SPDIF (using true 75 ohm connections and patch cabling), output 2 through a DI for FOH and all of the other standard Axefx rear panel features but uses Neutrik combination jacks so either XLR or TRS cables can be used in any case. This also protects the Axefx rear panel from being hammered by frequent re-routing and plugging in and out all the time.
I use the QSC's as monitors generally, but can also use them as a PA and run my vocals and whatever else through the Axe as well, using it as a dual guitar/vocals mixer and effects unit (It does take some clever patchwork. I have obviously allowed for this in all my live patches - using FX block as a passthrough and anything else in-line which I want controlled by the MFC).
The other idea here is that everything runs off a single heavy-duty shielded mains power cable, and everything from the pedalboard (including vocals) runs through a single snake cable. Setting up is as simple as connecting the snake to the rack's rear panel and then connecting the mains power. Even the QSC's are powered through the rear panel. Everything uses Neutrik powercon locking connectors.
Rear panel from L to R (top row): MIDI out, SPDIF out, 7-pin MIDI in (powered for MFC), 9V power for vocal pedal, 2 x power out for QSC powered speakers (white powercon), mains power in (blue powercon).
Bottom row combo jacks (not labelled yet): Input 1 R, Input 2 L & R, unbal Out 1 L & R, bal Out 1 L & R, bal Out 2 L & R
Pedalboard with snake:
Ready to hit the road:
")